
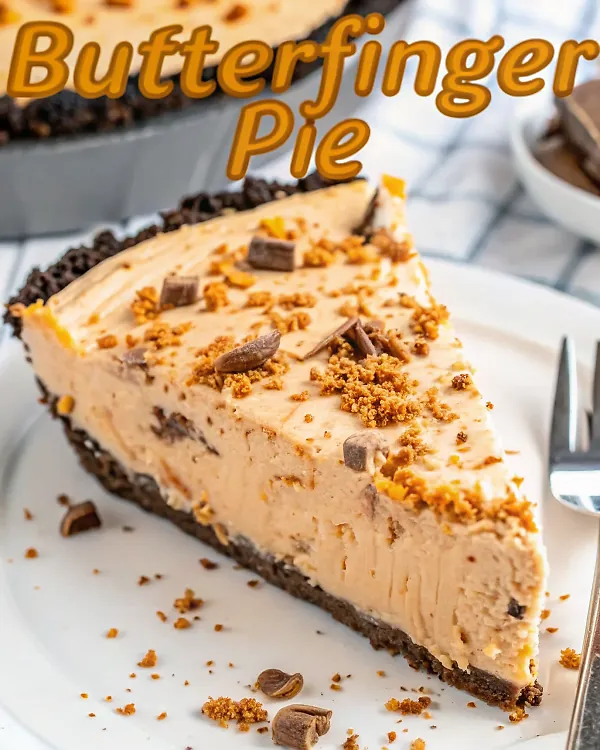
What makes a dessert so irresistible that it disappears within minutes of being served? According to recent food industry data, no-bake desserts have seen a 47% increase in popularity over the past three years, with candy-inspired treats leading the charge. This incredible Butterfinger Pie combines the beloved crunch of everyone’s favorite candy bar with a silky smooth, peanut butter-infused filling that requires absolutely no oven time. Whether you’re planning a last‑minute gathering, dealing with a broken oven, or simply craving something spectacular without the fuss, this recipe delivers restaurant‑quality results in just 15 minutes of active preparation. You’ll discover the secret to achieving the perfect texture balance, learn professional tips for candy incorporation, and master a dessert that will have guests begging for the recipe every single time.
Why This Butterfinger Pie Recipe Matters
In a world where impressive desserts often require hours of preparation and advanced baking skills, this Butterfinger Pie proves that extraordinary results can come from simple techniques. The combination of cream cheese’s tanginess with rich peanut butter creates a flavor profile that perfectly complements the sweet crunch of Butterfinger candy, while the no‑bake method ensures foolproof success every time.
External Resources
If you’re passionate about desserts that showcase peanut butter, you’ll love exploring more creative combinations like our Apple Crisp Cheesecake or the decadent Chess Pie for traditional Southern flavors. The baking community on Reddit shares amazing peanut butter dessert variations, and food professionals at Food52 offer expert insights into perfecting no‑bake desserts. These resources provide endless inspiration for expanding your dessert repertoire beyond this incredible pie.
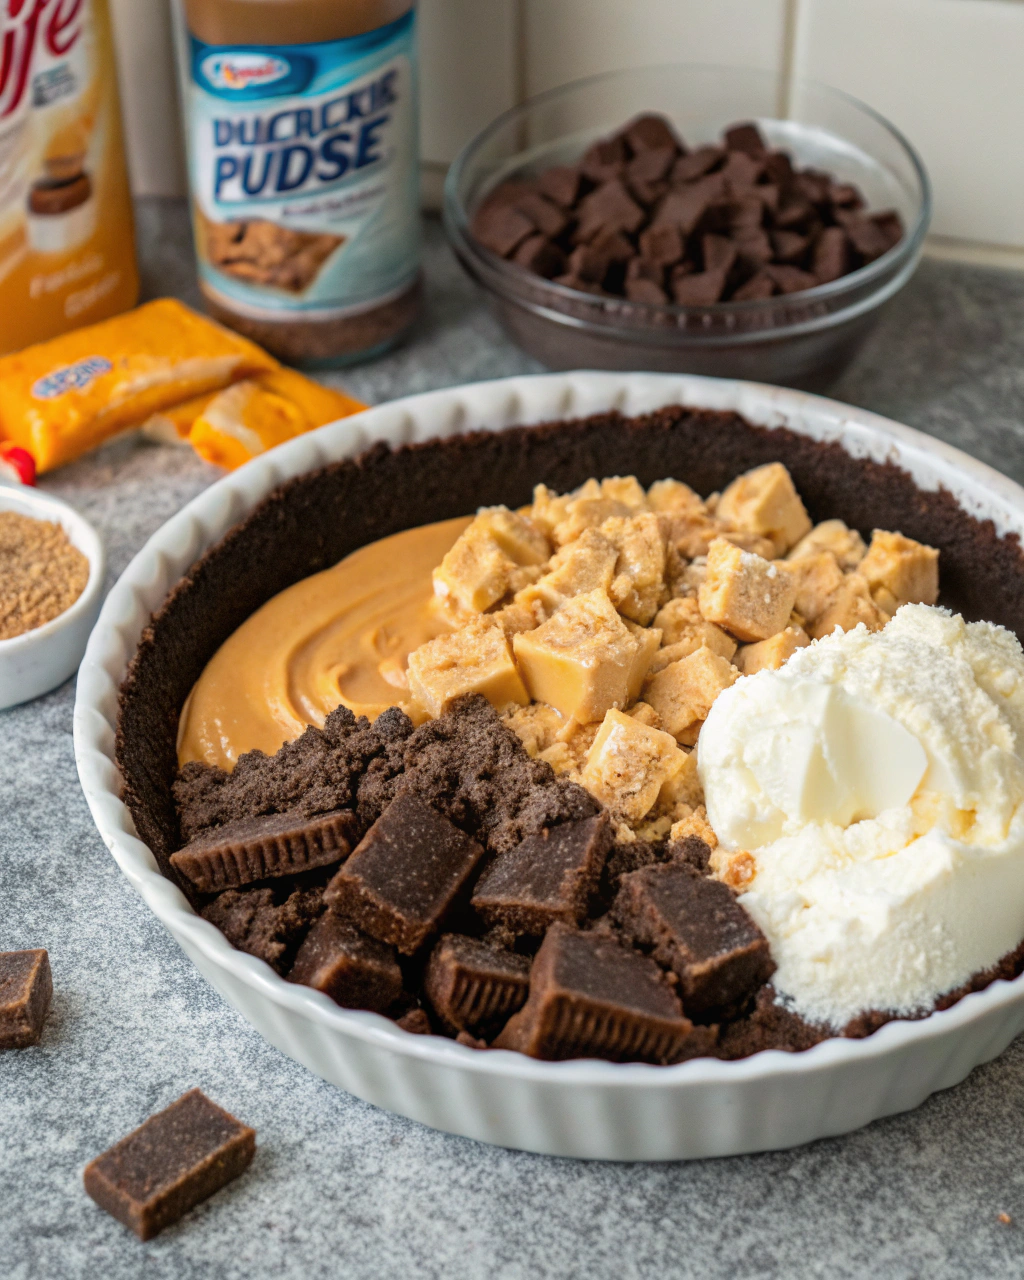
Ingredients
|
Ingredient Spotlight
The cream cheese must be completely at room temperature to prevent lumps – this typically takes 2‑3 hours outside the refrigerator. Powdered sugar dissolves more easily than granulated, creating that professional smoothness, while the Cool Whip adds an airy lightness that balances the rich peanut butter. The Butterfinger bars provide textural contrast, but crushing them to varied sizes creates more interesting bites throughout each slice.
Timing
|
Instructions
|
Tips & Tricks for Perfect Butterfinger Pie
|
Recipe Variations & Substitutions
Chocolate Lover’s Version: Add 3 tablespoons of cocoa powder to the cream cheese mixture and use a chocolate cookie crust for double chocolate indulgence.
Lighter Alternative: Substitute Greek yogurt for half the cream cheese and use sugar‑free pudding mix instead of powdered sugar for a reduced‑calorie version that still satisfies.
Nut‑Free Option: Replace peanut butter with sunflower seed butter and use chocolate chip cookies instead of Butterfinger pieces for those with allergies.
Seasonal Twist: Incorporate crushed pumpkin spice cookies in fall or add a teaspoon of espresso powder for a coffee shop‑inspired variation.
Behind the Recipe
This Butterfinger Pie was born from a happy accident during a summer gathering when a friend’s oven broke just hours before dessert time. With limited ingredients but unlimited creativity, we combined pantry staples with everyone’s favorite candy bar to create something extraordinary. The result was so spectacular that it became our go‑to dessert for potlucks, birthdays, and any occasion calling for something special without the stress. The beauty lies in its simplicity – each ingredient plays a crucial role in creating a dessert that tastes like it came from a high‑end bakery.
Pairing Ideas
Serve this rich Butterfinger Pie with fresh coffee or cold milk to balance the sweetness. A crisp sparkling water with lemon provides a palate‑cleansing contrast, while hot chocolate creates an indulgent dessert experience. For special occasions, consider serving alongside fresh berries or a light fruit salad to add freshness. The pie also pairs beautifully with vanilla ice cream for those who want to take indulgence to the next level.
Leftover & Reuse Ideas
Transform leftover pie into spectacular milkshake ingredients by blending slices with vanilla ice cream and milk. Crumble pieces over vanilla yogurt for an indulgent breakfast treat, or use chunks as ice cream mix‑ins for homemade frozen desserts. The filling also makes an excellent fruit dip – simply thin it slightly with cream and serve with apple slices or strawberries. Frozen slices can be enjoyed as individual frozen treats during hot summer days.
Nutritional Information
Each generous slice contains approximately 520 calories, with 28g fat, 62g carbohydrates, and 9g protein. The dessert provides calcium from dairy ingredients and offers quick energy from natural sugars. Portion control helps balance indulgence with moderation – consider cutting smaller slices for lighter enjoyment or serving with fresh fruit to add fiber and vitamins.
Serving Suggestions
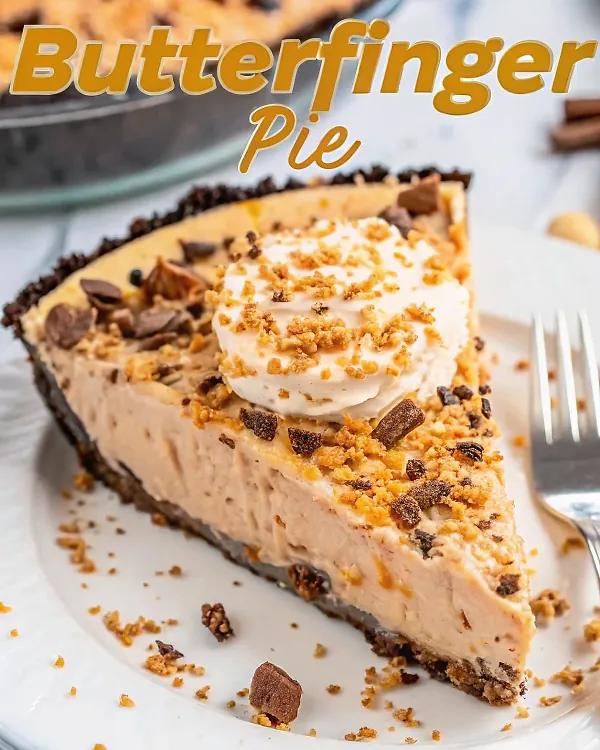
Present this stunning Butterfinger Pie on a white plate to showcase the beautiful color contrast. Garnish each slice with a drizzle of caramel sauce or a dollop of whipped cream for restaurant‑quality presentation. A light dusting of cocoa powder around the plate edge adds professional flair. For parties, cut into smaller squares and serve on individual dessert plates with small forks. The pie photographs beautifully, making it perfect for special occasions and social media sharing.
Common Mistakes to Avoid
Cold Cream Cheese: Using cold cream cheese creates lumps that ruin the smooth texture. Always plan ahead for proper softening time.
Over‑mixing Cool Whip: Aggressive stirring deflates the whipped topping, resulting in dense filling instead of light, airy texture.
Insufficient Chilling: Rushing the chilling process leads to a pie that doesn’t hold its shape when sliced.
Uneven Candy Distribution: Adding all crushed candy at once can create pockets of concentration rather than even distribution throughout.
Wrong Consistency Powdered Sugar: Not sifting powdered sugar can leave grainy textures that detract from the professional finish.
Storage & Reheating Tips
Store covered Butterfinger Pie in the refrigerator for up to 5 days. The flavor actually improves after the first day as ingredients meld together. For longer storage, freeze individual slices wrapped in plastic wrap and aluminum foil for up to 3 months. Thaw frozen slices in the refrigerator for 4‑6 hours before serving. Never leave the pie at room temperature for more than 2 hours due to dairy content. Cover tightly to prevent absorption of refrigerator odors and maintain optimal texture.
FAQs
- Can I make Butterfinger Pie ahead of time?
- Absolutely! This pie actually tastes better when made 24 hours in advance, allowing flavors to meld perfectly. It stores beautifully in the refrigerator for up to 5 days covered.
- Is Butterfinger Pie suitable for gluten‑free diets?
- The filling is naturally gluten‑free, but you’ll need to use a gluten‑free cookie crust. Many brands offer excellent gluten‑free chocolate cookie crusts that work perfectly with this recipe.
- Can I substitute the Butterfinger candy bars?
- Yes! Try Snickers pieces for caramel notes, Heath bar pieces for toffee flavor, or Reese’s peanut butter cups for extra peanut butter richness. Adjust quantities based on your preference.
- How do I prevent my Butterfinger Pie from being too sweet?
- Reduce powdered sugar to 1 1/4 cups and add a pinch of salt to balance sweetness. Using natural peanut butter also helps balance the overall sweetness level.
- Why is my Butterfinger Pie filling runny?
- This usually results from cream cheese that wasn’t properly softened or Cool Whip that was over‑mixed. Ensure ingredients are at proper temperature and fold gently to maintain structure.
Conclusion
This spectacular Butterfinger Pie proves that impressive desserts don’t require complicated techniques or hours in the kitchen. With its perfect balance of creamy peanut butter filling, crunchy candy pieces, and convenient no‑bake preparation, it delivers bakery‑quality results that will make you the hero of any gathering. The combination of simple ingredients and professional techniques creates a dessert that’s both accessible for beginners and satisfying for experienced bakers looking for efficiency without sacrificing flavor.
Made these Butterfinger Pie? Drop your twist in the comments, rate the recipe, and tag us on facebook, instagram with #erinrecipes — we might feature your creation!