
Turn your tomato harvest into delicious, shelf-stable jars with simple, safe canning tomatoes for beginners techniques—perfect for those eager to preserve flavor and nutrition. Fresh tomatoes spoil quickly, leaving you with wasted produce and empty pockets. Store-bought canned options are costly and often contain additives you’d rather avoid. Many beginners worry about safety risks when starting their home canning journey, fearing they’ll make dangerous mistakes that could harm their family.
Learning straightforward, safe canning tomatoes for beginners techniques saves money and locks in peak flavor, even if you’re completely new to home food preservation. This comprehensive guide will walk you through every step, from selecting the right equipment to safely storing your finished jars. You’ll discover how to choose the best tomatoes, master proper preparation techniques, and avoid common beginner mistakes that could compromise your results.
By the end of this guide, you’ll have the confidence and knowledge to transform pounds of fresh tomatoes into pantry staples that taste better than anything you can buy at the store. Let’s dive into the rewarding world of home canning and unlock the secrets to preserving tomatoes safely and successfully.
Table of Contents
Essential Equipment for Beginner Tomato Canning
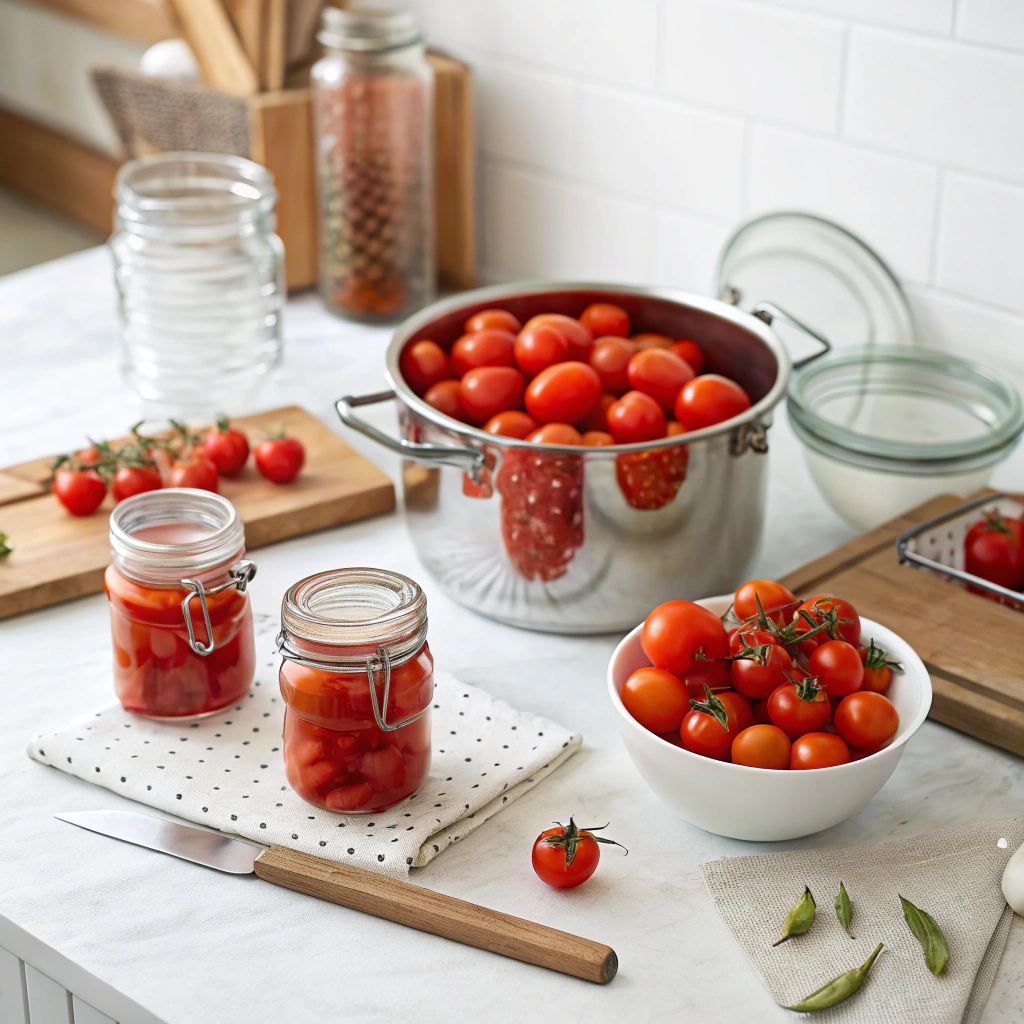
Starting your canning tomatoes for beginners journey requires the right tools, but you don’t need to break the bank. A basic water bath canning setup includes a large, deep pot with a lid, a canning rack or improvised rack made from extra jar rings, and proper canning jars with new lids and reusable rings. The pot must be deep enough to cover your jars with at least 1-2 inches of water above the jar tops.
Basic Canning Equipment Checklist
Your essential equipment list includes mason jars (Ball or Kerr brands work excellently), new canning lids for each batch, reusable canning rings, a jar lifter for safely removing hot jars, a canning funnel to prevent spills, and a bubble removal tool or clean plastic spatula. A kitchen timer ensures accurate processing times, while a candy or instant-read thermometer helps monitor water temperature.
For budget-conscious beginners, many items can serve dual purposes. A large stockpot works as a canning pot, a clean kitchen towel can substitute for a commercial canning rack, and tongs can replace a jar lifter in a pinch. However, investing in proper jar lifters and canning funnels makes the process significantly safer and more efficient.
Affordable Alternatives for Beginners
Start-up costs range from $30-60 for a complete basic setup. Walmart and Target offer affordable canning starter kits around $25-35, while specialty stores like Williams Sonoma carry premium options for $60-80. Many thrift stores stock vintage canning jars and equipment at fraction of retail prices—just ensure jars have smooth rims and avoid rusty or damaged pieces.
Where to Purchase Supplies
Hardware stores often carry canning supplies during peak season (July-September), while grocery stores stock jars and lids year-round. Online retailers like Amazon offer convenient bulk purchasing options, especially useful for lids and specialty tools. Local farm supply stores frequently have the best prices on canning jars and may offer seasonal discounts for bulk purchases.
Choosing the Best Tomatoes for Canning Success
Selecting appropriate tomatoes sets the foundation for successful canning tomatoes for beginners. Not all tomato varieties work equally well for canning—paste tomatoes like Roma, San Marzano, and Hungarian Heart offer lower water content and higher acidity levels ideal for preservation. These varieties maintain better texture and flavor after processing compared to high-water content slicing tomatoes.
Ideal Tomato Varieties for Beginners
Roma tomatoes top the beginner-friendly list due to their consistent acidity, meaty texture, and widespread availability. San Marzano varieties provide superior flavor but cost more and may be harder to find. For those growing their own, Amish Paste and Opalka varieties offer excellent canning characteristics with high yields per plant. Understanding selecting the right tomato varieties ensures your preservation efforts yield the best results.
Avoid watery varieties like beefsteak or brandywine tomatoes for canning, as their high moisture content can affect texture and safety. Cherry and grape tomatoes work well for whole-pack canning but require longer processing times. When in doubt, stick with established paste varieties that have proven track records for home preservation, similar to how choosing the right ingredients matters in preserving fruit through canning for other recipes.
Ripeness Indicators
Perfect canning tomatoes feel firm but yield slightly to gentle pressure, display deep, uniform color without green shoulders, and smell fragrant at the stem end. Overripe tomatoes work fine for sauce but may break down during whole-pack canning. Underripe tomatoes lack sufficient acidity and flavor development for optimal results.
Estimating Quantity Needed
Plan on 3-4 pounds of fresh tomatoes per quart jar, or 2-3 pounds per pint jar when canning whole or chopped tomatoes. For sauce, expect 5-6 pounds of fresh tomatoes per quart of finished product. A standard 25-pound box of paste tomatoes typically yields 8-10 quart jars of whole-pack tomatoes, making bulk purchasing cost-effective for serious canners.
Step-by-Step Tomato Preparation for Beginners
Proper preparation ensures safety and quality in your canning tomatoes for beginners project. This crucial phase sets the foundation for successful preservation and determines the final texture and appearance of your canned goods.
Washing and Sorting
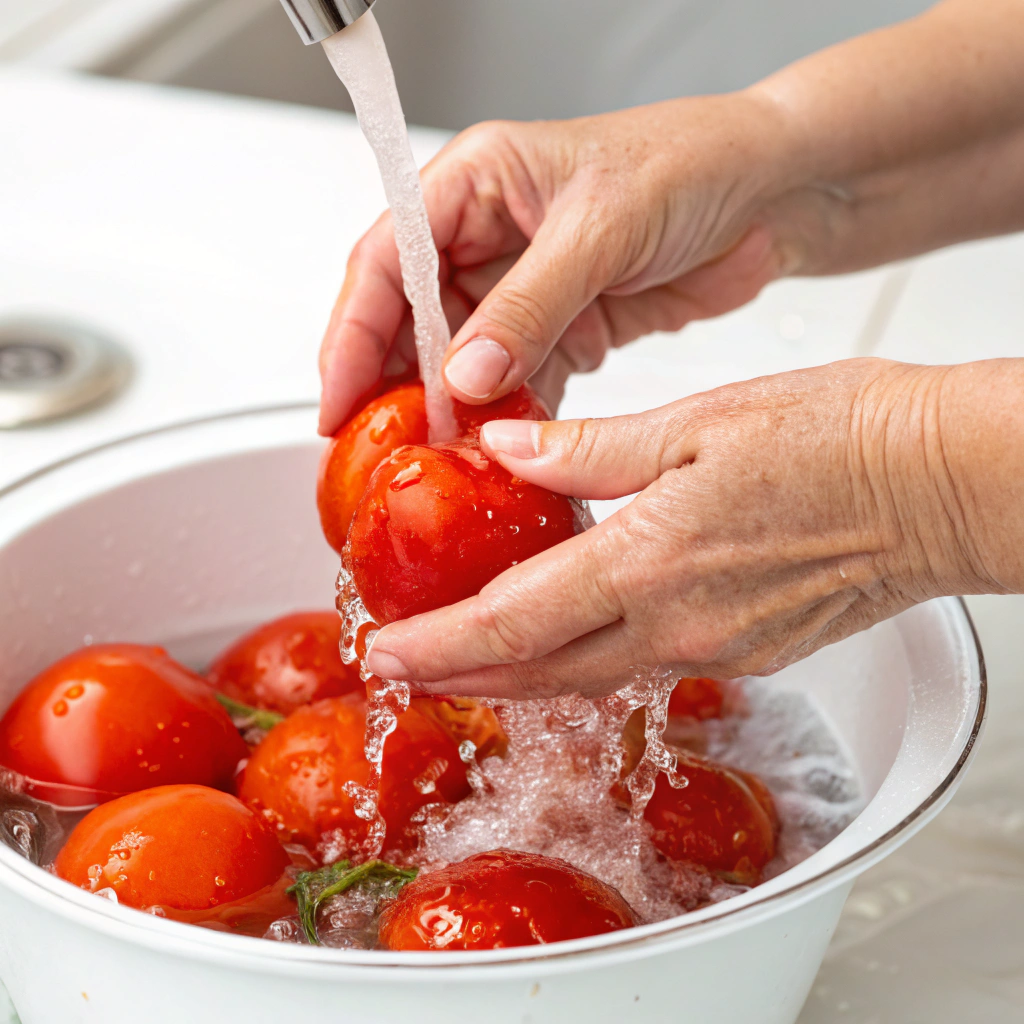
Begin by washing tomatoes under cool running water, gently scrubbing with a soft brush to remove dirt and residue. Sort tomatoes by ripeness and size, setting aside any with cracks, soft spots, or blemishes for immediate use rather than canning. Remove stems and inspect each tomato carefully—damaged areas can harbor bacteria that compromise safety.
Group similar-sized tomatoes together for uniform cooking times during processing. Large variations in size within the same jar can lead to uneven heating and potential safety issues. This attention to detail pays dividends in both safety and final product quality.
Blanching and Peeling
Bring a large pot of water to rolling boil while preparing an ice bath in a separate bowl. Score an “X” on the bottom of each tomato with a sharp knife, cutting just through the skin. This scoring allows easy skin removal after blanching.
Submerge 3-4 tomatoes at a time in boiling water for 30-60 seconds—just until skins begin loosening at the scored areas. Immediately transfer to ice water using a slotted spoon. The dramatic temperature change stops cooking and makes peeling effortless. Once cooled, skins slip off easily by hand, starting from the scored end.
Chopping and Packing
Cut peeled tomatoes according to your preference—leave whole for traditional pack, quarter for chunky pieces, or crush lightly for rustic texture. Remove excess seeds if desired, though they’re perfectly safe and nutritious to include. Pack prepared tomatoes into clean jars, leaving appropriate headspace (½ inch for pints, 1 inch for quarts).
Press gently to release natural juices and eliminate air bubbles, but avoid over-packing which can prevent proper heat penetration. Add bottled lemon juice or citric acid as directed—this step is absolutely crucial for safety and cannot be skipped or substituted.
Safe Water Bath Canning Process for Tomatoes
The water bath canning process represents the heart of safe canning tomatoes for beginners, where proper technique prevents dangerous bacteria growth while preserving quality. This method uses boiling water to heat-process sealed jars, creating the vacuum seal that keeps your tomatoes shelf-stable for months.
Acidification Requirements
Modern tomato varieties often have lower acidity than older varieties, making acidification absolutely essential for safety. Add 2 tablespoons bottled lemon juice or ½ teaspoon citric acid per quart jar, or 1 tablespoon lemon juice or ¼ teaspoon citric acid per pint jar. Never substitute fresh lemon juice, which has variable acidity levels that could compromise safety. Following acidification requirements from trusted sources ensures your canned tomatoes remain both safe and delicious.
Add acidification before adding tomatoes to ensure proper distribution throughout the jar. Vinegar can substitute for lemon juice (4 tablespoons per quart, 2 tablespoons per pint), though it may affect flavor. The USDA tomato canning guidelines provide the scientific foundation for these requirements and should always be consulted for the most current safety standards.
Processing Times by Jar Size
Process pint jars for 40 minutes and quart jars for 45 minutes at sea level, adjusting for altitude as needed. For every 1,000 feet above sea level, add 2 minutes to processing time. These times begin counting only when water returns to a full rolling boil after adding jars.
Maintain water levels 1-2 inches above jar tops throughout processing. If water level drops, add boiling water to maintain proper depth. Never stop timing to add water—simply ensure adequate coverage and continue with the original timing.
Temperature Safety Guidelines
Water temperature must reach and maintain 212°F (100°C) throughout processing. Using a reliable thermometer helps monitor temperature, especially important at higher altitudes where water boils at lower temperatures. Keep jars covered with actively boiling water for the entire processing period.
Pre-heat jars in warm water to prevent thermal shock when placing in boiling water. Cold jars can crack when exposed to sudden temperature changes, ruining your batch and potentially creating safety hazards.
Beginner Troubleshooting and Quality Checks
Even experienced canners encounter occasional issues, but understanding common problems helps beginners navigate challenges successfully. Recognizing what constitutes normal variation versus safety concerns protects your family while building confidence in your canning tomatoes for beginners skills.
Common Problems and Solutions
Jar seal failures occur when lids don’t properly vacuum-seal, often due to damaged jar rims, food particles on sealing surfaces, or insufficient processing time. Clean jar rims thoroughly with damp cloth before applying lids, and check for chips or cracks that prevent proper sealing.
Liquid loss during processing (called siphoning) happens due to temperature fluctuations, over-packing, or rapid pressure changes. While unsightly, jars with some liquid loss remain safe if properly sealed and processed. Floating fruit results from packing too loosely or using overripe tomatoes—still safe but less attractive.
Seal Testing Methods
Test seals 12-24 hours after processing by pressing jar centers—properly sealed lids shouldn’t flex or pop. Sealed jars also produce a clear ringing sound when tapped with a metal spoon, while unsealed jars sound dull or hollow. Remove rings before storage to prevent false seal appearances.
Visual inspection reveals properly sealed jars with slightly concave lid centers. Lids that remain flat or bulge outward indicate seal failure and require refrigeration and immediate use, just as you’d check quality in other preserved foods like those used in comparing tomato-based soups.
When to Discard Jars
Discard any jars with broken seals, unusual colors, off-odors, or visible mold growth. Cloudy liquid may indicate spoilage, though some cloudiness from starch is normal. When in doubt, throw it out—no canned goods are worth risking foodborne illness.
Check stored jars periodically for changes in appearance or seal integrity. Bulging lids, spurting liquid when opened, or off-odors require immediate disposal of entire jar contents.
Storage and Usage Tips for Canned Tomatoes
Proper storage maximizes shelf life and maintains quality of your home-canned tomatoes. Understanding optimal conditions and usage timelines helps you enjoy your preservation efforts throughout the year while maintaining safety standards.
Proper Storage Conditions
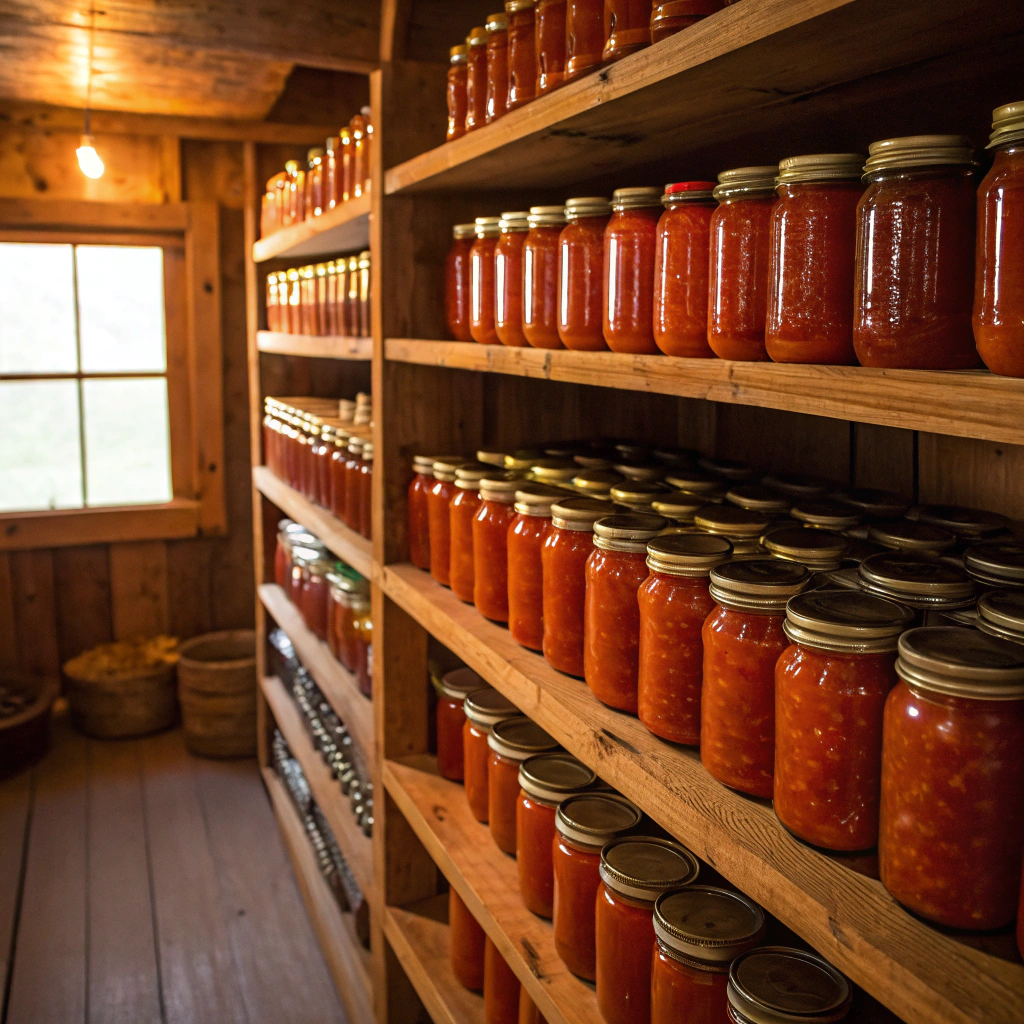
Store sealed jars in cool, dark locations between 50-70°F for optimal quality retention. Basements, pantries, or interior closets provide ideal environments, while areas near heat sources or with temperature fluctuations should be avoided. Remove metal rings after confirming seal integrity to prevent rust and false seal appearances.
Label jars with contents and processing date using waterproof markers or labels. Practice first-in, first-out inventory rotation to use older jars before newer ones, ensuring you enjoy peak quality throughout storage periods.
Shelf Life Expectations
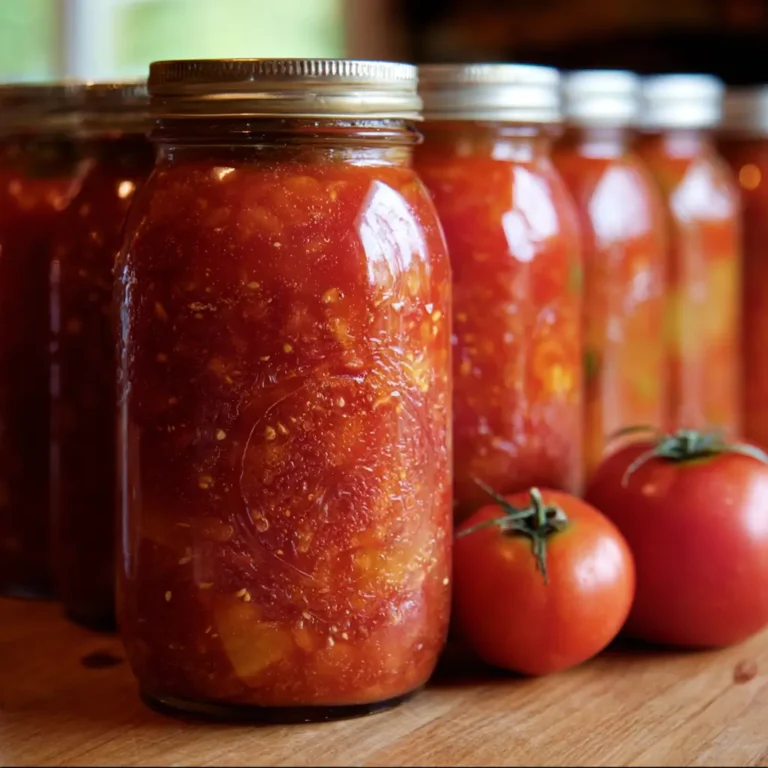
Home-canned tomatoes maintain best quality for 18-24 months when stored properly, though they remain safe beyond this timeframe if seals stay intact. Quality gradually declines over time, with color fading and texture softening being normal aging processes rather than safety concerns.
Recipe Ideas
Your canned tomatoes serve as foundations for countless meals—from quick weeknight pasta sauces to hearty winter stews. They work beautifully in delicious bean recipes that benefit from rich tomato flavor, or as bases for soups, chilies, and casseroles. The concentrated flavor often surpasses fresh tomatoes in cooked dishes, making your preservation efforts worthwhile.
Calculate your savings by comparing costs: home-canned tomatoes typically cost $0.75-1.25 per quart versus $2-4 for comparable store-bought organic options. Factor in better flavor and no preservatives, and home canning delivers exceptional value for your investment in time and equipment.
Frequently Asked Questions
How long does it typically take for canning tomatoes for beginners, including preparation, processing, and cooling?
Plan 4-6 hours for your first canning tomatoes for beginners session processing 20 pounds of tomatoes. This includes 2-3 hours preparation (washing, blanching, peeling, chopping), 1 hour for actual processing time, and 12-24 hours cooling and seal-checking time. Experienced canners reduce preparation time significantly once techniques become routine.
What is the safest canning method for beginners when canning tomatoes for beginners?
Water bath canning with proper acidification represents the safest method for canning tomatoes for beginners. Always add required amounts of bottled lemon juice or citric acid, follow tested processing times exactly, and use proper equipment. Never skip acidification or reduce processing times, as these modifications can create dangerous conditions.
Can beginners use any tomato variety for canning tomatoes for beginners projects?
While most tomato varieties can be canned safely with proper acidification, paste varieties like Roma work best for canning tomatoes for beginners. These varieties have lower water content, better texture retention, and naturally higher acidity levels. Avoid heirloom varieties with very low acidity unless you’re experienced with pH testing.
How can beginners tell if their canned tomatoes are safe to eat?
Check for proper vacuum seals by pressing lid centers—they shouldn’t flex or pop. Look for clear liquid, normal color, and absence of unusual odors when opening. Any signs of mold, off-colors, spurting liquid, or foul smells indicate spoilage requiring immediate disposal of the entire jar.
What is the most common mistake beginners make when canning tomatoes?
Skipping or reducing acidification represents the most dangerous mistake in canning tomatoes for beginners. Modern tomato varieties often lack sufficient natural acidity for safe preservation. Always add required amounts of bottled lemon juice or citric acid—never substitute fresh lemon juice or omit this crucial safety step.
How much money can beginners save by canning tomatoes for beginners compared to buying store-bought?
Home canning tomatoes for beginners typically costs $0.75-1.25 per quart versus $2-4 for equivalent store-bought organic canned tomatoes. After initial equipment investment ($30-60), ongoing costs include only jars, lids, and tomatoes. Processing 20 pounds of tomatoes saves $15-25 compared to purchasing equivalent canned goods, with superior flavor and no preservatives as additional benefits.
Canning tomatoes for beginners transforms from intimidating challenge to rewarding accomplishment with proper guidance and attention to safety details. The techniques outlined in this guide provide the foundation for successful home preservation, ensuring both safety and quality in your finished products. Remember that every expert canner started as a beginner—your first batch may not be perfect, but following tested procedures guarantees safe results.
The investment in quality equipment pays dividends across multiple canning seasons, while the skills you develop open doors to preserving other garden bounty throughout the year. Start with small batches to build confidence, then expand your efforts as techniques become second nature. Your pantry shelves lined with home-canned tomatoes represent more than preserved food—they showcase your commitment to quality, nutrition, and food security for your family.
Print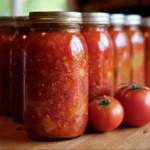
Home Canning Tomatoes for Beginners
- Total Time: 2 hours 25 minutes
- Yield: 28 servings (7 quart jars) 1x
- Diet: Vegan
Description
Preserve the peak flavor of summer with this foolproof home canned tomatoes recipe that delivers shelf-stable perfection every single time! There’s nothing quite like opening a jar of your own canned tomatoes in the middle of winter—it’s like capturing sunshine and garden-fresh flavor to enjoy year-round. This tested and safe canning method ensures your tomatoes maintain their bright taste and beautiful texture for up to a year. Perfect for sauces, soups, stews, and any recipe that calls for the very best tomatoes!
Ingredients
For a Standard Canner Load (7 Quarts):
- 21 pounds fresh, whole tomatoes (any variety—Roma, beefsteak, or garden favorites)
- 14 tablespoons bottled lemon juice (fresh won’t work for safety!)
- 7 teaspoons pickling salt
Equipment Needed:
- 7 quart-sized canning jars with new lids and rings
- Large water bath canner or deep pot with rack
- Jar lifter and canning tools
- Large pot for blanching tomatoes
Instructions
- Prep Your Canning Station: Prepare canning jars and lids according to manufacturer’s directions. Keep jars hot in simmering water while you work—this prevents thermal shock and ensures perfect sealing.
- Perfect the Tomato Prep: Blanch tomatoes in boiling water for 30-60 seconds, then plunge into ice water. The skins will slip right off! Core and remove any blemishes, then leave whole or cut into halves or quarters as desired.
- Work One Jar at a Time: Keep filled jars hot while working with the next one. To each quart jar, add exactly 2 tablespoons bottled lemon juice and 1 teaspoon pickling salt—this ensures safe acidity levels for shelf storage.
- Pack Like a Pro: Fill jars with prepared tomatoes, pressing gently until natural juices fill the spaces between tomatoes. Leave exactly ½ inch headspace—this is crucial for proper sealing!
- Eliminate Air Bubbles: Run a clean knife or bubble tool around the inside edges to release trapped air. This step prevents spoilage and ensures even processing.
- Seal with Confidence: Wipe jar rims clean with a damp cloth, place new lids, and apply rings finger-tight. Don’t over-tighten—air needs to escape during processing.
- Process to Perfection: Process in a boiling water bath for 85 minutes (both pints and quarts). Adjust for altitude: 90 minutes (1,001-3,000 ft), 95 minutes (3,001-6,000 ft), 100 minutes (above 6,000 ft).
- Cool and Test: Remove jars and cool completely on towels. Test seals by pressing the center of each lid—no movement means perfect sealing! Store sealed jars for up to one year.
Notes
Safety first: Always use bottled lemon juice, never fresh, as the acidity level is standardized for safe canning. You can use any tomato variety, but paste tomatoes like Roma hold their shape beautifully. For pint jars, use half the lemon juice and salt per jar (1 tablespoon lemon juice, ½ teaspoon salt). Keep a kettle of boiling water ready to top up your canner as needed. Any jars that don’t seal properly should be refrigerated and used within one week. The investment in time pays off with a year’s worth of garden-fresh flavor!
- Prep Time: 1 hour
- Cook Time: 1 hour 25 minutes
- Category: Canning and Preserving
- Method: Water Bath Canning
- Cuisine: American
Nutrition
- Serving Size: 1 serving (about ¾ cup)
- Calories: 63
- Sugar: 9g
- Sodium: 598mg
- Fat: 1g
- Saturated Fat: 1g
- Unsaturated Fat: 0g
- Trans Fat: 0g
- Carbohydrates: 14g
- Fiber: 4g
- Protein: 3g
- Cholesterol: 0mg
Keywords: canned tomatoes, home canning, preserved tomatoes, summer preservation