
The scent of vanilla and caramelized sweetness wafting through my grandmother’s kitchen transports me back to Sunday afternoons when she would unveil her famous condensed milk cake. Those golden, moist slices became the centerpiece of family gatherings. Today, we elevate this classic by baking it in a springform pan with a biscuit base, giving it the stunning appearance of a classic cheesecake while retaining that signature milky tenderness.
Did you know that condensed milk cake recipes have seen a 78% surge in online searches over the past two years? This enduring classic has captivated bakers worldwide. By adding a simple crust and a golden glaze, this Condensed Milk Cake combines the convenience of pantry staples with a professional bakery look that will fool the eye and delight the palate.
Why Condensed Milk Cake Deserves a Spot in Your Recipe Collection
Condensed milk cake stands apart in the world of sweet treats because of its unique texture and foolproof preparation. Unlike many desserts requiring complex techniques, this cake welcomes bakers of all skill levels while delivering professional-quality results. For deeper insights into working with this versatile ingredient, check out Mastering Sweetened Condensed Milk Baking which explores various applications. If you’re looking to perfect your technique, the Essential Baking Tools Guide provides equipment recommendations.
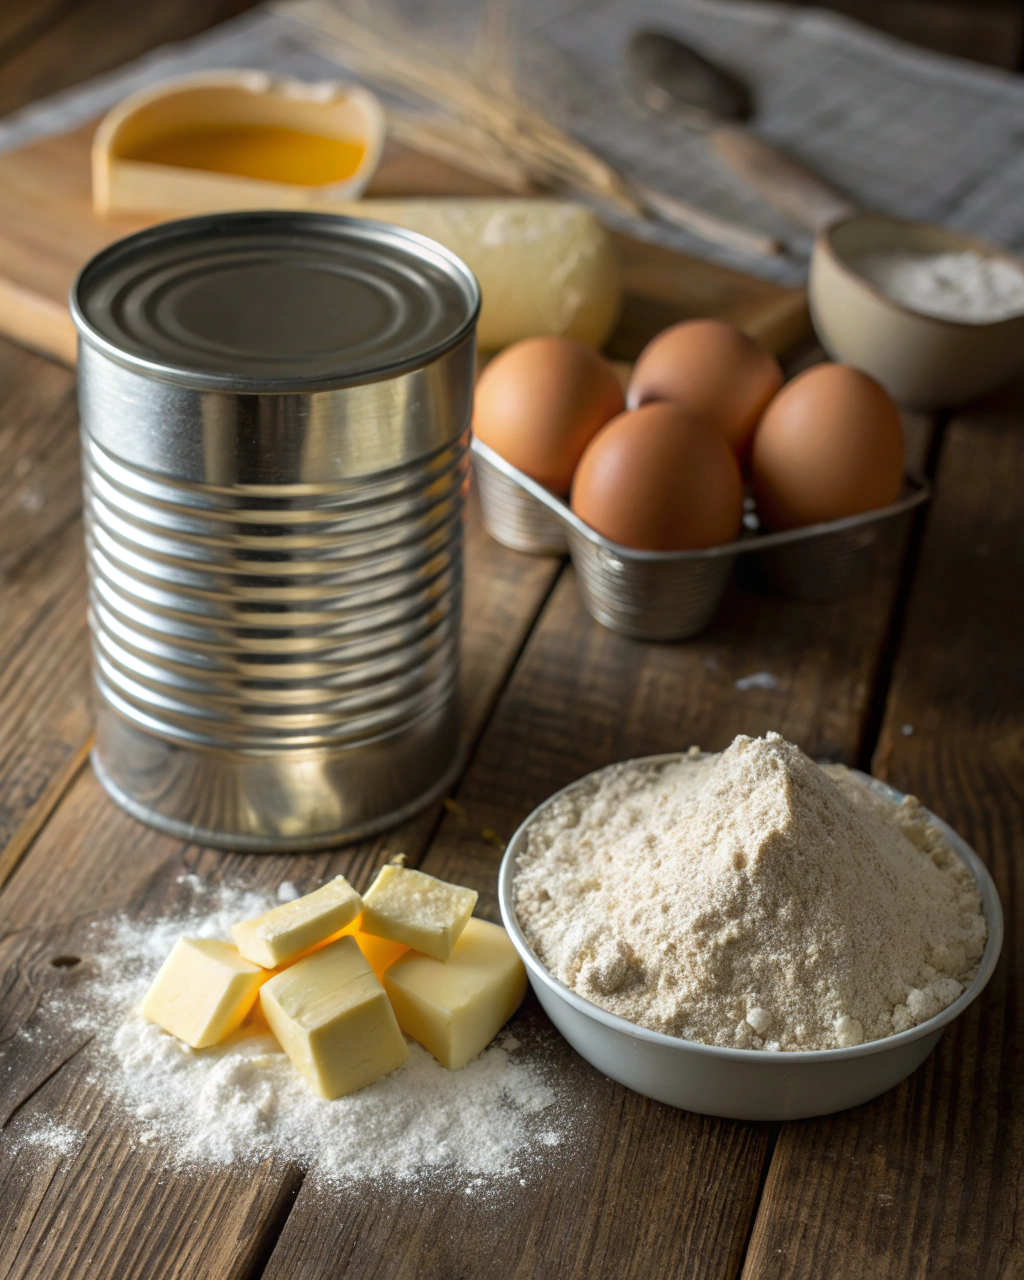
Condensed Milk Cake Ingredients
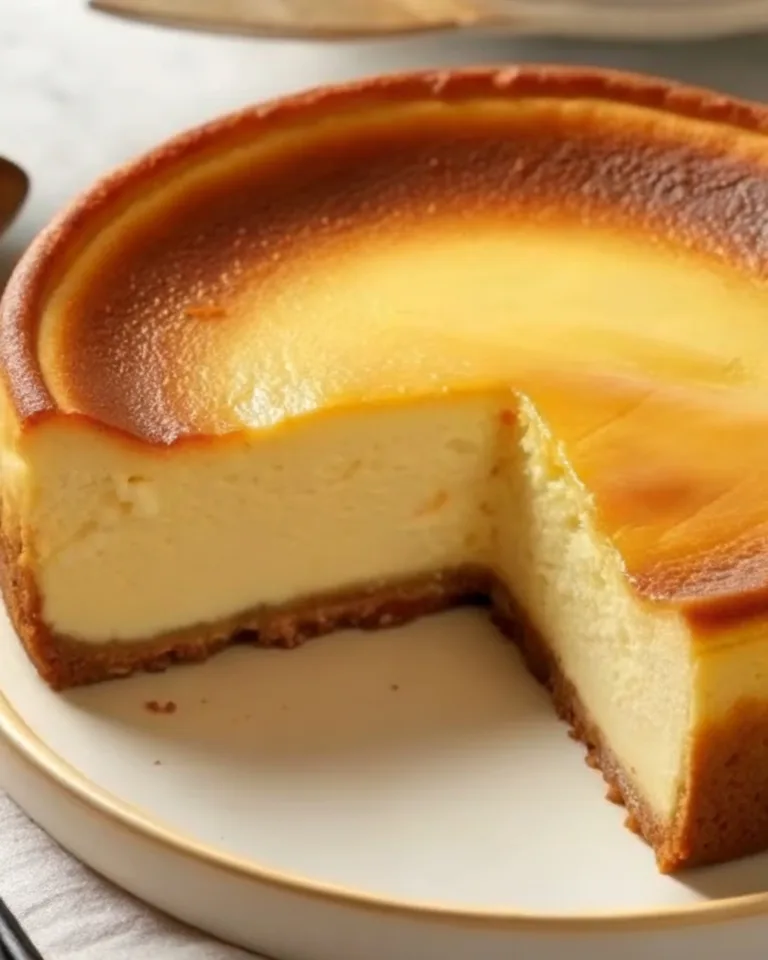
To achieve the “Cheesecake Look” shown in the photos, we include a simple crust and a finishing glaze.
The Base Layer (For the Cheesecake Look)
- 200g (1 ½ cups) Digestive or Graham biscuits, crushed
- 100g (½ cup) unsalted butter, melted
The Cake Batter
- 1 can (14 oz) sweetened condensed milk
- 4 large eggs, at room temperature
- ½ cup (1 stick) unsalted butter, melted and cooled
- 1 ½ cups all-purpose flour
- 1 tablespoon baking powder
- 1 teaspoon vanilla extract
- Pinch of salt
The Finish
- ½ cup Dulce de Leche or thick caramel (to glaze the top)
Timing Your Condensed Milk Cake
Preparation time: 20 minutes
Baking time: 40-45 minutes
Cooling time: 60 minutes
Total time: 2 hours
Creating Your Condensed Milk Cake
Preparing Your Kitchen & The Base
Preheat to 350°F (175°C). Prepare an 8-inch springform pan (essential for the cheesecake look) by lightly greasing it.
Mix the crushed biscuits with the 100g of melted butter until it feels like wet sand. Press this mixture firmly into the bottom of the pan to create an even base. Bake for 10 minutes, then remove and let cool while you make the batter.
Mixing Wet Ingredients
In a large bowl, whisk together the condensed milk and eggs until completely smooth and slightly lighter in color, about 2 minutes. The mixture should feel silky.
Incorporating the Butter
Slowly pour in the ½ cup of cooled melted butter (for the batter) while whisking continuously. Ensure the butter is cool enough not to cook the eggs.
Adding Dry Ingredients
Sift the flour, baking powder, and salt together. Gently fold these dry ingredients into your wet mixture using a spatula. Stop mixing the moment the dry streaks disappear to keep the crumb tender.
Baking to Perfection
Pour the batter over the cooled biscuit base in the springform pan. Smooth the top with a spatula. Bake for 40-45 minutes, or until a toothpick inserted into the center comes out clean. The top should be golden.
Cooling and Finishing
Let the cake cool completely in the pan before unclipping the sides. This ensures clean, sharp edges identical to a cheesecake. Once cooled, spread a thin layer of Dulce de Leche over the top to replicate the “burnt” golden top of a New York Cheesecake.
Tips & Tricks for Perfect Condensed Milk Cake
- Use a Springform Pan – To get the look in the photo, a springform pan allows you to release the cake without inverting it, preserving the crust and the top.
- Room temperature ingredients matter – Cold eggs can cause the melted butter to solidify, creating a lumpy batter.
- Don’t substitute evaporated milk – It lacks the sugar content necessary for the texture.
- Chill for cleaner slices – Just like a cheesecake, if you chill this cake for an hour before slicing, you will get perfect, sharp wedges.
Condensed Milk Cake Variations & Substitutions
Tropical Coconut Version
Reduce flour to 1¼ cups and add ½ cup desiccated coconut. Replace vanilla with coconut extract.
Citrus Infusion
Add the zest and juice of one lemon or orange, reducing butter by 1 tablespoon to account for the extra liquid.
Storage & Reheating Tips for Condensed Milk Cake
Counter Storage: Store in an airtight container for up to 3 days.
Refrigeration: To maintain the “cheesecake” firmness, store in the fridge for up to 1 week. This also helps the glaze stay set.
Condensed Milk Cake FAQs
Can I make condensed milk cake ahead of time?
Yes! This cake actually improves with a day of rest as the flavors meld. If adding the glaze, do so just before serving for the best presentation.
Why did my condensed milk cake sink in the middle?
Sinking typically occurs from underbaking or opening the oven door too early. Ensure your oven is properly calibrated.
Is Condensed Milk Cake the same as Cheesecake?
No. While this version is styled to look like a cheesecake (using a crust and springform pan), the texture is spongy and cake-like, whereas cheesecake is creamy and custard-like.
In Conclusion
The beauty of condensed milk cake lies in its versatility. By simply adding a crust and baking it in a round pan, you transform a humble tea cake into a stunning showstopper that mimics the elegance of a New York Cheesecake.
The photo of this cake shows what appears to be a graham cracker crust, yet I didn’t see a reference to it in the instructions.