
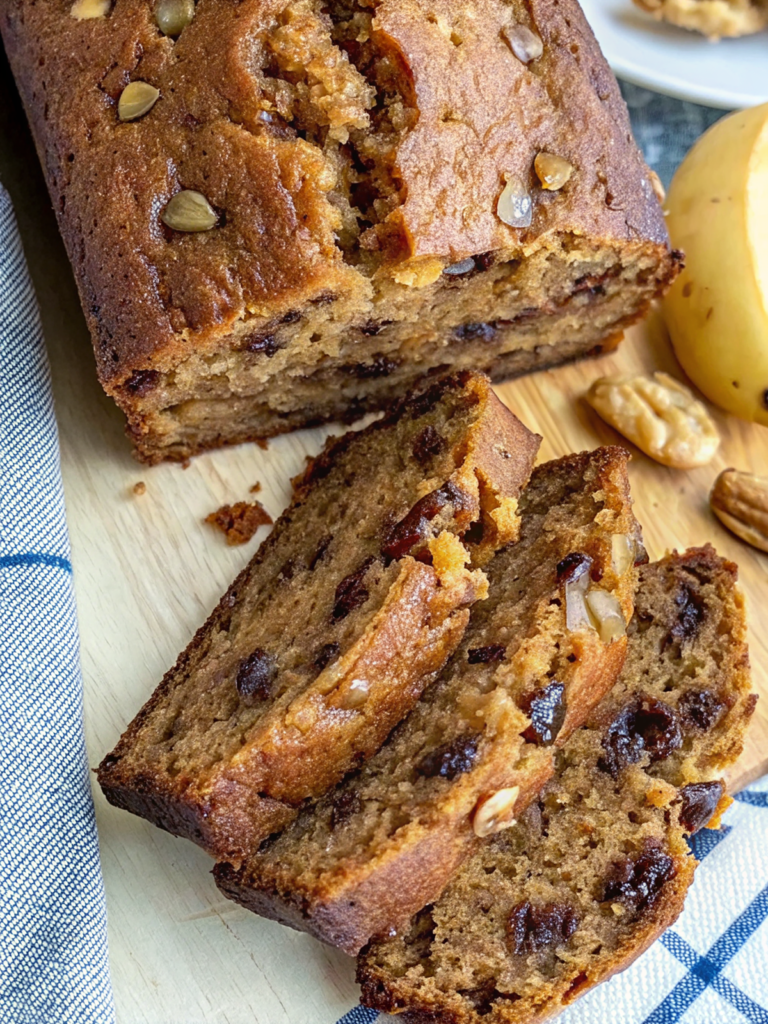
When my neighbor brought over a warm loaf of homemade bread last fall, I never expected it would completely transform my approach to baking. That first bite of her irresistible date nut bread that elevates your baking game was pure magic – tender, moist, and bursting with natural sweetness from perfectly soaked dates and crunchy nuts. The beauty of this recipe lies in its simplicity; you don’t need fancy equipment or complicated techniques to create something truly spectacular. Whether you’re a seasoned baker or someone who’s intimidated by the thought of making bread from scratch, this foolproof recipe will give you confidence and deliver bakery-quality results every single time. You’ll discover the secret to achieving that perfect texture, learn why the date-soaking method makes all the difference, and master timing tips that fit seamlessly into your busy schedule.
Why This Irresistible Date Nut Bread Matters
There’s something deeply satisfying about pulling a golden loaf from your oven, knowing you’ve created comfort from simple pantry ingredients. This irresistible date nut bread that elevates your baking game becomes your reliable go-to for unexpected guests, weekend brunches, or those moments when your family needs something special. Unlike complicated recipes that demand precision and stress, this bread forgives small mistakes and rewards you with consistent, delicious results. The natural sweetness from dates means you’re not relying heavily on processed sugar, and the nuts add protein and healthy fats that make each slice more satisfying. It’s the kind of recipe that builds confidence, creates memories, and fills your home with the most incredible aroma.
Behind the Recipe
This recipe has its roots in my grandmother’s kitchen, where she taught me that the best baking happens when you understand your ingredients rather than just follow steps. I remember watching her soak dates in hot water, explaining how this simple technique would transform tough, chewy fruit into tender, caramelized sweetness that would melt into every bite. Years later, when I was struggling to recreate that same magic in my own kitchen, I realized the secret wasn’t just in the soaking – it was in understanding how each ingredient played its part in creating something greater than the sum of its parts.
External Resources
If you’re new to quick breads, I highly recommend watching this helpful WHAT ARE QUICK BREADS? | Quick Bread Overview – YouTube for foundational techniques. You’ll also love pairing this bread with our french toast sticks for an indulgent weekend breakfast, or serve alongside our apple crisp cheesecake for a dessert spread that’ll impress any crowd. For more information about the nutritional benefits of dates, check out 8 Proven Health Benefits of Dates to understand why this ingredient makes your baking both delicious and nourishing.
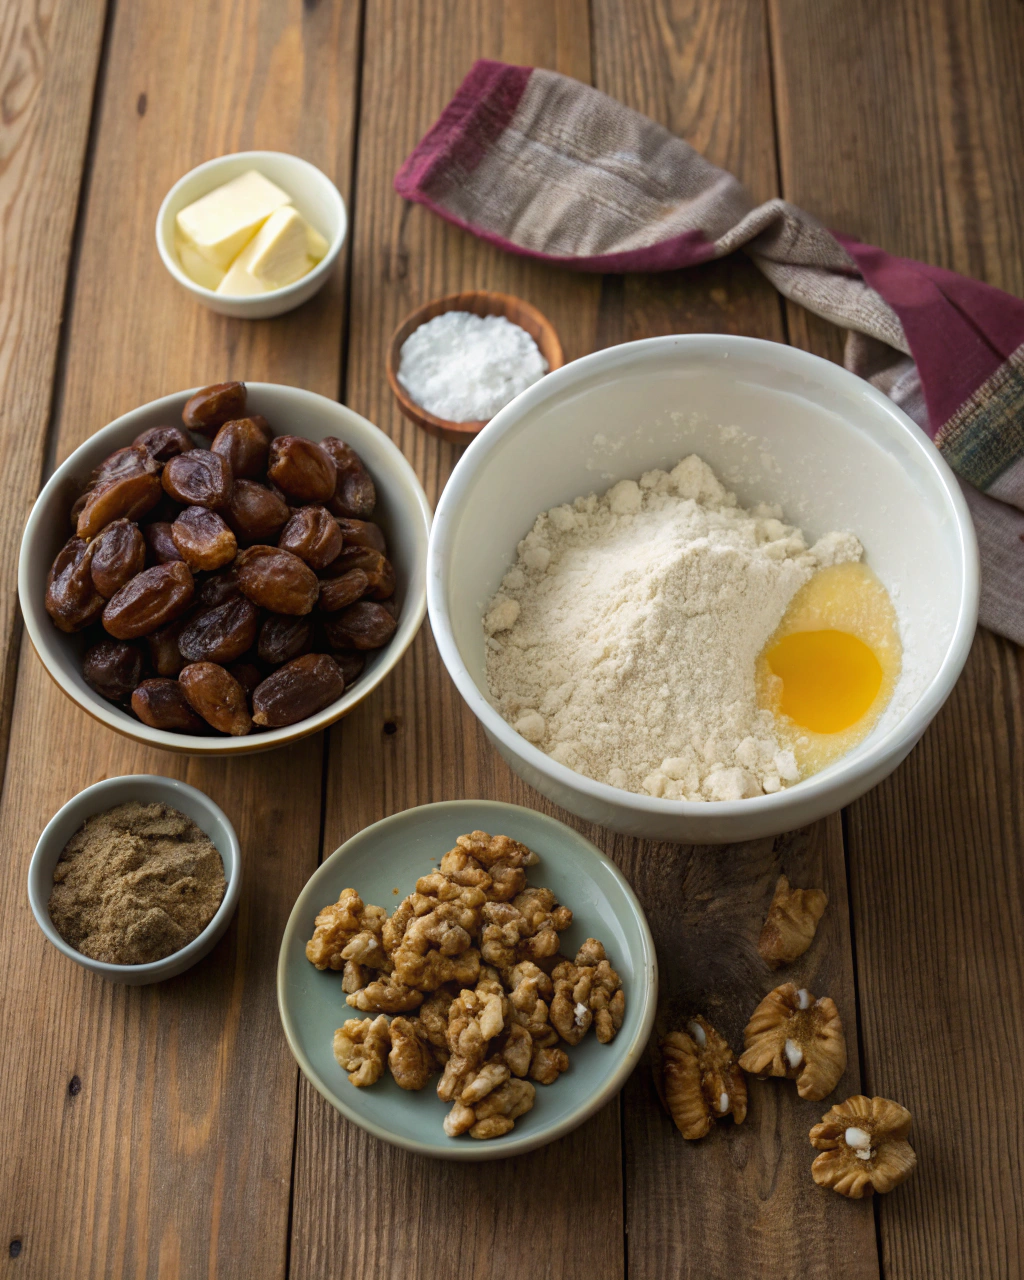
Ingredients
|
Ingredient Spotlight
The star of this irresistible date nut bread is definitely the date and baking soda combination. When baking soda meets the natural acids in dates and hot water, it creates a chemical reaction that breaks down tough fibers and releases incredible caramelized flavors. This is why we don’t skip the soaking step! The melted butter adds richness without making the bread heavy, while room temperature eggs incorporate more easily, creating that tender crumb we’re after. I always toast my nuts lightly in a dry pan before adding them – those few extra minutes of effort reward you with deeper, nuttier flavor that makes each bite more complex and satisfying.
Timing
|
Instructions
|
Tips & Tricks for Perfect Date Nut Bread
|
Recipe Variations & Substitutions
Transform this irresistible date nut bread that elevates your baking game to suit any dietary need or taste preference. For busy mornings, try the “Grab-and-Go” version by baking the batter in a muffin tin for 18-20 minutes – perfect for lunch boxes and quick breakfasts. Create a kid-friendly version by replacing nuts with mini chocolate chips and adding a teaspoon of vanilla extract. For gluten-free families, substitute the all-purpose flour with a 1:1 gluten-free baking blend and add an extra tablespoon of liquid if the batter seems too thick. My personal favorite variation includes a tablespoon of orange zest and chopped crystallized ginger for a sophisticated twist that’s perfect for holiday gifting.
Leftover & Reuse Ideas
Don’t let a single crumb of this precious bread go to waste! Day-old slices make incredible French toast – just dip in your usual egg mixture and cook until golden. Crumble stale pieces over yogurt or oatmeal for natural sweetness and crunch. I love making bread pudding with leftover pieces, adding a simple custard and baking until set. For something really special, pulse stale bread in a food processor to make sweet breadcrumbs that are amazing over ice cream or mixed into cookie dough for extra texture.
Pairing Ideas
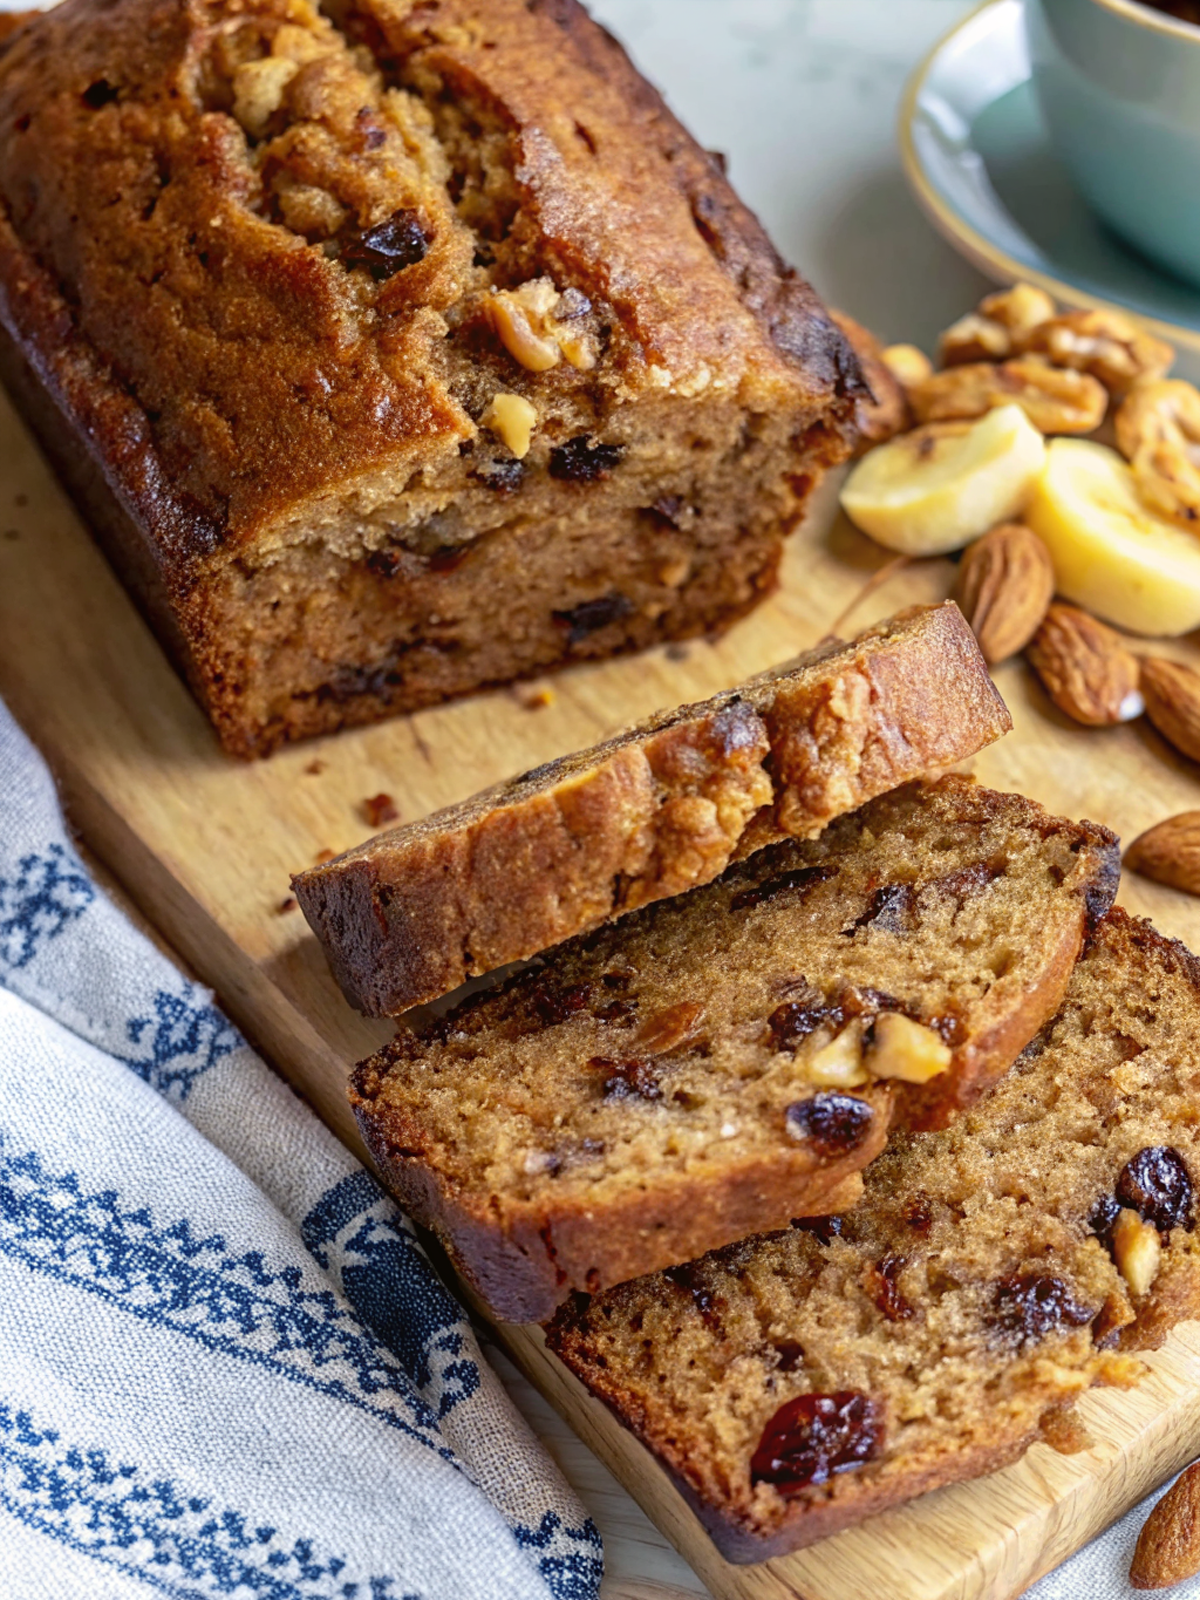
This rich, naturally sweet bread pairs beautifully with simple, refreshing accompaniments. Serve warm slices with a glass of cold milk or hot coffee for classic comfort. Fresh fruit like sliced pears or apples provides a lovely contrast to the bread’s density. For special occasions, try it with a dollop of Greek yogurt drizzled with honey, or spread with cream cheese for an indulgent treat. Herbal teas, especially chamomile or orange spice, complement the warm flavors perfectly without competing with the bread’s natural sweetness.
Serving Suggestions
Present this beautiful bread with pride by slicing it about ¾-inch thick – thick enough to showcase the gorgeous distribution of dates and nuts, but not so thick it becomes overwhelming. For casual family meals, serve directly from the cutting board with butter alongside. When entertaining, arrange slices on a wooden board with small bowls of honey, jam, or nut butter for guests to customize their experience. The bread looks stunning when garnished with a few whole dates and nuts scattered around the serving plate.
Nutritional Information
Per slice (based on 10 servings): Approximately 285 calories, 6g protein, 52g carbohydrates, 8g fat, 3g fiber, 2g saturated fat, 25mg cholesterol, 180mg sodium. This bread provides natural energy from dates, healthy fats from nuts, and moderate protein to help keep you satisfied.
Common Mistakes to Avoid
The most frequent mistake I see is rushing the date soaking process – those dates need time to soften completely for the best texture. Don’t worry if your first attempt isn’t perfect; baking is about learning! Another common issue is overmixing once the flour is added, which creates tough, dense bread instead of the tender crumb we want. If your bread turns out too dry, it’s usually because the dates weren’t soaked long enough or the oven temperature was too high. Remember, every oven is different, so trust your toothpick test over the timer. If the top browns too quickly, tent it with foil for the remaining baking time.
Storage & Reheating Tips
Store your cooled bread wrapped tightly in plastic wrap or in an airtight container at room temperature for up to 4 days. For longer storage, wrap individual slices in plastic and freeze for up to 3 months – they thaw beautifully at room temperature or can be toasted directly from frozen. To refresh day-old bread, warm slices in a 300°F oven for 5-7 minutes, or toast lightly for a slightly crispy exterior. The bread actually improves in flavor after the first day as the ingredients have time to meld together.
- Can I make this irresistible date nut bread gluten-free?
- Absolutely! Substitute the all-purpose flour with your favorite 1:1 gluten-free baking blend. You may need to add an extra tablespoon of liquid if the batter seems too thick, and the baking time might increase by 5-10 minutes.
- Is this date nut bread kid-friendly?
- Yes! Kids love the natural sweetness from dates, and you can easily customize it by replacing nuts with mini chocolate chips if there are nut allergies. The bread is also perfect for lunchboxes when baked as muffins.
- How do I know if my irresistible date nut bread is properly baked?
- Insert a toothpick slightly off-center – it should come out with just a few moist crumbs attached. The top should be golden brown and spring back lightly when touched. If the toothpick comes out completely clean, you may have slightly overbaked it.
- Can I prepare this irresistible date nut bread ahead of time?
- Definitely! The bread actually tastes better the next day as flavors develop. You can also prepare the batter the night before and bake it fresh in the morning, or freeze the baked loaf for up to 3 months.
- What’s the best way to chop dates for this bread recipe?
- Use kitchen shears or a knife lightly coated with cooking spray to prevent sticking. Cut dates into roughly ¼-inch pieces – they’ll break down slightly during soaking, so don’t worry about perfect uniformity.
FAQs
Conclusion
This irresistible date nut bread that elevates your baking game proves that the most memorable recipes are often the simplest ones. You’ve learned the secret to perfectly tender dates, discovered why proper mixing technique matters, and gained confidence to create bakery-quality results in your own kitchen. The beauty of this recipe lies not just in its delicious outcome, but in its forgiving nature that welcomes both beginners and experienced bakers alike. Whether you’re sharing warm slices with family on a quiet Sunday morning or gifting a wrapped loaf to a neighbor, you’re creating moments of comfort and connection that extend far beyond the kitchen.
Made these irresistible date nut bread? Drop your twist in the comments, rate the recipe, and tag us on facebook, instagram with #erinrecipes — we might feature your creation!

Irresistible Date Nut Bread That Elevates Your Baking Game
Ingredients
Instructions
- Preheat Oven: Preheat oven to 325°F (160°C). Grease a 4x8" loaf pan.
- Prepare Date Mixture: Combine dates and baking soda in bowl, pour boiling water over mixture. Let cool.
- Mix Wet Ingredients: Blend melted butter and sugar until combined. Add egg and mix until smooth.
- Combine Liquids: Strain date water into mixing bowl (discard sediment). Stir to combine.
- Add Flour: Gradually add flour, mixing until just combined.
- Fold in Dates and Nuts: Fold in soaked dates and nuts.
- Bake: Pour batter into pan and bake 55-60 minutes (toothpick test).
- Cool: Cool in pan 10 minutes before transferring to wire rack.