
Did you know that 93% of consumers eat with their eyes first, making visual presentation the most crucial factor in food satisfaction? When it comes to creating a quick homemade chocolate bread that commands attention, the secret lies not just in flavor but in crafting a masterpiece that stops conversation mid-sentence. This isn’t just about baking bread—it’s about creating an edible work of art that showcases deep chocolate tones, glossy ganache cascades, and perfectly balanced proportions. As a food stylist, I’ve discovered that the most memorable dishes are those that tell a visual story, and this quick homemade chocolate bread does exactly that. You’ll learn professional plating techniques, color theory applications, and styling secrets that transform a simple loaf into a show-stopping centerpiece worthy of any Instagram feed or dinner table.
Why Quick Homemade Chocolate Bread Visual Appeal Matters
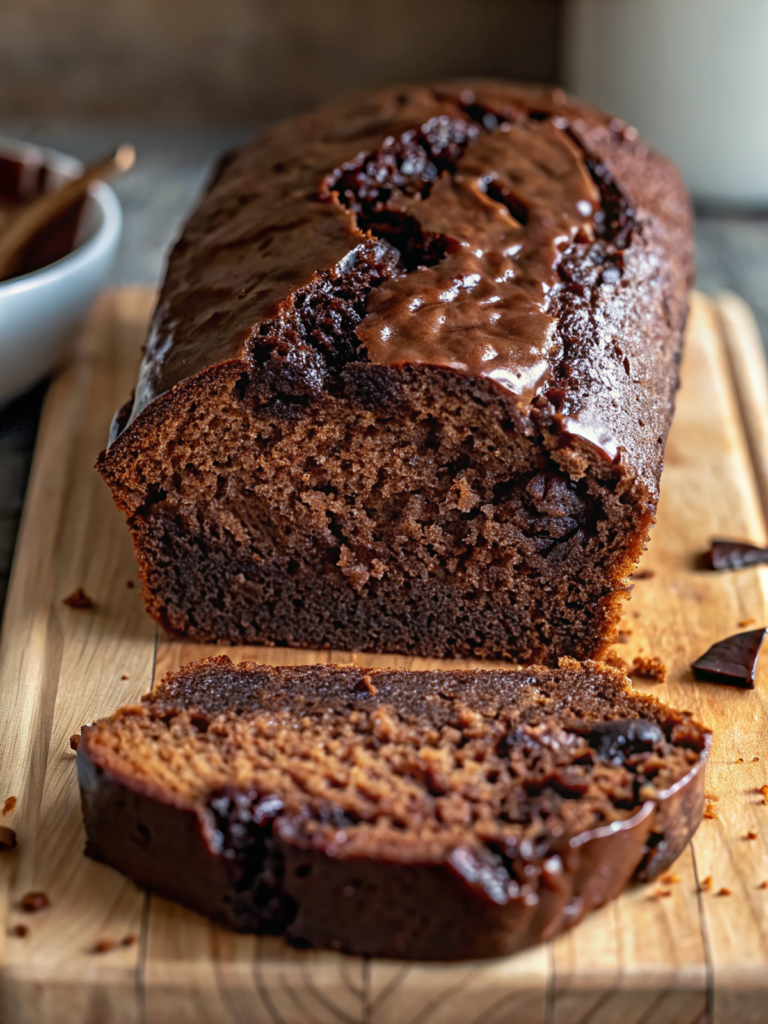
The visual presentation of quick homemade chocolate bread elevates the entire eating experience from ordinary to extraordinary. When chocolate bread displays rich, velvety textures contrasted against glossy ganache drizzles, it creates anticipation that enhances flavor perception. The deep mahogany crumb structure, punctuated by scattered chocolate chip jewels, tells a story of indulgence before the first bite. Professional styling techniques ensure your bread photograph beautifully and creates lasting memories for those who experience it.
External Resources
For additional bread-making inspiration, explore our French Toast Sticks for breakfast presentation ideas, and discover creative plating techniques in our Easy Chocolate Crescents guide. Professional bakers also recommend checking Sugar Geek Show’s fast bread techniques and exploring Dandelion Chocolate’s baking essentials for premium ingredient sourcing.
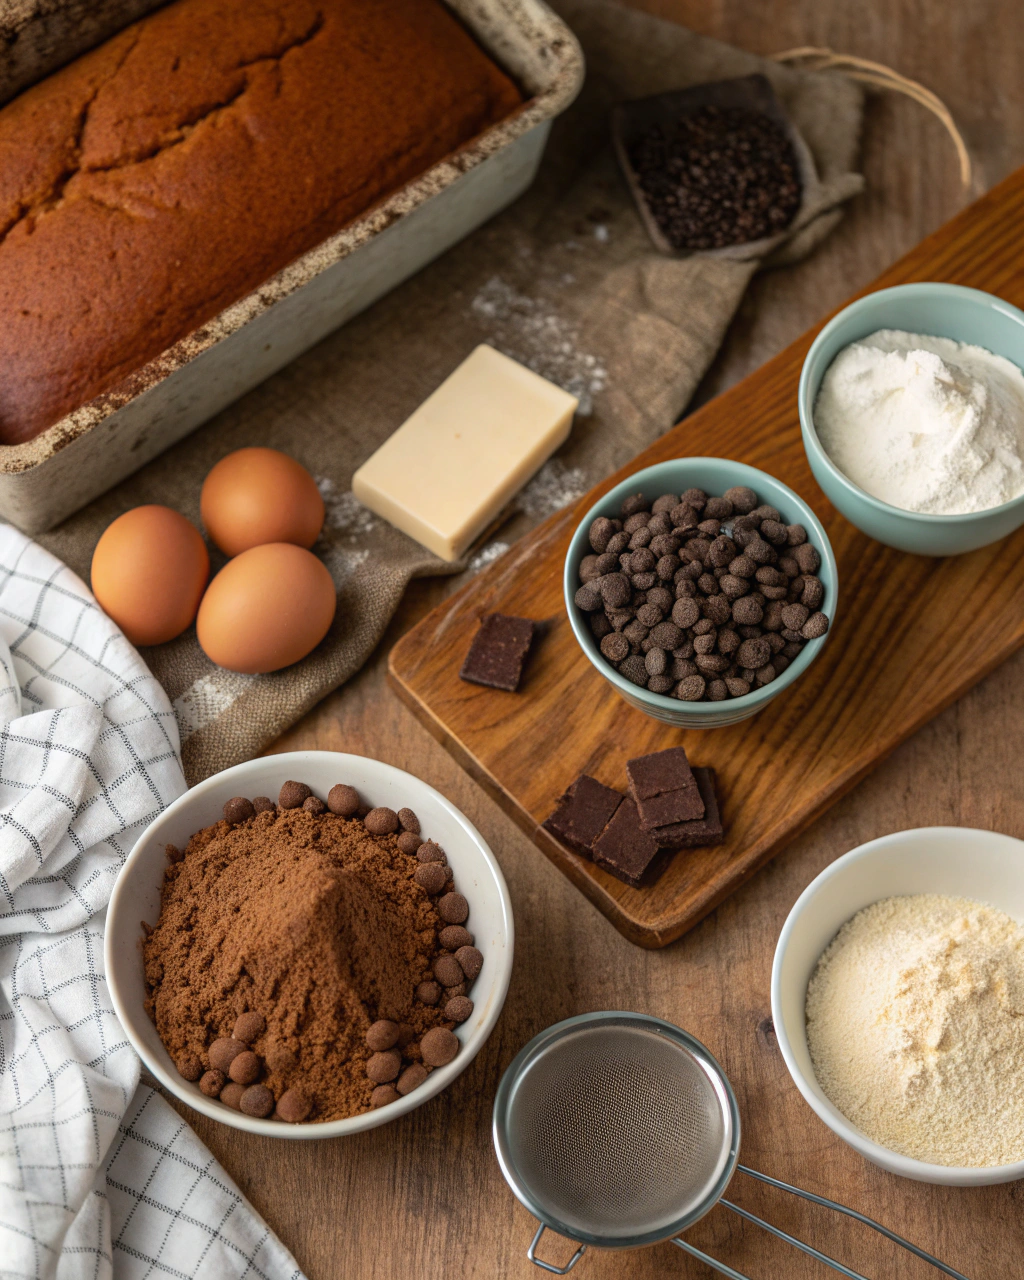
Ingredients
|
Ingredient Spotlight
The unsweetened cocoa powder serves as our primary color architect, creating those coveted deep chocolate tones that photograph beautifully under any lighting. The semisweet chocolate chips function as textural contrast points, creating visual interest and preventing monotonous color fields. Heavy cream in the ganache provides the mirror-like finish that catches light dramatically, while buttermilk ensures the crumb structure photographs with appealing density rather than appearing dry or crumbly.
Timing
|
Instructions
|
Behind the Recipe
The inspiration for this quick homemade chocolate bread came from observing how light plays across different chocolate surfaces in professional photography. I wanted to create a recipe that naturally produced those coveted visual elements: the matte richness of cocoa-laden crumb contrasted against glossy ganache rivers, punctuated by the geometric randomness of chocolate chip placement. The color palette draws from classic chiaroscuro techniques—deep shadows and bright highlights that create drama and depth in every slice.
Tips & Tricks for Perfect Quick Homemade Chocolate Bread
|
Recipe Variations & Substitutions
High Contrast Plating Option: Add white chocolate chips alongside dark chips for dramatic color contrast. Textural Twist: Incorporate chopped toasted nuts for added visual and textural interest. Gluten-Free Version: Substitute almond flour for 1/2 cup of all-purpose flour for nutty complexity. Vegan Adaptation: Replace eggs with flax eggs and buttermilk with plant-based alternatives while maintaining the rich color profile.
Pairing Ideas
Serve this quick homemade chocolate bread on white or cream-colored plates to maximize color contrast. Pair with golden chamomile tea or rich hot chocolate in clear glass mugs to complement the chocolate tones. Fresh berries provide vibrant red color pops, while a dusting of powdered sugar creates elegant white highlights. Consider serving on dark slate boards for dramatic presentation or rustic wood surfaces for warm, homey appeal.
Nutritional Information
Per slice: Approximately 285 calories, 12g fat, 42g carbohydrates, 5g protein, 3g fiber. Contains dairy, eggs, and gluten.
Leftover & Reuse Ideas
Transform day-old slices into elegant bread pudding with chocolate sauce. Cube and toast for gourmet chocolate croutons. Slice thinly for chocolate bread crostini topped with fresh fruit. Crumble for ice cream topping or blend into chocolate breadcrumb coating for other desserts.
Serving Suggestions
Present your quick homemade chocolate bread as the centerpiece it deserves to be. Slice with confident, clean cuts to showcase the beautiful interior crumb structure. Arrange slices in a gentle fan pattern on a large white platter, allowing the ganache drizzles to create natural leading lines. Garnish strategically with fresh mint leaves for color contrast, or scatter a few extra chocolate chips around the plate for cohesive styling. For individual servings, place each slice slightly off-center on the plate, drizzle additional ganache in an artistic pattern, and add a small dollop of whipped cream or a single fresh strawberry for height variation. The key is restraint—let the bread’s natural beauty speak while adding just enough elements to create visual interest without overwhelming the star of the show.
Storage & Reheating Tips
Wrap cooled bread tightly in plastic wrap to maintain moisture and prevent the ganache from dulling. Store at room temperature for up to 3 days or refrigerate for up to one week. For reheating, warm individual slices in a 300°F oven for 5-7 minutes to restore the fresh-baked texture while preserving the ganache finish.
Common Mistakes to Avoid
Avoid overmixing the batter, which creates tough texture that photographs poorly and lacks the tender crumb structure we desire. Don’t apply ganache to warm bread—this causes melting and muddy appearance instead of clean, glossy drizzles. Prevent color fading by avoiding direct sunlight during photography or serving. Skip cutting the bread too soon after baking, as this creates crumbly, uneven slices that lack visual appeal. Never use old cocoa powder, which appears dull and lifeless compared to fresh powder’s rich, vibrant color.
- Are Quick Homemade Chocolate Bread slices freezer-friendly?
- Yes, wrap individual slices in plastic wrap and freeze for up to 3 months. Thaw at room temperature and refresh the ganache if needed.
- Can I make Quick Homemade Chocolate Bread without chocolate chips?
- Absolutely, though you’ll lose the textural contrast points. Consider adding chopped nuts or dried fruit for visual interest.
- How do I achieve the glossiest ganache for my Quick Homemade Chocolate Bread?
- Use room temperature cream and high-quality chocolate chips. Stir gently to avoid incorporating air bubbles that dull the finish.
- Is Quick Homemade Chocolate Bread suitable for special occasions?
- Definitely! The elegant appearance and rich flavor make it perfect for dinner parties, holidays, or any celebration requiring impressive presentation.
- What’s the secret to even chocolate chip distribution in Quick Homemade Chocolate Bread?
- Toss chocolate chips in a light coating of flour before folding into batter. This prevents sinking and ensures even distribution throughout each slice.
Conclusion
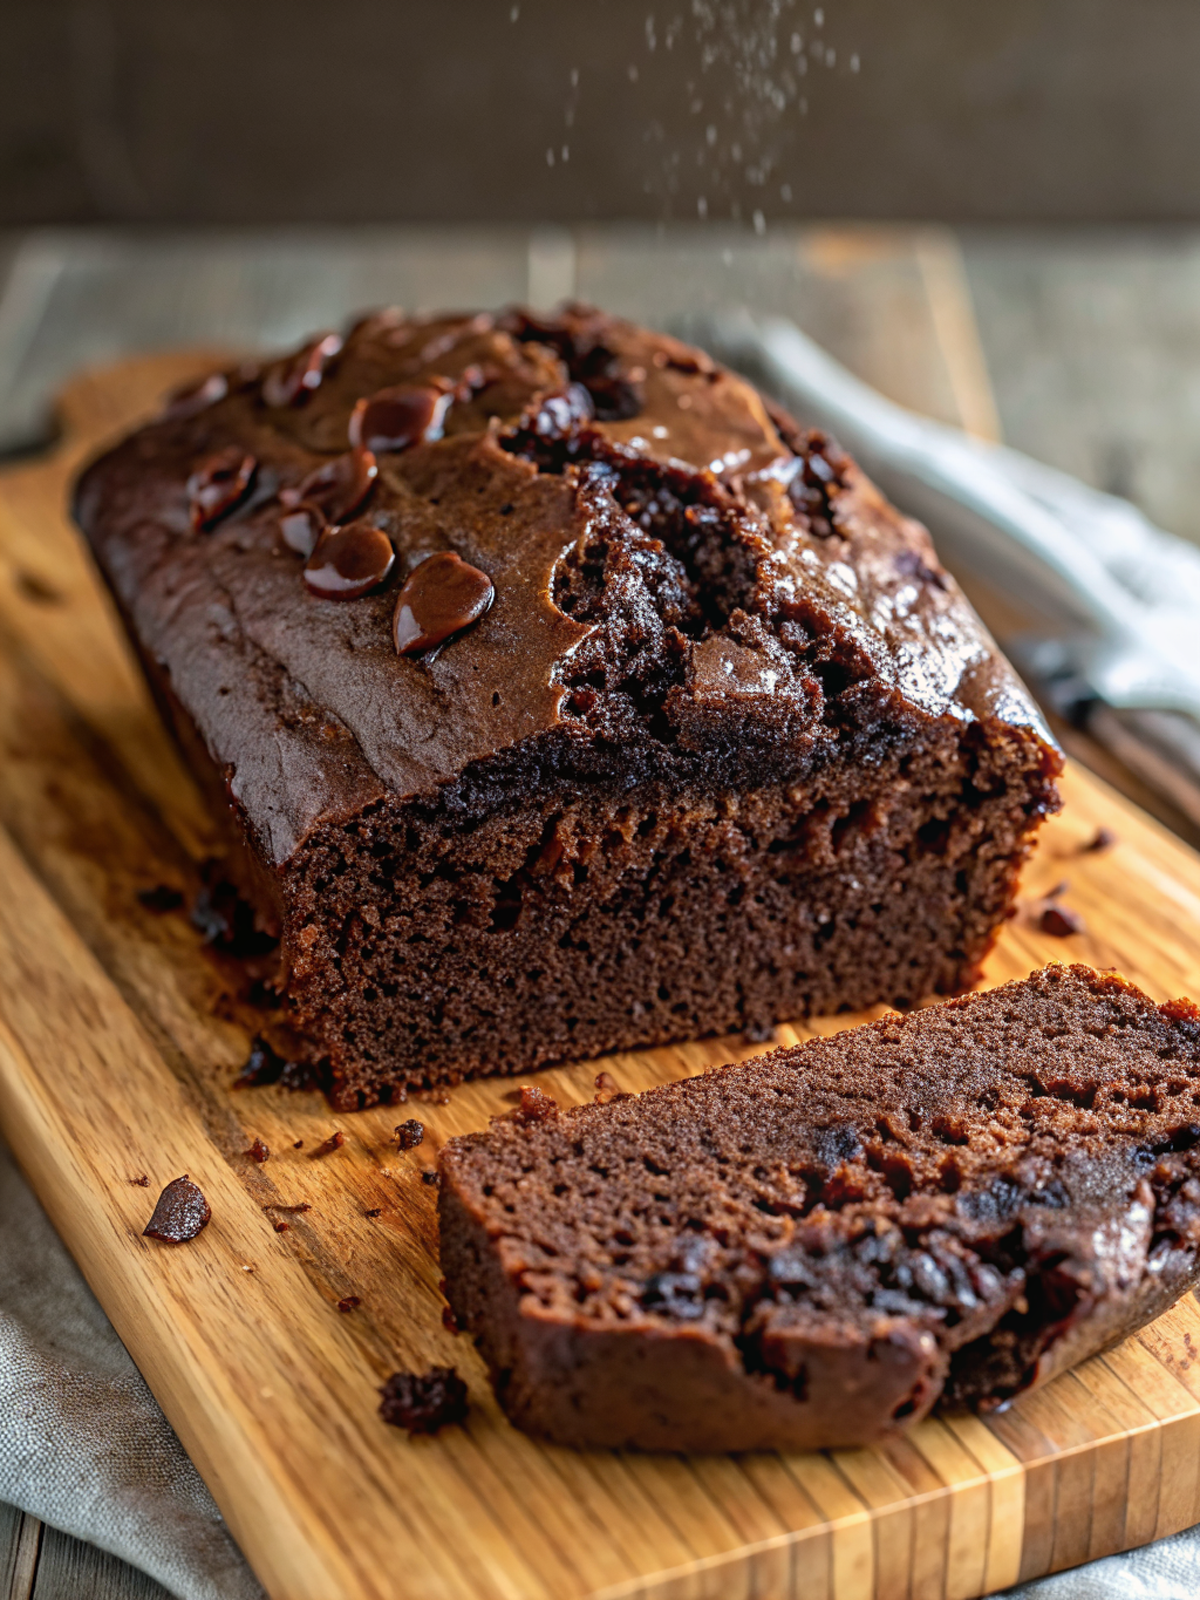
This quick homemade chocolate bread proves that exceptional visual appeal and incredible flavor can coexist in perfect harmony. From the rich, mahogany crumb studded with chocolate chip jewels to the mirror-like ganache finish, every element works together to create a truly memorable experience. The professional techniques shared here ensure your bread will photograph beautifully and impress every guest who experiences it.
Made these Quick Homemade Chocolate Bread? Drop your twist in the comments, rate the recipe, and tag us on facebook, instagram with #erinrecipes — we might feature your creation!

Quick Homemade Chocolate Bread – Rich & Visually Stunning
Ingredients
Instructions
- Prepare Pan & Preheat: Grease and flour a 9x5-inch loaf pan. Preheat oven to 350°F.
- Mix Dry Ingredients: Whisk dry ingredients (cocoa, flour, sugar, baking powder, baking soda, salt) in a large bowl.
- Combine Wet Ingredients: Add eggs, buttermilk, oil, and vanilla to dry mixture. Stir until smooth.
- Fold Chocolate Chips: Fold in 1/2 cup chocolate chips.
- Bake Bread: Pour batter into pan. Bake 1 hour until toothpick comes out clean.
- Cool Bread: Cool in pan 10 minutes, then transfer to rack.
- Make Ganache: For ganache: Simmer cream, pour over 1/4 cup chocolate chips. Stir until smooth. Drizzle over cooled bread.