
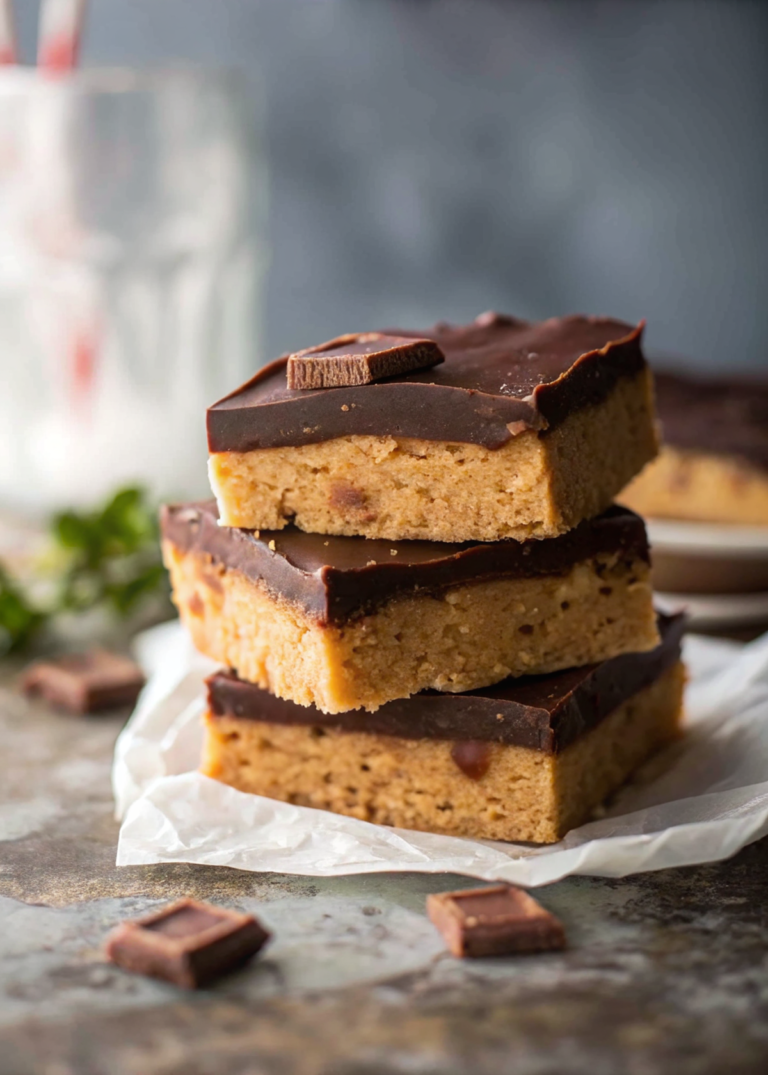
There’s something magical about the combination of chocolate and peanut butter that instantly transports me back to childhood afternoons spent in my grandmother’s kitchen. These Chocolate Peanut Butter Bars became my go-to dessert when I needed something impressive but didn’t have hours to spend baking. With just 15 minutes of prep time and no oven required, these bars deliver that perfect balance of creamy peanut butter and rich chocolate that makes everyone ask for the recipe. Whether you’re dealing with a last-minute potluck request or simply craving a sweet treat that won’t heat up your kitchen, these no-bake bars are your answer to effortless indulgence.
Why Chocolate Peanut Butter Bars Matter
In our busy lives, we all need that one reliable dessert recipe that never fails to impress without demanding perfection. These Chocolate Peanut Butter Bars represent everything we love about comfort food – they’re familiar, satisfying, and bring people together. The beauty lies in their simplicity: no temperamental ovens, no precise timing, just straightforward mixing and setting. They’re the kind of dessert that turns a regular Tuesday into something special, and they’re sturdy enough to travel to any gathering while still feeling homemade and loved.
Behind the Recipe
This recipe came to me during one of those sweltering summer days when turning on the oven felt like pure torture. My neighbor had invited us to a backyard barbecue, and I desperately needed something to contribute. Rummaging through my pantry, I discovered I had everything needed for these bars – it was like the dessert gods were smiling down on me! The combination of crushed crackers creating that perfect crumbly base, smooth peanut butter binding everything together, and that glossy chocolate topping was pure genius.
When searching for the perfect no-bake dessert inspiration, I found some wonderful ideas at The Best No-Bake Dessert Recipes – Hungry Blonde, and the community discussions at What’s your best dessert that highlights peanut butter? – Reddit really highlighted how beloved this flavor combination is. For more sweet treats that require minimal effort, you might also enjoy our No-Bake Chocolate Chip Cookie Dough Bars or our Christmas Fudge Recipe for year-round indulgence.
Ingredients
|
Ingredient Spotlight
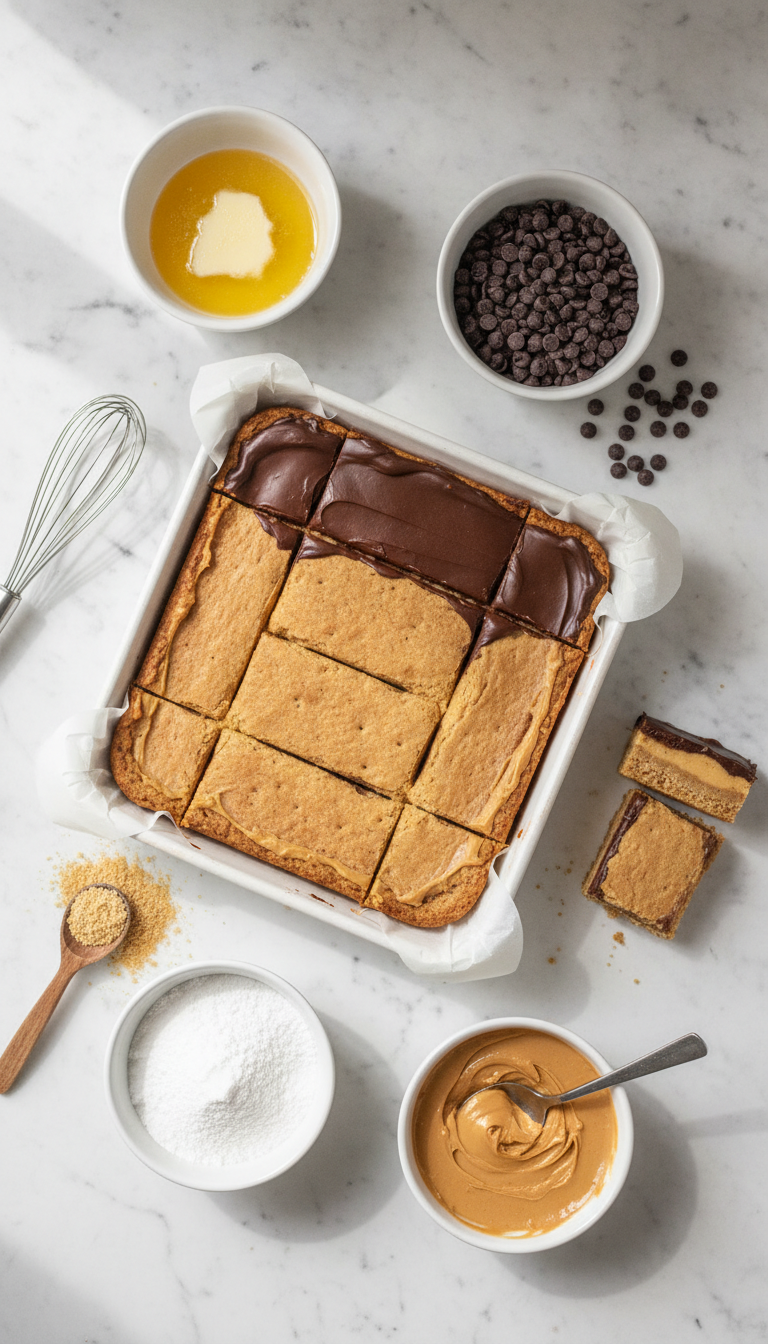
The magic in these Chocolate Peanut Butter Bars lies in understanding each ingredient’s role. The melted butter acts as our binding agent, creating that perfect cohesive base that won’t crumble when cut. Those crushed crackers aren’t just filler – they provide the essential texture contrast that makes each bite interesting. The powdered sugar dissolves beautifully into the mixture, creating sweetness without any grittiness. Quality peanut butter makes all the difference here; choose one that’s smooth and creamy rather than natural varieties that might separate. For the chocolate topping, melting chocolate chips create that gorgeous glossy finish that looks bakery-professional, while that extra dollop of peanut butter swirled through adds visual appeal and extra flavor depth.
Timing
|
These bars are actually 20% faster to prepare than traditional baked versions, and the hands-on time is minimal – perfect for busy weeknight dessert emergencies!
Instructions
|
Tips & Tricks for Perfect Chocolate Peanut Butter Bars
|
Recipe Variations & Substitutions
The beauty of these Chocolate Peanut Butter Bars lies in their adaptability. For a kid-friendly version, try using milk chocolate instead of dark chocolate – it’s sweeter and more approachable for little palates. Busy cooks can substitute store-bought graham cracker crumbs for the crushed crackers to save time. For those avoiding gluten, crushed gluten-free pretzels work wonderfully and add a delightful salty crunch. You can also create a more sophisticated version by adding a pinch of sea salt to the chocolate topping or incorporating chopped roasted peanuts into the base for extra texture and flavor depth.
Leftover & Reuse Ideas
These bars keep beautifully for up to 5 days in an airtight container, making them perfect for meal prep desserts. Crumble leftover bars over vanilla ice cream for an instant sundae, or chop them up and fold into homemade cookie dough for loaded chocolate chip cookies. You can also pulse them in a food processor to create a delicious pie crust base for cheesecakes or cream pies. For a fun twist, dip leftover bar pieces in melted white chocolate for an elegant two-tone treat.
Pairing Ideas
These rich bars pair beautifully with a tall glass of cold milk or a steaming cup of coffee. For special occasions, serve alongside fresh strawberries or a dollop of whipped cream to cut through the richness. A scoop of vanilla ice cream transforms these into an elevated dessert, while a drizzle of caramel sauce adds an extra layer of indulgence. For casual gatherings, they’re perfect with lemonade or iced tea on the patio.
Serving Suggestions
Present these bars on a simple white platter to let their beautiful chocolate topping shine. Cut them into perfect squares and dust lightly with powdered sugar for an elegant finish. For parties, consider cutting them into smaller bite-sized pieces and placing them in mini cupcake liners. They look stunning arranged on a tiered serving stand mixed with other no-bake treats, and they’re sturdy enough to pack for picnics or potlucks without losing their shape.
Nutritional Information
Each bar contains approximately 285 calories, with 18g fat, 28g carbohydrates, and 6g protein. These treats provide a good source of healthy fats from the peanut butter and satisfy sweet cravings with their rich chocolate content. While they’re an indulgent treat, the peanut butter adds protein and the portion size is perfectly satisfying without being overwhelming.
Common Mistakes to Avoid
Don’t rush the setting time – bars that haven’t properly chilled will be messy to cut and won’t hold their shape. I learned this the hard way at my first potluck! Avoid using natural peanut butter, as the oil separation can make your base too greasy. When melting chocolate, never use high heat or you’ll end up with seized, grainy chocolate that won’t spread smoothly. Remember, patience is your friend here – let those bars set completely, and you’ll be rewarded with perfect, professional-looking squares that cut cleanly every time.
Storage & Reheating Tips
Store these Chocolate Peanut Butter Bars in an airtight container at room temperature for up to 5 days, or refrigerate for up to a week. If your kitchen runs warm, refrigeration is best to maintain that perfect texture. For longer storage, wrap individual bars in plastic wrap and freeze for up to 3 months. When ready to enjoy, simply thaw at room temperature for 30 minutes. There’s no need to reheat these bars – they’re designed to be enjoyed at room temperature when the flavors and textures are at their absolute peak.
- Are Chocolate Peanut Butter Bars gluten-free?
- Traditional versions use graham crackers which contain gluten, but you can easily make them gluten-free by substituting crushed gluten-free cookies or pretzels for the cracker base.
- Can I make Chocolate Peanut Butter Bars ahead of time?
- Absolutely! These bars actually improve in flavor after sitting overnight. Make them up to 3 days in advance and store covered at room temperature or refrigerated.
- Why are my Chocolate Peanut Butter Bars too soft?
- This usually happens when the bars haven’t chilled long enough or if the base wasn’t pressed firmly enough. Make sure to refrigerate for the full 1.5 hours and press the base mixture very firmly into the pan.
- Can I use crunchy peanut butter in Chocolate Peanut Butter Bars?
- While smooth peanut butter creates the best texture, you can use crunchy if you prefer more texture. The bars will be slightly more crumbly but still delicious.
- How do I get clean cuts on my Chocolate Peanut Butter Bars?
- Let the bars sit at room temperature for 5 minutes before cutting, use a sharp knife, and wipe the blade clean between cuts. This prevents the chocolate from cracking and ensures beautiful presentation.
Conclusion
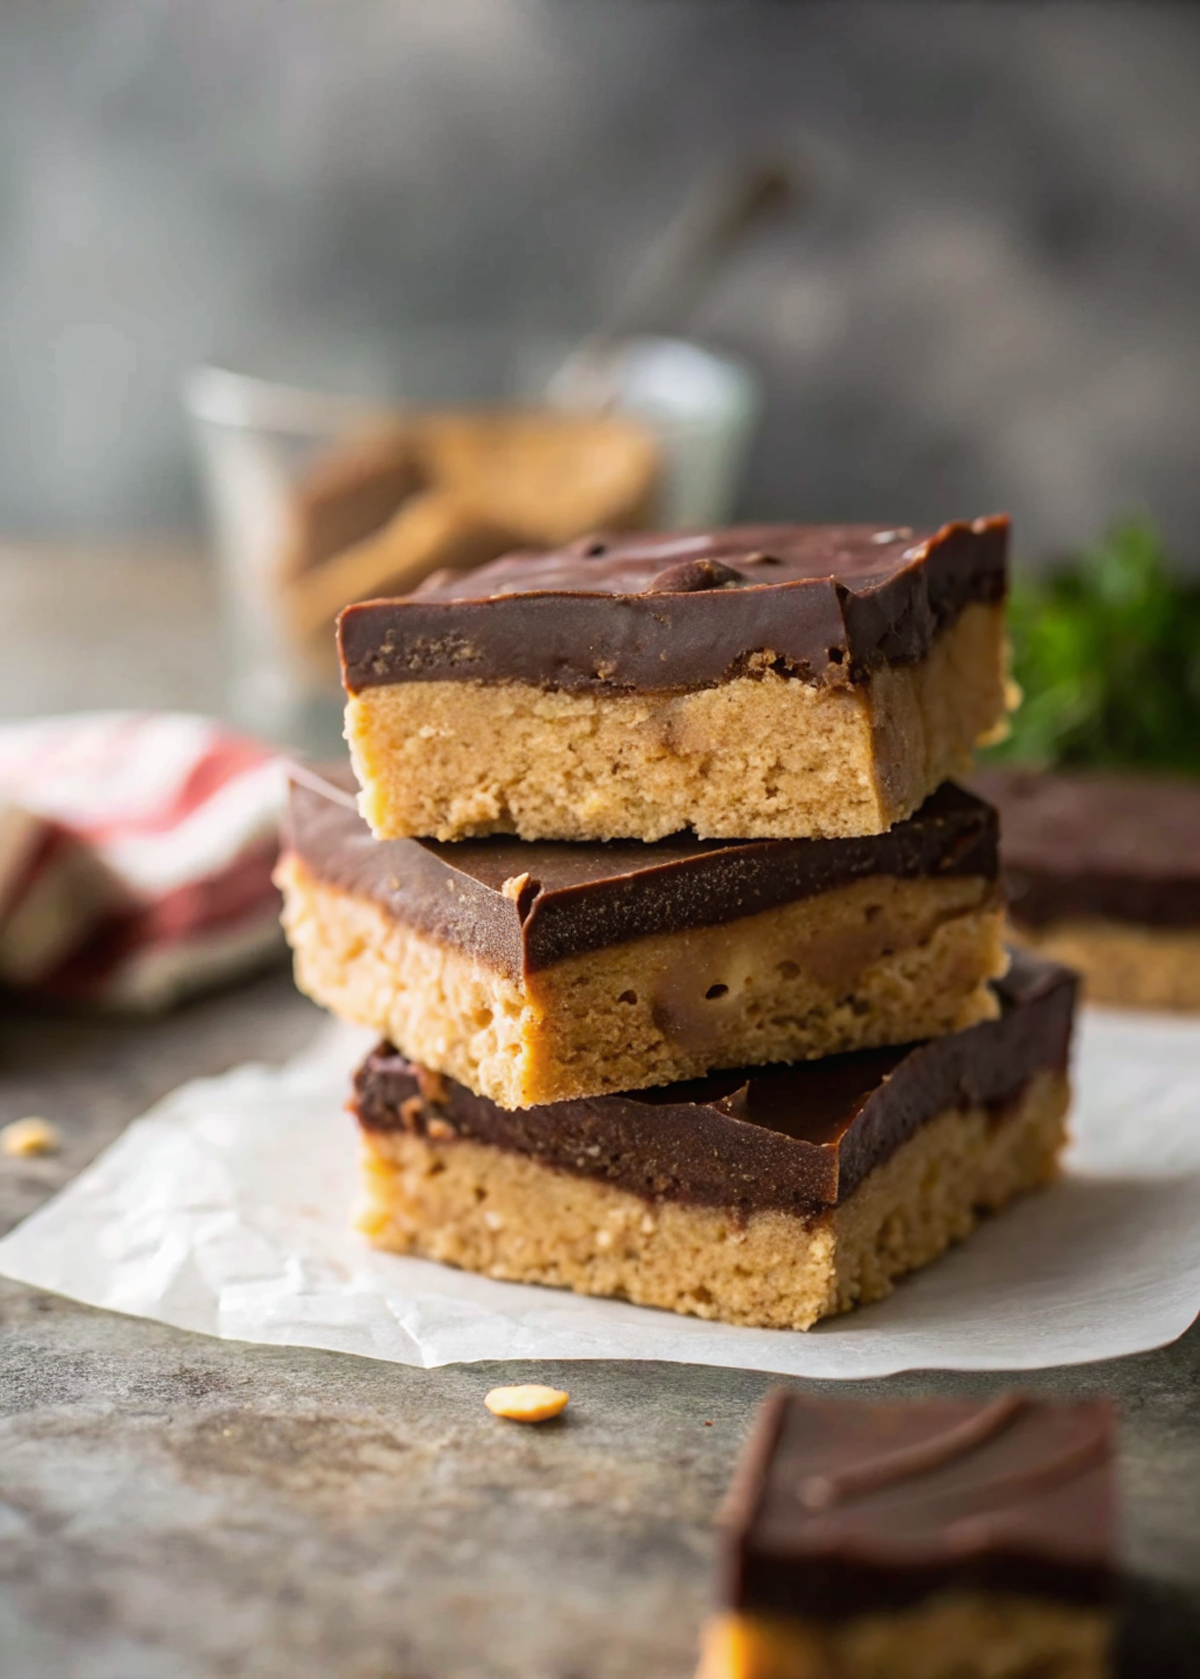
These Chocolate Peanut Butter Bars prove that the best desserts don’t always require the most complicated techniques. With their rich, satisfying flavor and foolproof no-bake method, they’ve become my reliable go-to for everything from casual family dinners to special celebrations. The combination of that crumbly, sweet base and glossy chocolate topping creates a treat that looks bakery-professional but requires only basic pantry ingredients and minimal time. Whether you’re a beginner baker or a seasoned pro looking for something quick and delicious, these bars deliver every single time.
Made these Chocolate Peanut Butter Bars? Drop your twist in the comments, rate the recipe, and tag us on facebook, instagram with #erinrecipes — we might feature your creation!
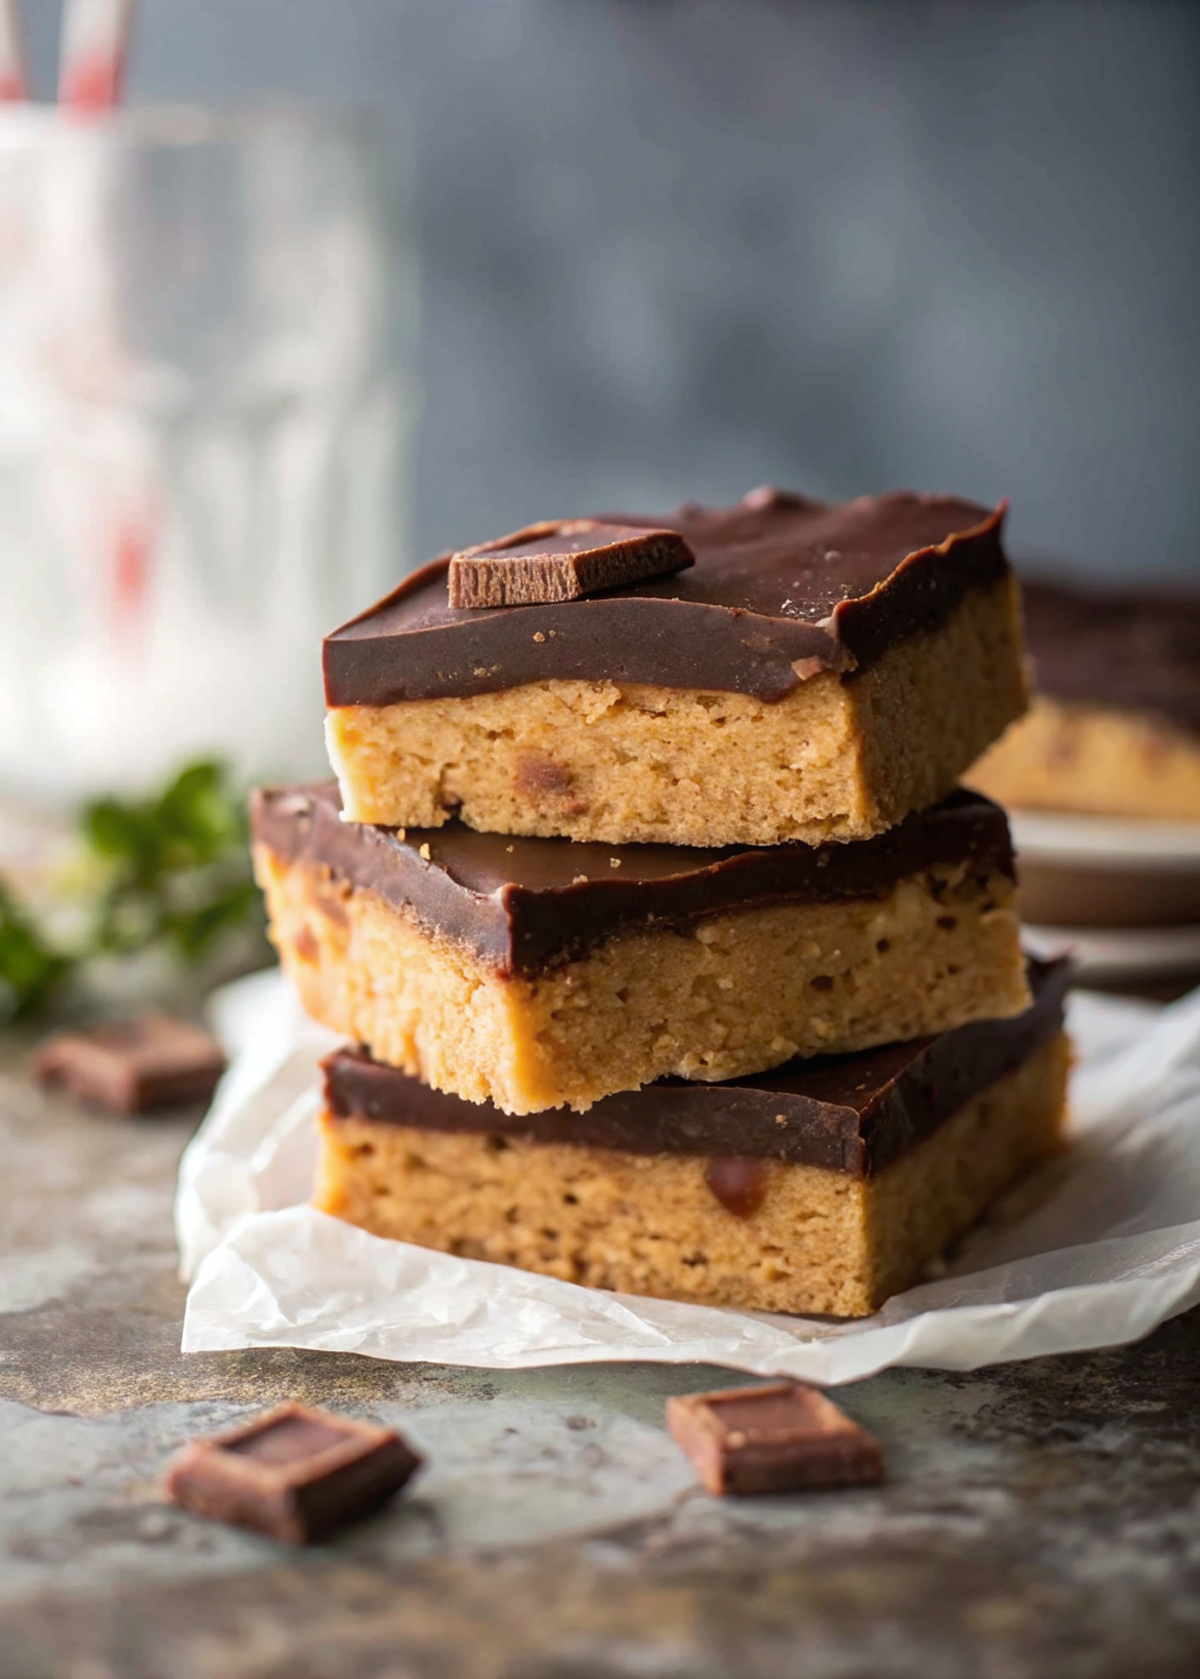
No-Bake Chocolate Peanut Butter Bars Recipe – Easy 15-Min Treat
Ingredients
Instructions
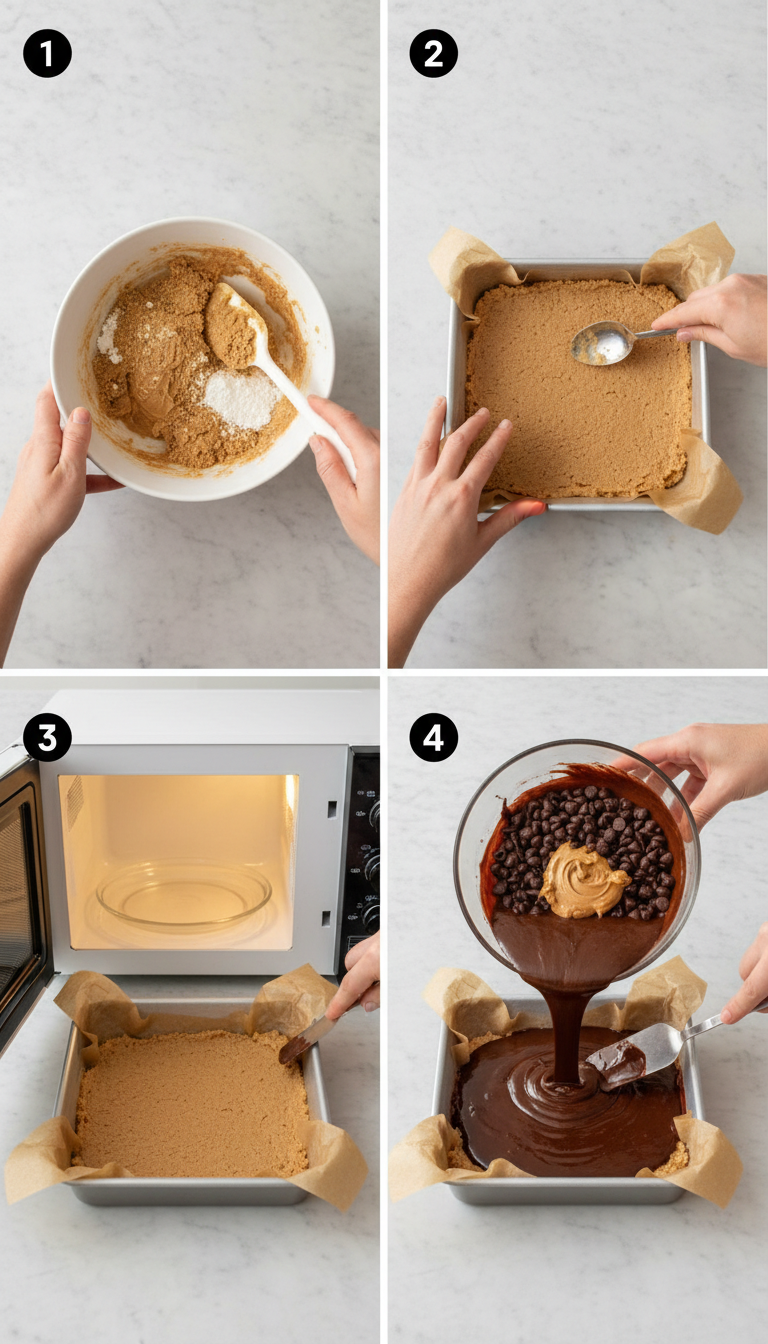
- Prepare Pan: Butter and line an 8″ / 20cm square dish or pan with baking paper.
- Make and Press Base: Place the Base ingredients (melted butter, crushed crackers, icing sugar, 3/4 cup peanut butter) in a bowl and mix until combined. Press firmly into the prepared pan.
- Prepare and Spread Topping: Melt the Topping ingredients (1 cup dark chocolate chips, 2 tbsp peanut butter) – (I do it in the microwave in 2 x 30 second bursts). Pour and spread over the Base – smooth the top or do swirls (see photos for examples of each).
- Chill Until Set: Refrigerate until set – about 1 1/2 hours.
- Cut and Serve: Remove from fridge, allow to come to room temp slightly (so top cuts neatly). Cut into 16 squares (or whatever shape you want!). Best served at room temperature.
Notes:
1. Biscuits – If you are in the UK, Digestives are great for this recipe. Otherwise, any other plain sweet crisp biscuit (i.e. not a soft biscuit with filling) should work fine – the base has peanut butter as the glue so it’s a more flexible recipe than, for example, cheesecake bases. You could even try biscuits like oatmeal or chocolate chip biscuits! To make the crumbs, you can use a food processor or pop them in a ziplock bag and use a rolling pin or can to bash them.
2. Chocolate – Make sure you use chocolate for cooking/baking, not the eating kind! And if your store sells many types of chocolate chips, get the MELTING chocolate chips (as opposed to the ones that hold their shape in cookies / muffins etc) as they melt easier and smoother. This can be made with milk or dark chocolate. I use dark – not the expensive kind with a high cocoa %, just normal dark chocolate chips.
3. Storage – keeps very well, around 5 days in an airtight container. If it’s super hot where you are, fridge is best but serve at room temperature.
4. Gluten Free option: A reader reported that she used 1 1/2 cups of gluten free pretzels for the base and it worked out great! And a friend of mine has made this with gluten free plain sweet biscuits purchased from the supermarket and said she couldn’t tell the difference in the taste or texture.