Introduction
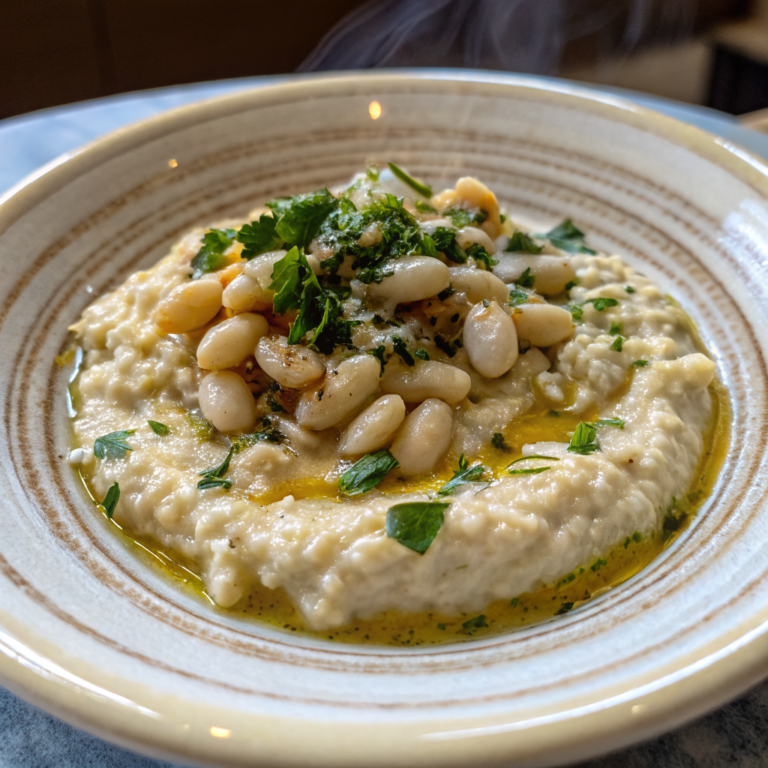
Picture this: you’re staring at your pantry on a Wednesday evening, wondering how to turn simple ingredients into something your family will actually ask for seconds of. That’s exactly how I discovered the magic of Garlic White Bean Mash – a creamy, comforting side dish that transforms humble cannellini beans into something absolutely irresistible. This isn’t just another bean recipe; it’s your new secret weapon for weeknight dinners when you need something that feels special but comes together in under 15 minutes. Whether you’re serving it alongside roasted chicken or using it as a protein-packed base for your favorite vegetables, this Garlic White Bean Mash delivers restaurant-quality flavor with pantry-staple simplicity. You’ll learn exactly how to achieve that perfect creamy-yet-rustic texture, discover foolproof techniques to prevent common mistakes, and master the art of making beans taste like a million bucks.
Why Garlic White Bean Mash Matters
In a world of complicated side dishes that require specialty ingredients and hours of prep, Garlic White Bean Mash stands as a beacon of simplicity and satisfaction. This dish proves that comfort food doesn’t need to be complicated – it just needs to be made with care and understanding. The creamy texture rivals traditional mashed potatoes but brings protein, fiber, and a subtle nutty flavor that pairs beautifully with everything from grilled meats to roasted vegetables. It’s the kind of side dish that makes busy parents breathe a sigh of relief because it’s both nutritious and delicious enough to please even the pickiest eaters.
Behind the Recipe
The inspiration for this Garlic White Bean Mash came during one of those “what’s for dinner?” moments we all know too well. I had a can of cannellini beans in my pantry, some garlic that needed using, and a family that was getting tired of the same old sides. What started as a simple experiment turned into one of our most-requested dishes. The moment I tasted that first spoonful – creamy, garlicky, and surprisingly satisfying – I knew I’d stumbled onto something special.
For those looking to expand their bean repertoire, you might enjoy our White Bean Soup or explore our collection of Cozy Fall Soups and Stews. If you’re interested in learning more about cooking with cannellini beans, How to Cook Dried Cannellini Beans Perfectly Every Time offers excellent techniques, while Perfect Frijoles Refritos (Mexican Refried Beans) Recipe shows another delicious way to transform beans into comfort food gold.
Ingredients
|
Ingredient Spotlight
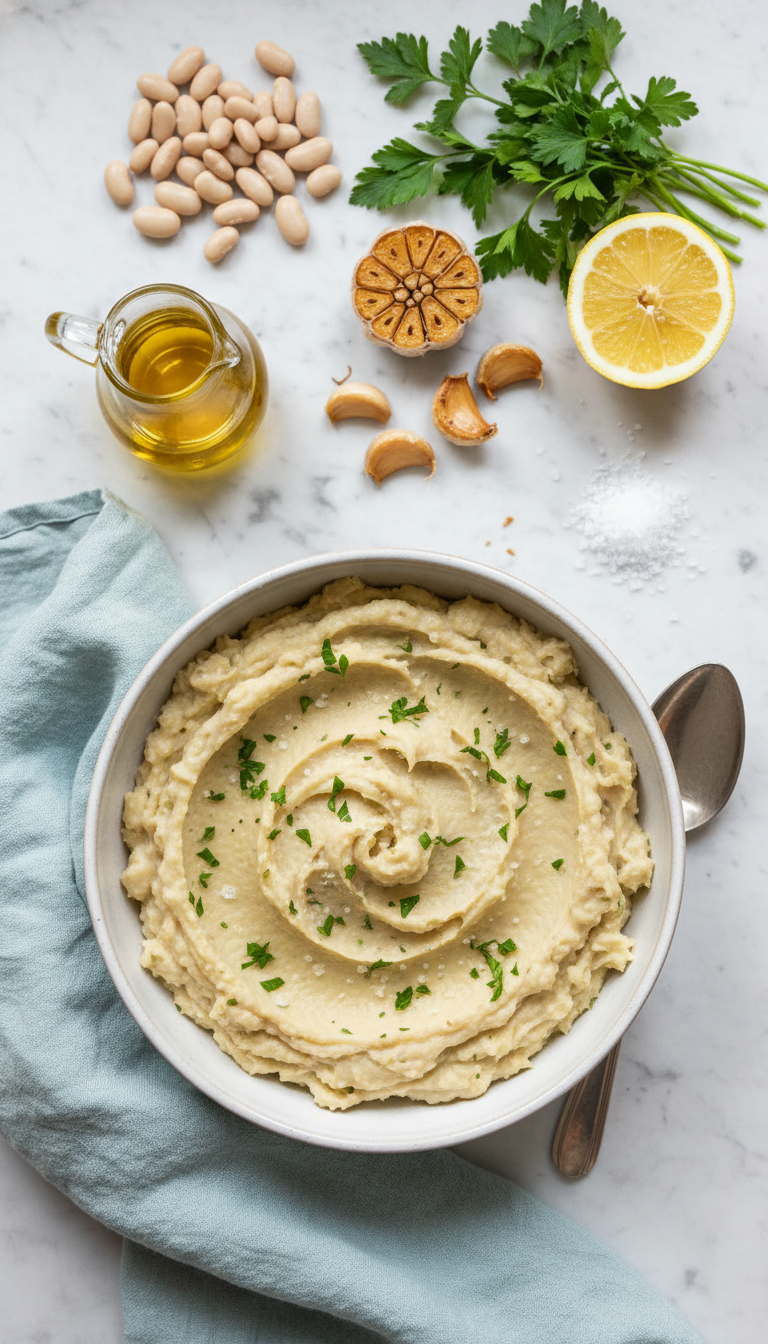
Cannellini beans are the star of this show – their creamy texture and mild flavor make them perfect for mashing. Unlike other beans that can become grainy, cannellini beans break down beautifully while maintaining some structure. The olive oil isn’t just for cooking; it adds richness and helps create that silky mouthfeel we’re after. Fresh garlic provides the aromatic backbone – when sautéed properly, it becomes sweet and mellow rather than harsh. The vegetable broth helps achieve the perfect consistency while adding depth of flavor, and that splash of lemon juice is what transforms this from good to absolutely irresistible by adding brightness that balances the richness.
Timing
|
Instructions
|
Tips & Tricks for Perfect Garlic White Bean Mash
|
Recipe Variations & Substitutions
Mediterranean Twist: Add a tablespoon of sun-dried tomato paste and a sprinkle of dried oregano for an Italian-inspired version that pairs beautifully with grilled chicken or fish.
Spicy Kick: Stir in a pinch of red pepper flakes with the garlic, or add a diced jalapeño for families who like a little heat with their comfort food.
Kid-Friendly Version: Reduce the garlic to 1 clove and add a tablespoon of cream cheese for extra creaminess that little ones will love. You can even call it “cloud mash” to make it more appealing!
Herb Garden Special: Replace parsley with fresh rosemary, thyme, or basil depending on what you have growing or what complements your main dish.
Leftover & Reuse Ideas
Leftover Garlic White Bean Mash is a gift that keeps on giving! Spread it on toast for a protein-packed breakfast, thin it with additional broth to create a quick soup base, or use it as a creamy pasta sauce by adding a splash of pasta water. It also makes an excellent sandwich spread – much more interesting than plain mayo – or can be rolled into wraps with roasted vegetables. Store covered in the refrigerator for up to 4 days, and don’t worry if it thickens up – just stir in a little warm broth to bring it back to life.
Pairing Ideas
This versatile Garlic White Bean Mash plays well with so many flavors! Serve it alongside roasted chicken thighs, grilled salmon, or seared lamb chops for an elegant dinner. It’s also fantastic with roasted vegetables like Brussels sprouts or carrots. For drinks, try it with sparkling water infused with lemon, herbal iced tea, or even a rich hot chocolate for a cozy winter meal. The creamy, garlicky flavors complement both light and hearty dishes beautifully.
Serving Suggestions
Present your Garlic White Bean Mash in a shallow bowl with a drizzle of good olive oil and a sprinkle of paprika for color. Serve with crusty bread for scooping, or use it as a bed for grilled proteins. For a beautiful presentation, use a large spoon to create a well in the center and fill it with roasted cherry tomatoes or sautéed mushrooms. It’s rustic enough for family dinners but elegant enough for company when presented thoughtfully.
Nutritional Information
Per serving (1/4 of recipe): Approximately 180 calories, 7g protein, 8g fat, 22g carbohydrates, 6g fiber, 2g sugar, 380mg sodium (varies with added salt). This dish provides plant-based protein, fiber, and heart-healthy monounsaturated fats from olive oil. Cannellini beans are naturally rich in folate, iron, and potassium.
Common Mistakes to Avoid
Burning the garlic: This happens when the heat is too high or you walk away. Keep it at medium heat and stir constantly. If it does burn, start over – trust me, it’s worth it!
Over-mashing: Beans can go from perfectly creamy to gluey paste quickly. Mash gently and check texture frequently.
Forgetting to season: Beans need salt to taste their best. Start with less than you think you need, then adjust – you can always add more.
Using cold liquid: Cold broth will cool down your beans and make everything take longer to come together. Room temperature or warm is best.
Storage & Reheating Tips
Store your Garlic White Bean Mash in an airtight container in the refrigerator for up to 4 days. To reheat, add a splash of broth or water and warm gently in a saucepan over low heat, stirring frequently. You can also microwave it in 30-second intervals, stirring between each. The texture may thicken upon cooling, but it easily returns to its creamy state with a little liquid and gentle heat. This dish doesn’t freeze well due to the texture changes in beans, so it’s best enjoyed fresh or within a few days.
- Can I make Garlic White Bean Mash ahead of time?
- Absolutely! This dish actually improves in flavor when made a few hours ahead. Just reheat gently with a splash of broth to restore the creamy texture.
- Is Garlic White Bean Mash kid-friendly?
- Yes! Kids love the creamy texture, and you can reduce the garlic for milder flavor. Many parents find this is a great way to introduce beans into their children’s diet.
- Can I use dried beans instead of canned for Garlic White Bean Mash?
- Certainly! Cook 3/4 cup dried cannellini beans until very tender, then proceed with the recipe. The flavor will be even better, though it requires more time.
- What makes Garlic White Bean Mash creamy without dairy?
- The natural starches in the cannellini beans, combined with the olive oil and proper mashing technique, create that luxurious creamy texture without any dairy needed.
- How can I make my Garlic White Bean Mash more flavorful?
- Try roasting your garlic beforehand for deeper flavor, add fresh herbs like rosemary or thyme, or finish with a drizzle of high-quality olive oil and a squeeze of fresh lemon.
FAQs
Conclusion
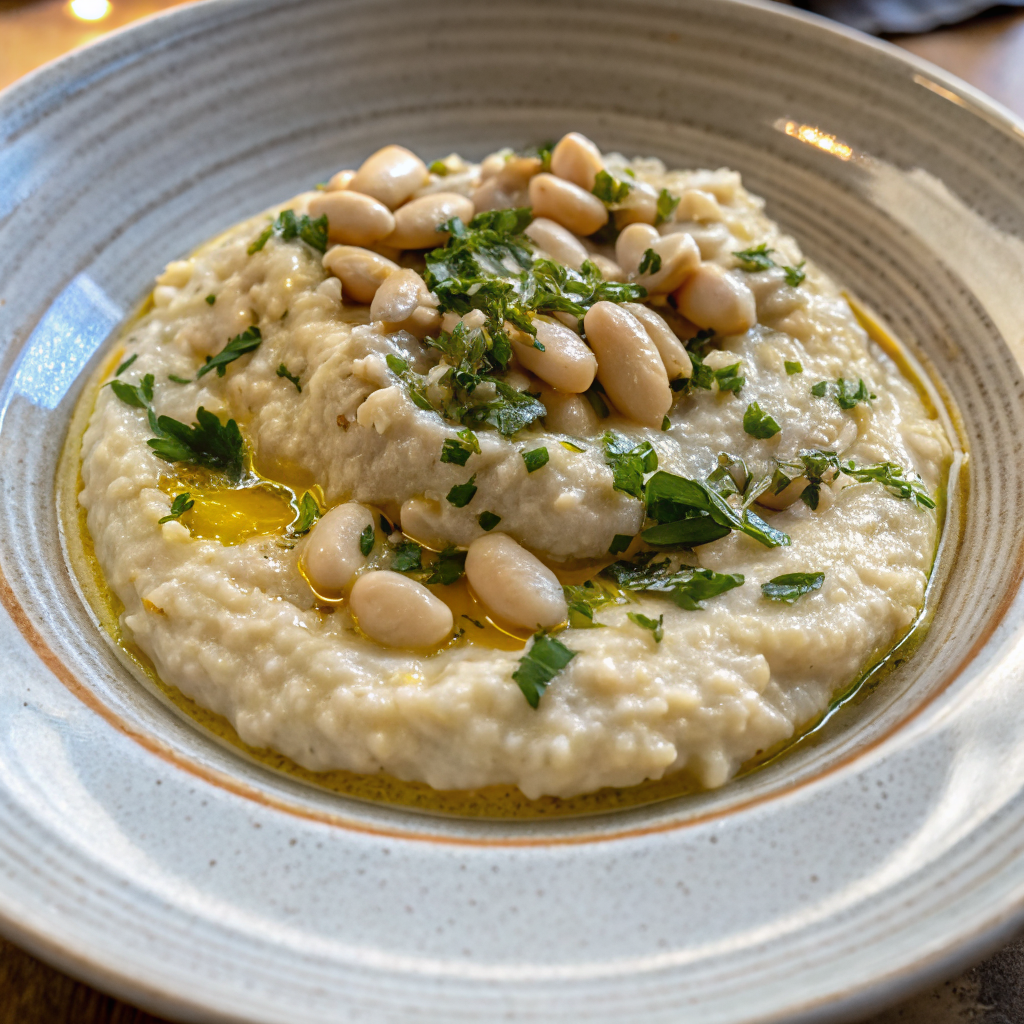
There’s something truly magical about transforming simple pantry ingredients into a dish that feels like a warm hug on a plate. This Garlic White Bean Mash proves that comfort food doesn’t need to be complicated – it just needs to be made with love and attention to detail. From the moment you smell that garlic sizzling in olive oil to the final satisfying spoonful, this recipe delivers restaurant-quality results with weeknight simplicity. Whether you’re serving it as a protein-packed side dish, using it as a base for other flavors, or simply enjoying it with crusty bread, you’ve now mastered a versatile recipe that will serve you well for years to come.
Made these Garlic White Bean Mash? Drop your twist in the comments, rate the recipe, and tag us on facebook, instagram with #erinrecipes — we might feature your creation!
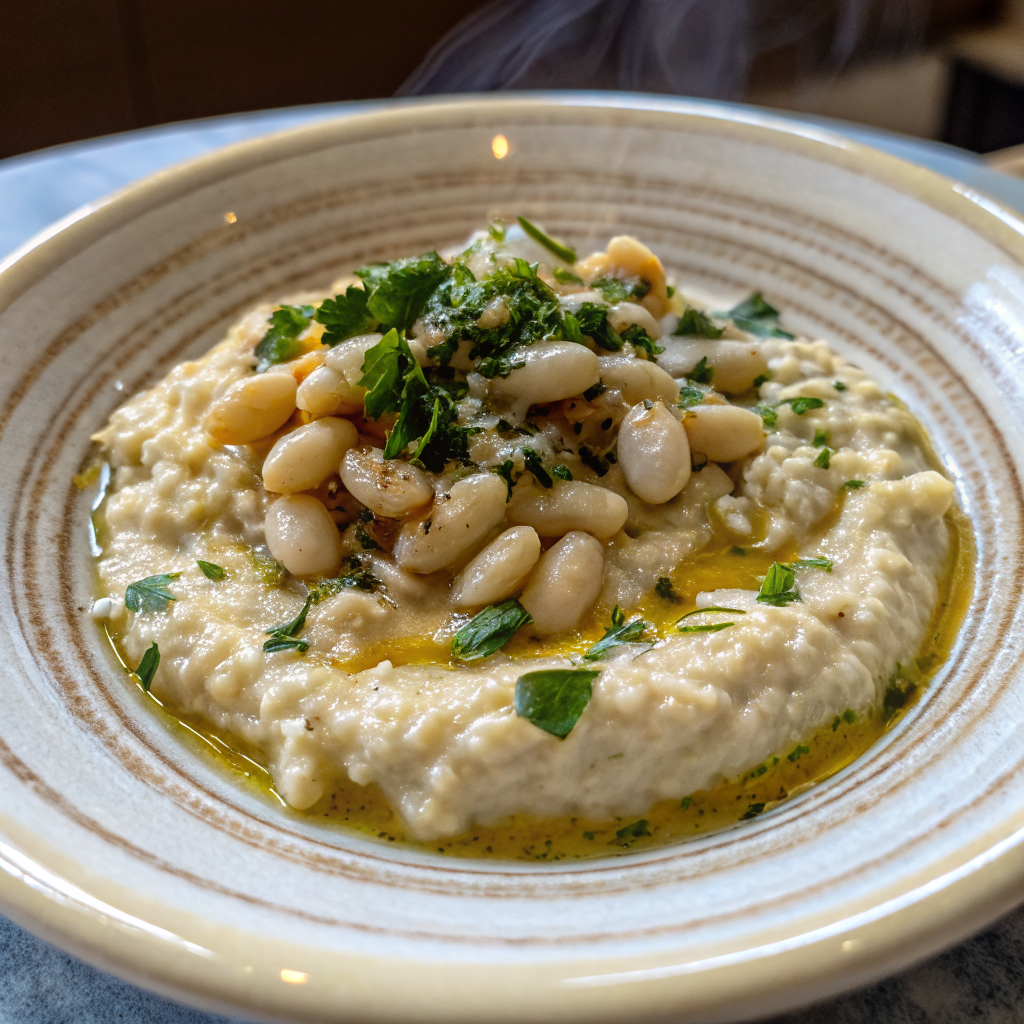
Garlic White Bean Mash: Easy Creamy Side Dish Recipe
Ingredients
Instructions
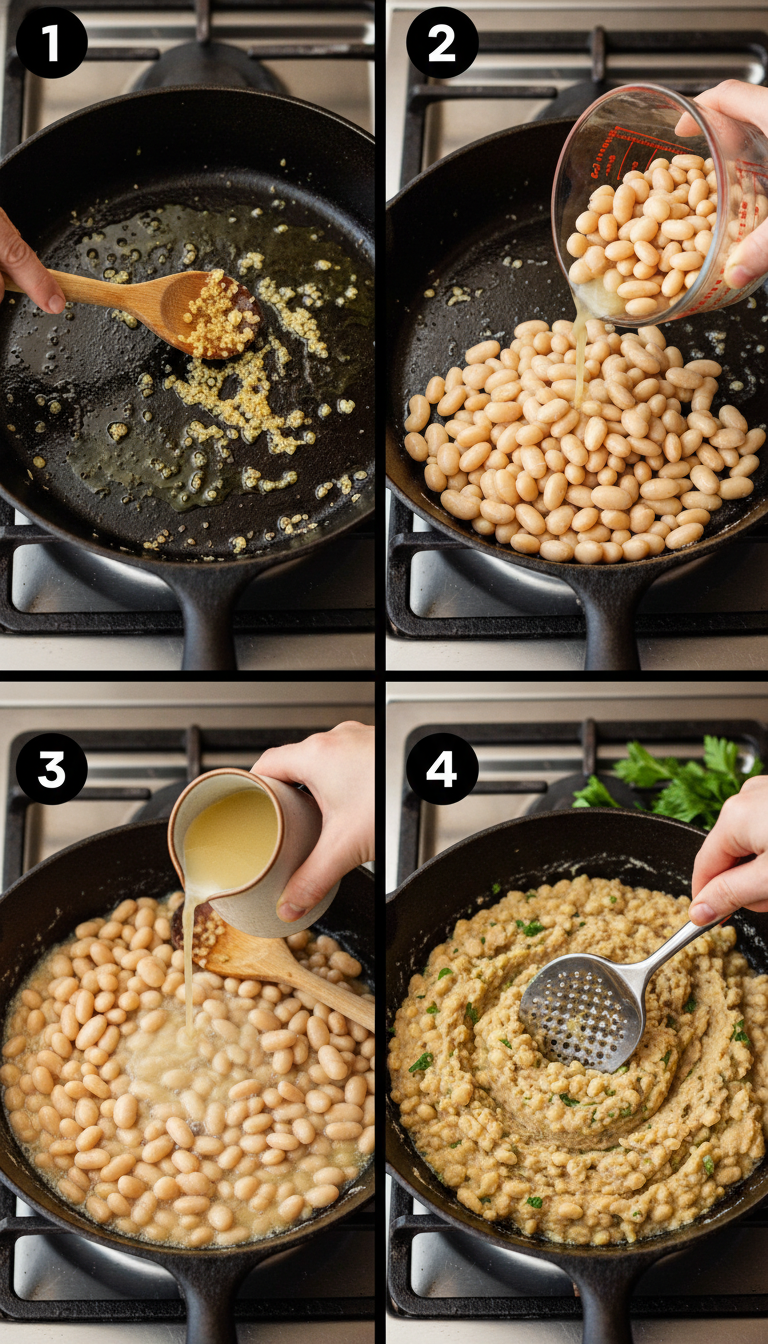
- Heat Oil and Sauté Garlic: Place the skillet over medium heat and add the olive oil. Once shimmering, add the minced garlic. Stir constantly for about one minute until the garlic becomes fragrant but not browned, which preserves its sweet flavor.
- Add the Beans: Introduce the drained cannellini beans to the pan. Toss them gently with the garlic and oil, allowing the beans to coat evenly. This brief sauté awakens the beans and integrates the garlic throughout.
- Incorporate Broth and Lemon Juice: Pour the vegetable broth and lemon juice over the beans. Stir to combine, then season with a pinch of salt. Let the mixture simmer for three to four minutes, giving the beans time to absorb the liquid and the lemon’s brightness.
- Mash to Desired Consistency: Remove the skillet from heat. Using a fork or potato masher, begin mashing the beans. For a smooth dip, mash thoroughly; for a rustic spread, leave some chunks. Taste and adjust salt if needed.
- Serve and Garnish: Transfer the mash to a serving bowl. Sprinkle freshly chopped parsley on top for color and a fresh herbal note. Serve warm or at room temperature alongside crusty bread, grilled vegetables, or as a base for soups.