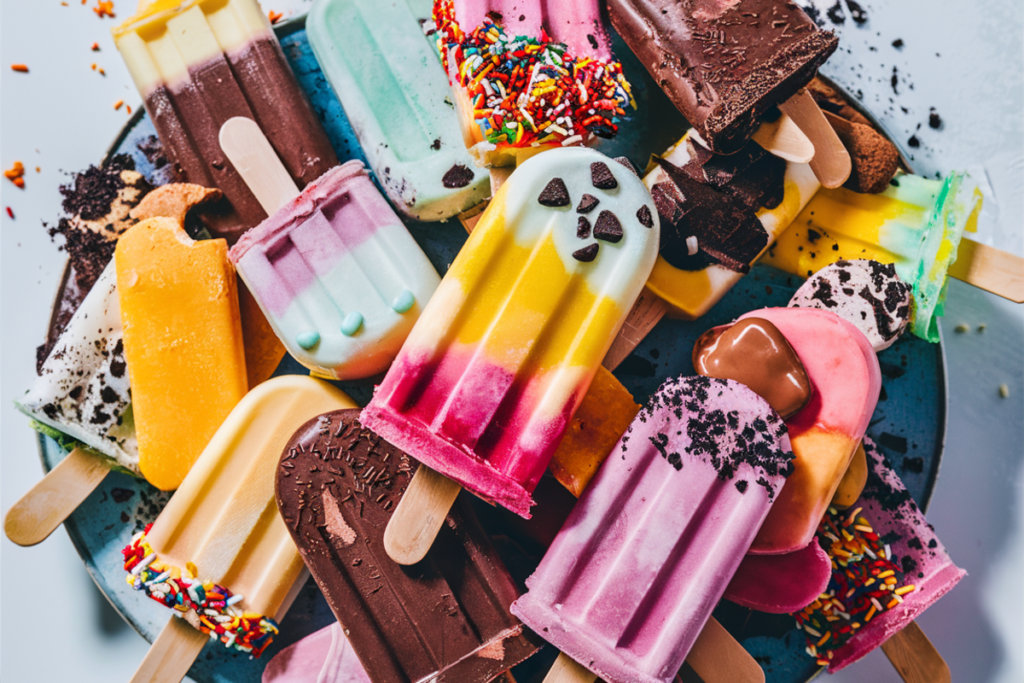
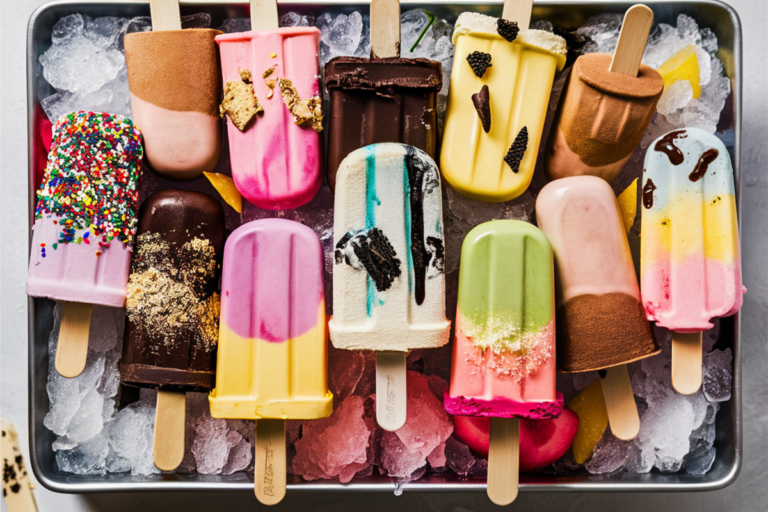
When the summer heat kicks in, there’s nothing quite like enjoying a refreshing popsicle. But what if you don’t have a popsicle mold? Fear not!
Learning how to make popsicles without a mold is not only possible but can also be a fun, creative process. This guide can help you save money, declutter your kitchen, and try out different popsicle shapes.
Why Make Popsicles Without a Mold?
Making popsicles without a mold offers several benefits:
- Cost-Effective: You don’t need to purchase extra kitchen gadgets. Check out budget-friendly kitchen tips here.
- Eco-Friendly: Reduce plastic waste by using reusable household items.
- Creative Freedom: Experiment with different shapes and sizes.
- Fun DIY Project: It’s a great way to get creative in the kitchen, especially with kids.
Check out this Homemade Eskimo Pie Recipe for a similar fun and creative treat you can make at home!
Basic Supplies Needed for DIY Popsicles
Before diving into the steps, gather some basic supplies that you likely already have at home:
- Small Paper Cups: Perfect for individual-sized popsicles.
- Ice Cube Trays: Great for mini popsicles or bite-sized treats.
- Muffin Tins: Ideal for creating larger, shareable popsicles.
- Loaf Pans: For making sliceable popsicles.
- Yogurt Containers: Reuse old containers for popsicles. Find more eco-friendly DIY kitchen tips.
For sticks, you can use wooden craft sticks, plastic spoons, or even reusable metal sticks.
Step-by-Step Guide: How to Make Popsicles Without a Mold
Now that you have your supplies ready, let’s walk through the different methods of making popsicles without a mold.
Using Paper Cups
Paper cups are one of the easiest and most accessible options:
- Prepare Your Mixture: Pour your favorite popsicle mixture into the paper cups.
- Insert the Stick: Cover the top of the cup with aluminum foil or plastic wrap, poke a hole in the center, and insert the stick.
- Freeze: Place the cups in the freezer for 4-6 hours.
- Unmold: To release the popsicle, gently peel away the paper cup. If needed, run the cup under warm water for a few seconds.
Tips:
- If you prefer, you can also use plastic cups, but ensure they are BPA-free and safe for freezing.
For more creative dessert tips, check out this caramelized brûlée guide.
Using Ice Cube Trays
Ice cube trays offer a fun way to make mini popsicles:
- Fill the Tray: Pour the popsicle mixture into the tray, filling each compartment.
- Add the Stick: After the mixture is partially frozen (about 1-2 hours), insert small sticks or toothpicks.
- Freeze Fully: Let the popsicles freeze completely, usually 3-4 hours.
- Unmold: Twist the tray slightly or run the bottom under warm water to release the popsicles.
Pro Tip: You can layer different flavors for a colorful, multi-layered treat!
Using Muffin Tins
For larger, round popsicles, muffin tins are perfect:
- Pour the Mixture: Fill each muffin tin cavity with your popsicle mixture.
- Insert Sticks: Cover the top with foil or wrap and poke sticks through the center of each cavity.
- Freeze: Allow the mixture to freeze for 4-6 hours.
- Remove Popsicles: Let the tin sit at room temperature for a few minutes or run warm water on the bottom to loosen the popsicles.
Bonus: Muffin tins can create popsicles that are great for sharing!
Using a Loaf Pan
Loaf pans allow you to make sliceable popsicles, which are perfect for serving multiple people:
- Prepare the Mixture: Pour your popsicle base into the loaf pan.
- Insert Sticks: Cover the top with aluminum foil and insert sticks evenly across the length of the pan.
- Freeze: Freeze the mixture for 6-8 hours.
- Slice and Serve: Once frozen, lift the block out using the foil, slice into individual popsicles, and enjoy!
You can also try a gourmet recipe like the Eskimo Pie to take your popsicles to the next level.

Creative Popsicle Recipes Without a Mold
Berry Basil Yogurt Popsicles
Ingredients:
- 2 cups mixed berries (blueberries, strawberries, raspberries)
- 1 cup Greek yogurt
- 1 tbsp honey (or maple syrup for a vegan option)
- Fresh basil leaves, finely chopped
Instructions:
- Blend the Berries and Yogurt: Place the mixed berries, Greek yogurt, and honey into a blender. Blend until the mixture is smooth and well combined. The Greek yogurt gives these popsicles a creamy texture, while the berries add a natural sweetness and vibrant color.
- Incorporate Basil: Once the mixture is smooth, stir in the chopped basil leaves. The basil adds a refreshing, slightly peppery flavor that pairs beautifully with the sweet berries.
- Pour and Freeze: Pour the mixture into your chosen container—whether it’s paper cups, an ice cube tray, or a muffin tin. Insert the sticks and freeze for at least 4-6 hours until solid.
Variation: If you’re looking to add a little crunch, consider adding a tablespoon of chia seeds to the mixture before freezing. They’ll add texture and an extra dose of nutrients.
Mango Coconut Popsicles
Ingredients:
- 1 large ripe mango, peeled and chopped into chunks
- 1/4 cup coconut milk (full-fat for creamier popsicles)
- 1 tbsp lime juice (for a tangy twist)
- 1 tsp vanilla extract
- Optional: A pinch of chili powder for a spicy kick
Instructions:
- Blend the Mango Mixture: In a blender, combine the mango chunks, coconut milk, lime juice, and vanilla extract. Blend until smooth and creamy. The mango provides a natural sweetness, while the coconut milk gives these popsicles a rich, tropical flavor.
- Pour into Molds and Freeze: Pour the mango mixture into your chosen molds, insert sticks, and freeze for 4-6 hours.
Tip: For an added layer of flavor, you can swirl in a bit of coconut cream after pouring the mixture into the molds. This will create a marbled effect and an extra burst of coconut flavor.
Tie-Dye Popsicles
Ingredients:
- Red Layer: 1/2 cup raspberries, 1/2 cup strawberries, 1/2 banana, 1/4 cup yogurt
- Orange Layer: 1/2 cup peaches, 1/4 cup mango, 1/2 orange, 1/2 banana, 1/4 cup yogurt
- Green Layer: 1/2 cup spinach, 1/2 cup pineapple, 1/2 banana, 1/4 cup yogurt
Instructions:
- Prepare Each Layer: Blend the ingredients for each layer separately to create distinct colors and flavors. Ensure each mixture is smooth and consistent.
- Layer and Freeze: Pour the first layer into your container and freeze until slightly set, about 30 minutes. Add the next layer and freeze again. Continue until all layers are added. This method helps maintain the distinct layers and achieves the tie-dye effect.
- Slice and Serve: Once fully frozen, remove the popsicles from the mold and slice them to reveal the beautiful tie-dye pattern.
Tip: To make this recipe dairy-free, you can replace yogurt with coconut or almond yogurt. This will maintain the creamy texture while catering to dietary preferences.
Chocolate Fudge Popsicles
Ingredients:
- 1/4 cup cocoa powder (use unsweetened for a rich chocolate flavor)
- 1/2 cup coconut milk (or any milk of choice)
- 1/4 cup maple syrup (adjust to taste)
- 1 tsp vanilla extract
Instructions:
- Mix the Ingredients: Combine the cocoa powder, coconut milk, maple syrup, and vanilla extract in a blender. Blend until the mixture is smooth and all ingredients are fully incorporated.
- Pour and Freeze: Pour the chocolate mixture into your chosen molds and freeze for at least 4 hours or until solid.
Variation: For a decadent twist, add a tablespoon of peanut butter or Nutella to the mixture before blending. This will create a rich, nutty flavor that complements the chocolate perfectly.
Extra Tip: You can also add a pinch of sea salt to the mixture for a sophisticated, salted-chocolate flavor that balances the sweetness of the popsicles.
These expanded recipes not only offer clear instructions but also provide additional tips and variations to help you get creative in the kitchen. Enjoy making and sharing these delightful frozen treats!

Troubleshooting Common Popsicle Problems
Making popsicles can sometimes come with challenges. Here’s how to solve them:
Popsicles Not Freezing Properly
This can happen if the mixture is too thick or the freezer is overcrowded. Ensure your freezer is set to the correct temperature and avoid overfilling the containers.
Difficulty Unmolding Popsicles
If your popsicles stick, try running the container under warm water for a few seconds or letting it sit at room temperature for a minute before trying to remove them.
Keeping Sticks Upright
Cover the top of the container with aluminum foil or plastic wrap, then poke the sticks through. This helps keep them upright while the mixture freezes.
How to Store Homemade Popsicles
Storing popsicles properly is key to maintaining their flavor and texture:
- Wrap each popsicle individually in plastic wrap or wax paper.
- Store in an airtight container to prevent freezer burn.
- Popsicles can last up to two weeks in the freezer.
FAQs: How to Make Popsicles Without a Mold
Can I use yogurt instead of yogurt for popsicles?
Yes! Yogurt is a fantastic alternative to juice, especially if you’re aiming for a creamier texture and added nutritional benefits. Greek yogurt, in particular, works well due to its thick consistency.
How do I remove popsicles from a loaf pan?
To remove popsicles from a loaf pan, run the bottom of the pan under warm water for a few seconds. Then, lift the block of popsicles out using the foil lining, and slice it into individual servings.
What if I don’t have popsicle sticks?
No worries! You can use plastic spoons, metal skewers, or even sturdy straws as a substitute for popsicle sticks. Just make sure they’re safe for freezing.
Can I make dairy-free popsicles without a mold?
Absolutely! You can substitute yogurt or milk with coconut milk, almond milk, or any other dairy-free alternative. Follow the same methods mentioned above for freezing and shaping.
Conclusion: Enjoying Your Homemade Popsicles
Making popsicles without a mold is not only simple but opens up a world of creativity in your kitchen. Whether you’re using paper cups, ice cube trays, muffin tins, or loaf pans, the possibilities are endless. Plus, you get to control the ingredients, ensuring your treats are healthy and tailored to your taste.
So, gather your supplies, choose your favorite recipe, and get started. And don’t forget to experiment with different flavors and shapes—because with DIY popsicles, there are no limits!
Remember, if you enjoyed learning how to make popsicles without a mold, share your creations and tips with us. Happy freezing!

