
Introduction
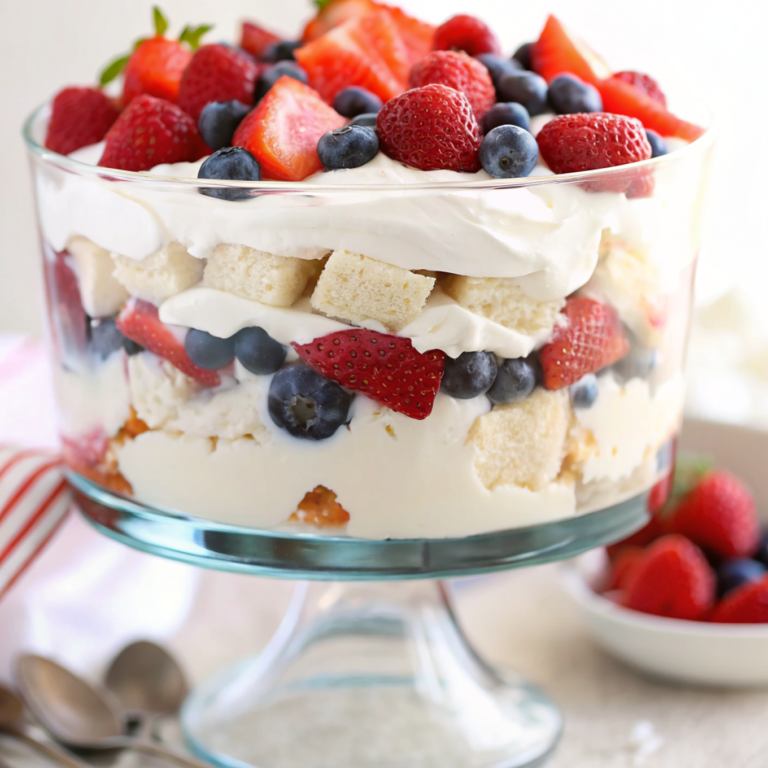
There’s something magical about a dessert that brings together the simplicity of no-baking with the elegance of layered beauty. This No-Bake Berry Trifle has become my go-to solution for those moments when I need something spectacular but don’t have hours to spend in the kitchen. Whether it’s a last-minute dinner party or a weekend family gathering, this trifle delivers restaurant-quality results with minimal effort.
What makes this recipe truly special is how it transforms simple ingredients into something that looks like you spent all day preparing. The fluffy cream cheese filling pairs perfectly with fresh berries and tender angel food cake, creating layers of flavor and texture that will have everyone asking for the recipe. Best of all, it comes together in just 25 minutes and gets better as it chills, making it perfect for busy schedules.
Why No-Bake Berry Trifle Matters
This No-Bake Berry Trifle solves the eternal dessert dilemma: how to create something impressive without turning on the oven. In our busy lives, we need recipes that deliver maximum impact with minimal stress. This trifle checks all the boxes – it’s make-ahead friendly, feeds a crowd, and showcases beautiful fresh berries that everyone loves. The combination of creamy, fruity, and cake layers creates a dessert that feels both comforting and elegant, perfect for everything from casual family dinners to special celebrations.
Behind the Recipe
This recipe was born out of necessity during a particularly hectic summer when my sister announced she was bringing twelve people over for dinner with just four hours’ notice. I needed something that looked intentional and tasted amazing, but I was completely out of time for traditional baking. Staring at my refrigerator, I spotted cream cheese, fresh berries from the farmers market, and a store-bought angel food cake I’d grabbed earlier that week.
The inspiration struck – why not create layers of indulgence that could chill while I prepared the rest of the meal? For more incredible no-bake dessert ideas and tips on creating show-stopping desserts, you’ll find endless possibilities. I also love referencing Sugar Spun Run’s no-bake collection for inspiration, and Tried Tested and True’s berry storage tips have been invaluable for keeping my berries fresh and beautiful for recipes like this.
Ingredients
|
Ingredient Spotlight
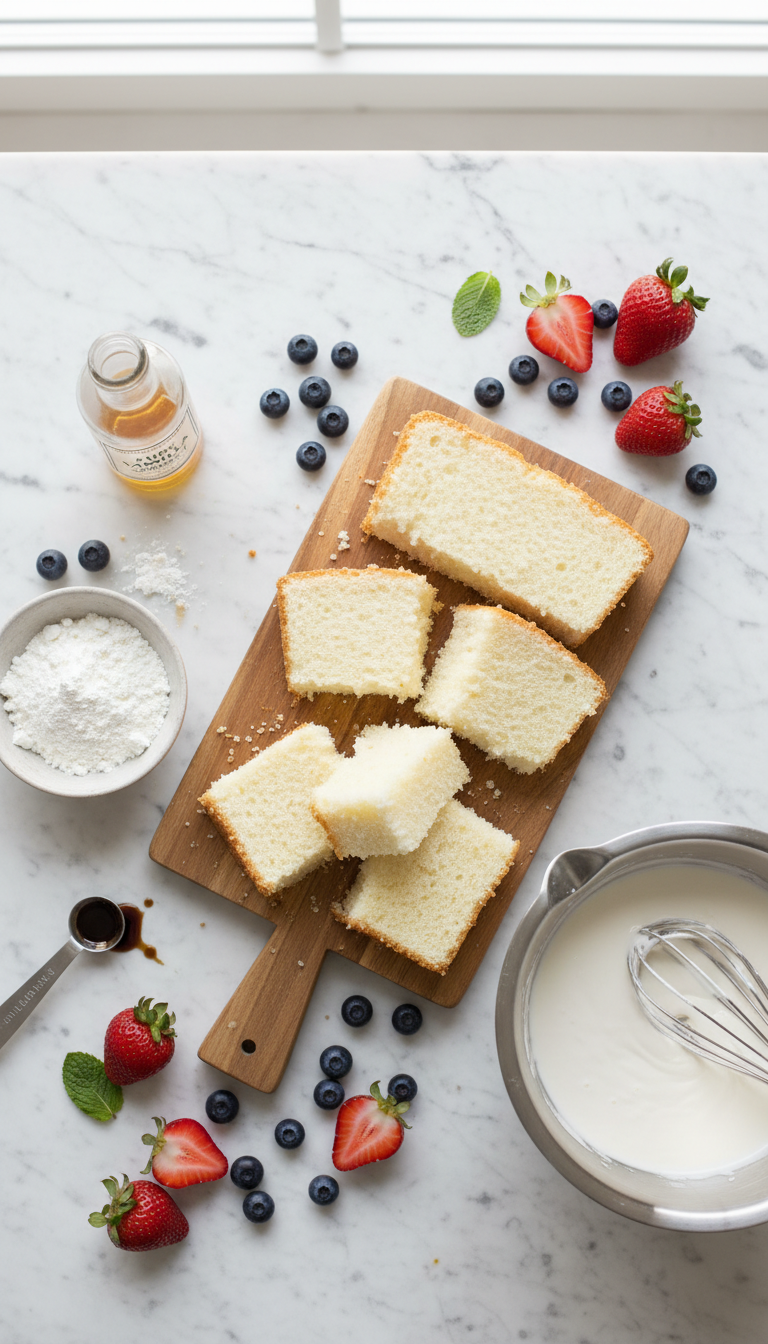
The cream cheese is truly the star here – it creates that rich, tangy base that balances the sweetness of the berries. When properly softened, it whips into the most incredible fluffy texture that holds its shape beautifully in layers.
Your heavy whipping cream needs to be cold to achieve those perfect soft peaks. I actually chill my mixing bowl and beaters for 15 minutes before whipping – it makes all the difference in achieving that dreamy, stable texture.
Fresh berries are non-negotiable here. They provide natural sweetness, gorgeous color, and that burst of summer flavor that makes this trifle so special. The combination of sweet strawberries and slightly tart blueberries creates the perfect flavor balance.
Timing
|
Instructions
|
Tips & Tricks for Perfect No-Bake Berry Trifle
|
Recipe Variations & Substitutions
Chocolate Berry Trifle: Replace the angel food cake with chocolate cake or brownies for a richer dessert that kids absolutely love.
Lemon Berry Twist: Add 2 tablespoons of fresh lemon zest to the cream mixture and use lemon cake instead of angel food for a bright, citrusy variation.
Quick Weeknight Version: Use instant vanilla pudding mixed with whipped topping instead of making the cream cheese mixture – it cuts the prep time to just 15 minutes.
Seasonal Adaptations: Swap berries for whatever’s in season – peaches and raspberries in summer, or mixed winter berries with a touch of cinnamon.
Leftover & Reuse Ideas
Leftover No-Bake Berry Trifle keeps beautifully in the refrigerator for up to 3 days. Individual portions can be spooned into mason jars for grab-and-go desserts throughout the week.
Transform leftovers into a breakfast treat by layering small portions over Greek yogurt and granola. The cream cheese mixture also makes an incredible fruit dip when thinned with a little milk.
If you have extra cream mixture, spread it between graham crackers and freeze for an instant ice cream sandwich treat that the whole family will enjoy.
Pairing Ideas
This trifle pairs beautifully with a hot cup of coffee or a refreshing glass of iced tea. The rich, creamy layers complement the slight bitterness of coffee perfectly.
For special occasions, serve alongside sparkling grape juice or lemonade. The bubbles and acidity provide a lovely contrast to the rich cream layers.
Consider offering fresh mint sprigs or a drizzle of berry coulis on the side for guests who want to customize their portions with extra freshness.
Serving Suggestions
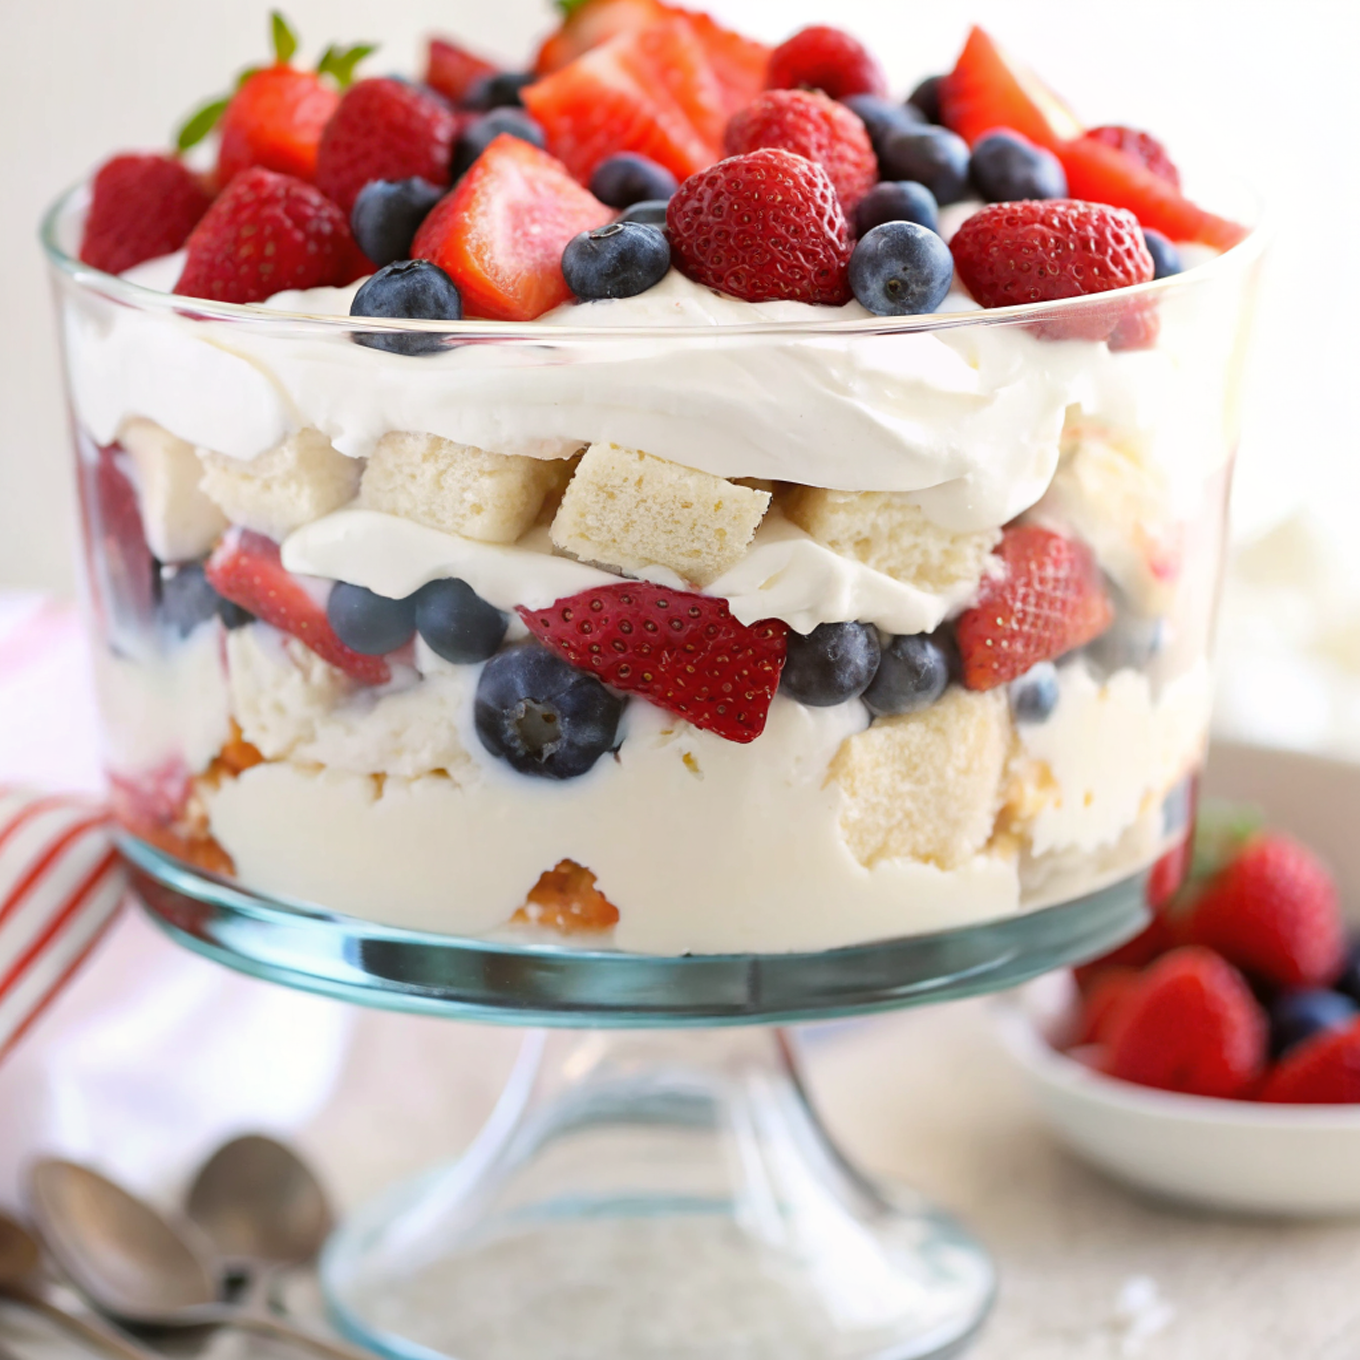
Present your No-Bake Berry Trifle in a clear glass bowl or traditional trifle dish to show off those gorgeous layers. The visual appeal is half the magic of this dessert.
For individual servings, layer the components in wine glasses or small mason jars. This creates elegant personal portions perfect for dinner parties or special occasions.
Garnish each serving with a fresh mint leaf or a light dusting of powdered sugar just before serving. These small touches elevate the presentation from homemade to restaurant-quality.
Nutritional Information
Each serving of this No-Bake Berry Trifle contains approximately 420 calories, with 28g of fat, 38g of carbohydrates, and 6g of protein. The fresh berries provide natural vitamins and antioxidants, while the cream cheese contributes calcium and protein to make this dessert slightly more substantial than typical sweets.
Common Mistakes to Avoid
Overwhipping the Cream: Stop as soon as you see soft peaks forming. Overwhipped cream can become grainy and separate, ruining the smooth texture we’re after.
Using Warm Cream Cheese: If your cream cheese is too soft or warm, it won’t hold its structure properly. Room temperature is perfect – soft enough to mix but still firm enough to maintain body.
Wet Berries: Always pat berries dry before layering. Excess moisture can make your beautiful layers soggy and affect the overall texture.
Skipping the Chill Time: I know it’s tempting to dig in immediately, but proper chilling time allows all the flavors to meld and the cake to reach perfect tenderness. Trust the process!
Storage & Reheating Tips
Store your No-Bake Berry Trifle covered in the refrigerator for up to 3 days. The flavors actually continue to develop, making day-two portions even more delicious.
For best results, don’t add the top layer of berries until you’re ready to serve if you’re planning to store it overnight. This prevents any potential bleeding of berry juices into the cream layer.
Individual portions can be pre-assembled in small containers for easy serving throughout the week. Just cover tightly with plastic wrap to prevent the cream from absorbing refrigerator odors.
- Can I make No-Bake Berry Trifle ahead of time?
- Absolutely! This trifle is actually better when made 4-24 hours ahead. The flavors meld beautifully and the cake reaches the perfect tender texture. It’s ideal for entertaining since all the work is done in advance.
- Are No-Bake Berry Trifle portions suitable for kids?
- Yes! Kids love the sweet, creamy layers and fresh berries. You can even let them help with the layering process – it’s a fun kitchen activity that gets them excited about eating the final result.
- Can I use frozen berries in No-Bake Berry Trifle?
- Fresh berries work best for texture and appearance, but thawed and well-drained frozen berries can work in a pinch. Just make sure they’re completely thawed and patted dry to prevent excess moisture in your layers.
- What’s the best way to transport No-Bake Berry Trifle?
- If you need to transport your trifle, assemble it in a container with a tight-fitting lid. Keep it chilled and transport in a cooler. The layers hold up well to gentle movement.
- Can I substitute the angel food cake in No-Bake Berry Trifle?
- Definitely! Pound cake, ladyfingers, or even vanilla wafers work wonderfully. Each creates a slightly different texture but maintains the delicious layered concept that makes this dessert so special.
FAQs
Conclusion
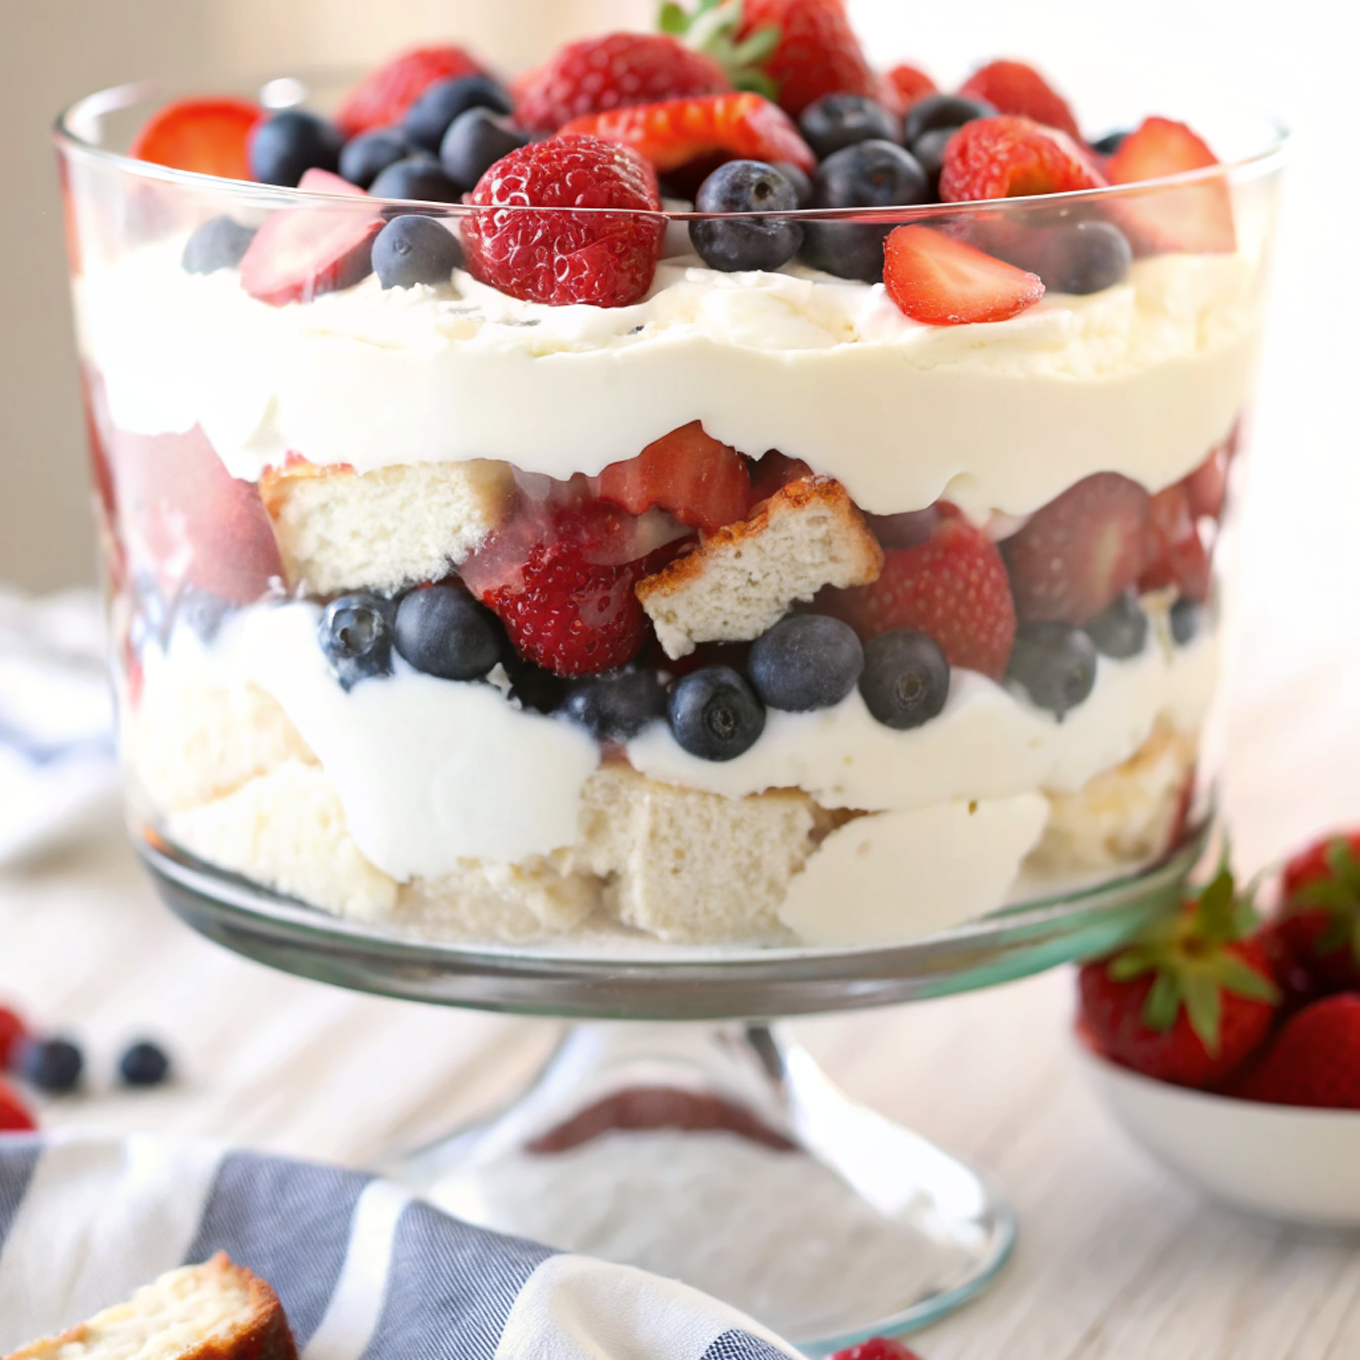
This No-Bake Berry Trifle proves that impressive desserts don’t require hours in the kitchen or complicated techniques. With just 25 minutes of active time and simple layering, you create something that looks like it came from a fancy bakery but tastes like home. The combination of fluffy cream cheese filling, fresh berries, and tender cake creates a dessert that’s both elegant enough for special occasions and easy enough for weeknight treats.
What I love most about this recipe is how it brings people together. There’s something about a beautiful trifle that makes everyone gather around, admiring the layers before diving in. It’s a dessert that creates moments and memories, which is exactly what home cooking should do.
Made these No-Bake Berry Trifle? Drop your twist in the comments, rate the recipe, and tag us on facebook, instagram with #erinrecipes — we might feature your creation!
No-Bake Berry Trifle – Easy 25-Minute Layered Dessert
Ingredients
Instructions
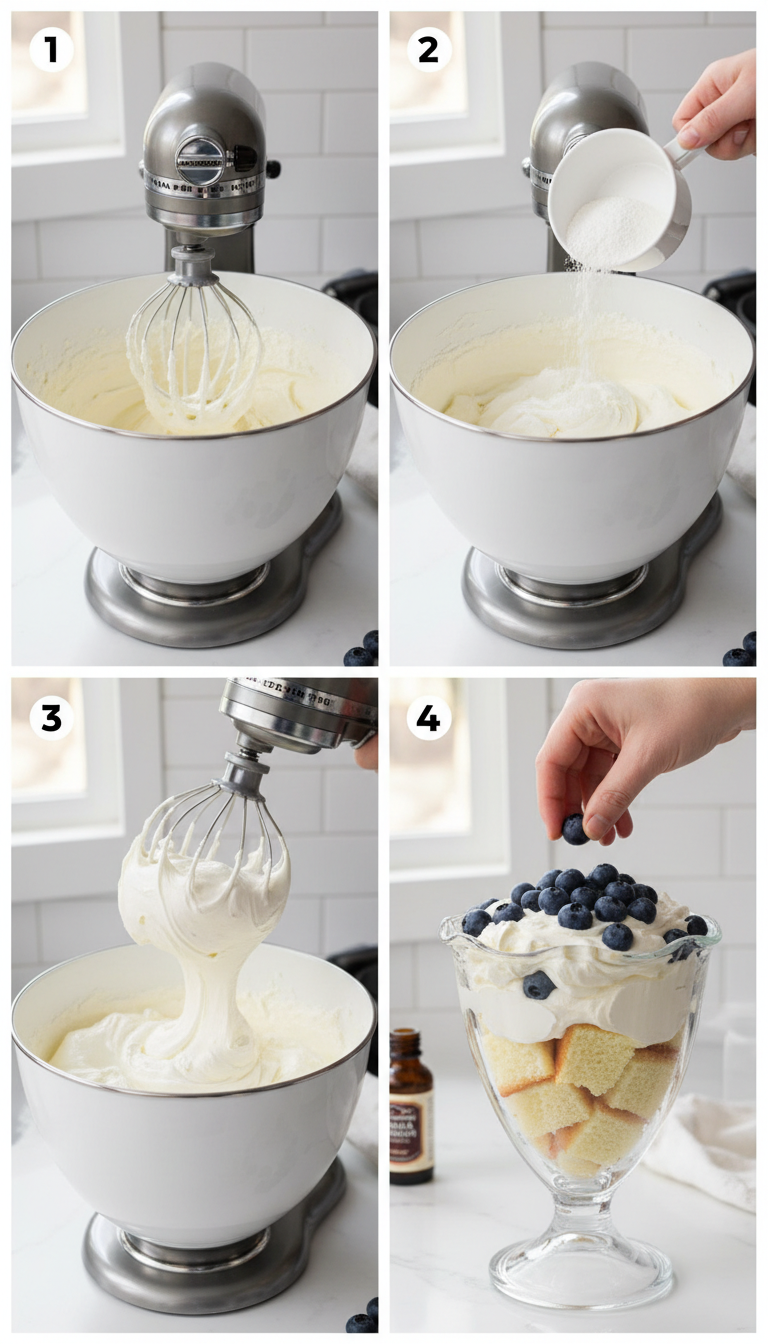
- Prepare Cream Cheese Base: Using a stand mixer fitted with the whisk attachment, or in a large mixing bowl using a hand-held mixer, mix the cream cheese until smooth.
- Combine Sugar and Vanilla: Mix in the powdered sugar and vanilla extract until well combined, scraping down the sides of the bowl as needed.
- Whip in Heavy Cream: Add in the heavy whipping cream and continue mixing on medium speed until the mixture has thickened and soft peaks form. Set aside.
- First Layer Assembly: Start by layering half of the angel food cake in a large trifle dish, then layer half of the cheesecake filling on top, then top with the blueberries (you can reserve some for the top if you prefer).
- Second Layer Assembly: Layer the other half of the angel food cake on top of the blueberries followed by the other half of the cheesecake filling, then top with the sliced strawberries and reserved blueberries.
- Chill Before Serving: Cover tightly and refrigerate until ready to serve.