
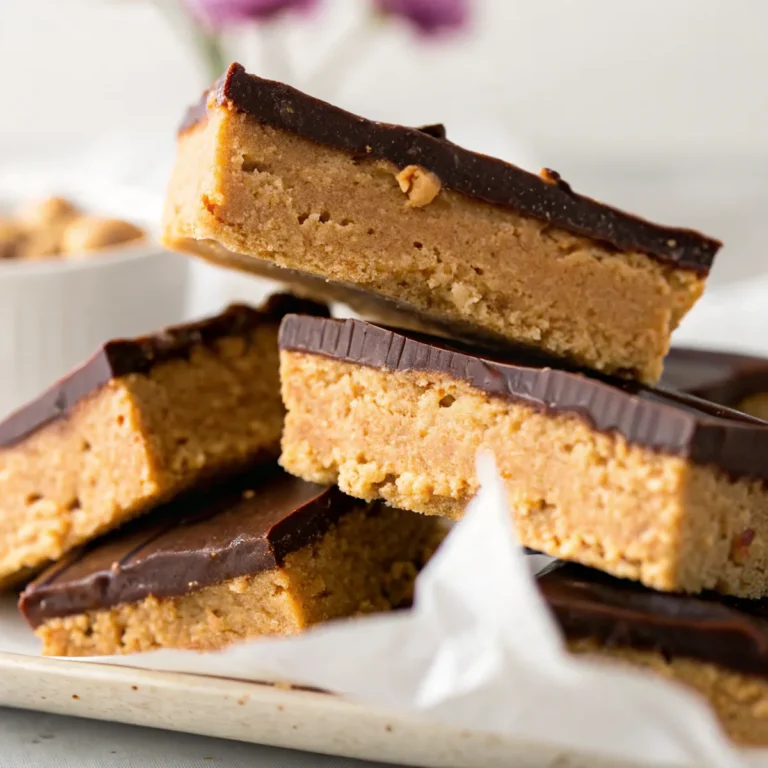
Did you know that food presentation can increase perceived taste by up to 30%? When it comes to No-Bake Peanut Butter Chocolate Bars, the visual impact is just as important as the flavor. These stunning two-layer bars showcase the perfect marriage of creamy peanut butter and rich chocolate in a composition that’s both architecturally striking and irresistibly delicious. The clean geometric lines, the beautiful contrast between the golden peanut butter base and the glossy dark chocolate topping, and the satisfying visual weight of each perfectly cut square make these bars a masterpiece of dessert presentation. In this comprehensive guide, you’ll discover not only how to create these show-stopping treats but also master the art of achieving professional-level plating and presentation that will elevate your dessert game to new heights.
Why No-Bake Peanut Butter Chocolate Bars Matter
The visual presentation of No-Bake Peanut Butter Chocolate Bars transforms a simple dessert into an elegant statement piece. The stark contrast between layers creates natural drama on any dessert table, while the clean lines and geometric precision speak to modern aesthetic sensibilities. For those seeking more no-bake dessert inspiration, these bars represent the pinnacle of effortless elegance. The timeless appeal of peanut butter desserts combined with sophisticated presentation techniques makes these bars perfect for any occasion. Additionally, exploring comprehensive no-bake dessert collections and discovering creative peanut butter applications can inspire countless variations and presentation ideas for your dessert repertoire.
Ingredients
|
Ingredient Spotlight
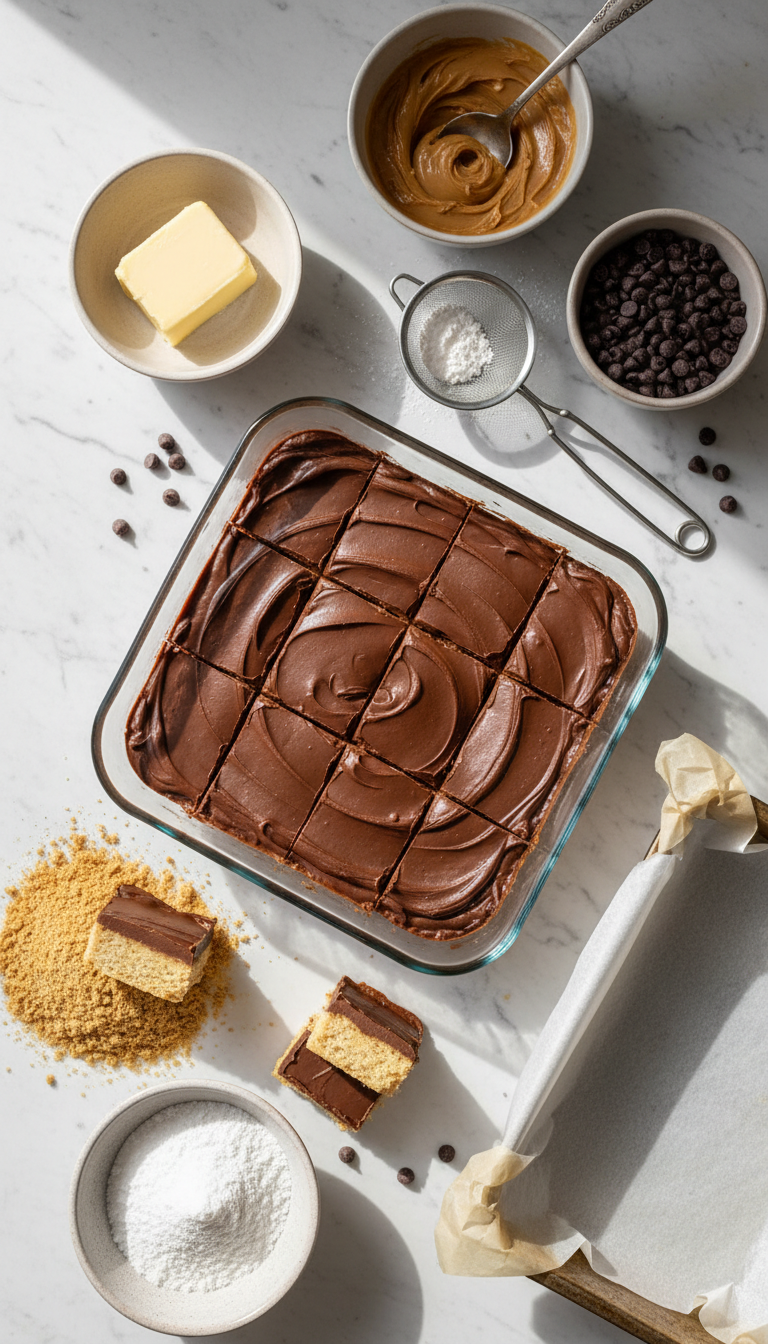
The unsalted butter serves as our canvas primer, creating the perfect binding agent while contributing a rich, golden undertone to the base layer. The creamy peanut butter acts as both flavor star and visual anchor, providing that beautiful warm amber color that contrasts so dramatically with the chocolate. Powdered sugar not only sweetens but maintains the light, creamy appearance of the base without introducing granular texture that could disrupt the smooth visual flow. The graham cracker crumbs add essential textural interest while contributing a lovely sandy color that bridges the gap between the pale base and dark topping. Finally, the semi-sweet chocolate chips create that stunning dark mirror finish that makes these bars so visually striking.
Timing
|
Instructions

|
Behind the Recipe
The inspiration for these No-Bake Peanut Butter Chocolate Bars came from observing the striking visual impact of architectural layering in modern design. The clean horizontal lines mirror the aesthetic of contemporary minimalism, while the color palette – that beautiful progression from pale gold to rich dark chocolate – creates natural visual drama. The geometric precision of each cut reveals the perfect stratification, much like viewing sedimentary layers in nature. This dessert embodies the principle that the most impactful presentations often come from the simplest concepts executed with precision and attention to detail.
Tips & Tricks for Perfect No-Bake Peanut Butter Chocolate Bars
|
Recipe Variations & Substitutions
High Contrast Plating Option: Replace graham crackers with chocolate cookie crumbs for a darker base that creates even more dramatic layering. Textural Twist: Add chopped roasted peanuts to the base layer for visual and textural interest. Elegant Minimalist Version: Use white chocolate for the top layer and add a drizzle of melted dark chocolate for sophisticated contrast. Color Pop Variation: Incorporate freeze-dried strawberries into the base for subtle pink specks that create unexpected visual interest.
Pairing Ideas
Present these bars on sleek white porcelain plates to maximize the color contrast, or use dark slate serving boards for a modern industrial aesthetic. Pair with fresh berries for color contrast and a touch of natural elegance. Serve alongside espresso in small white cups to echo the color palette, or offer cold milk in clear glasses to complement the rich flavors. For special occasions, consider gold-rimmed plates that pick up the golden tones in the peanut butter layer.
Nutritional Information
Per serving (1 bar): Approximately 280 calories, 18g fat, 28g carbohydrates, 5g protein. Contains 4g fiber and provides essential nutrients from peanut butter including niacin, vitamin E, and magnesium.
Leftover & Reuse Ideas
Transform leftover bars into elegant trifle layers by crumbling and alternating with whipped cream and fresh fruit. Create gourmet ice cream sandwiches by placing vanilla ice cream between two bar pieces. Crumble over vanilla pudding for an elevated dessert presentation, or pulse in a food processor to create a luxurious pie crust for future desserts.
Serving Suggestions
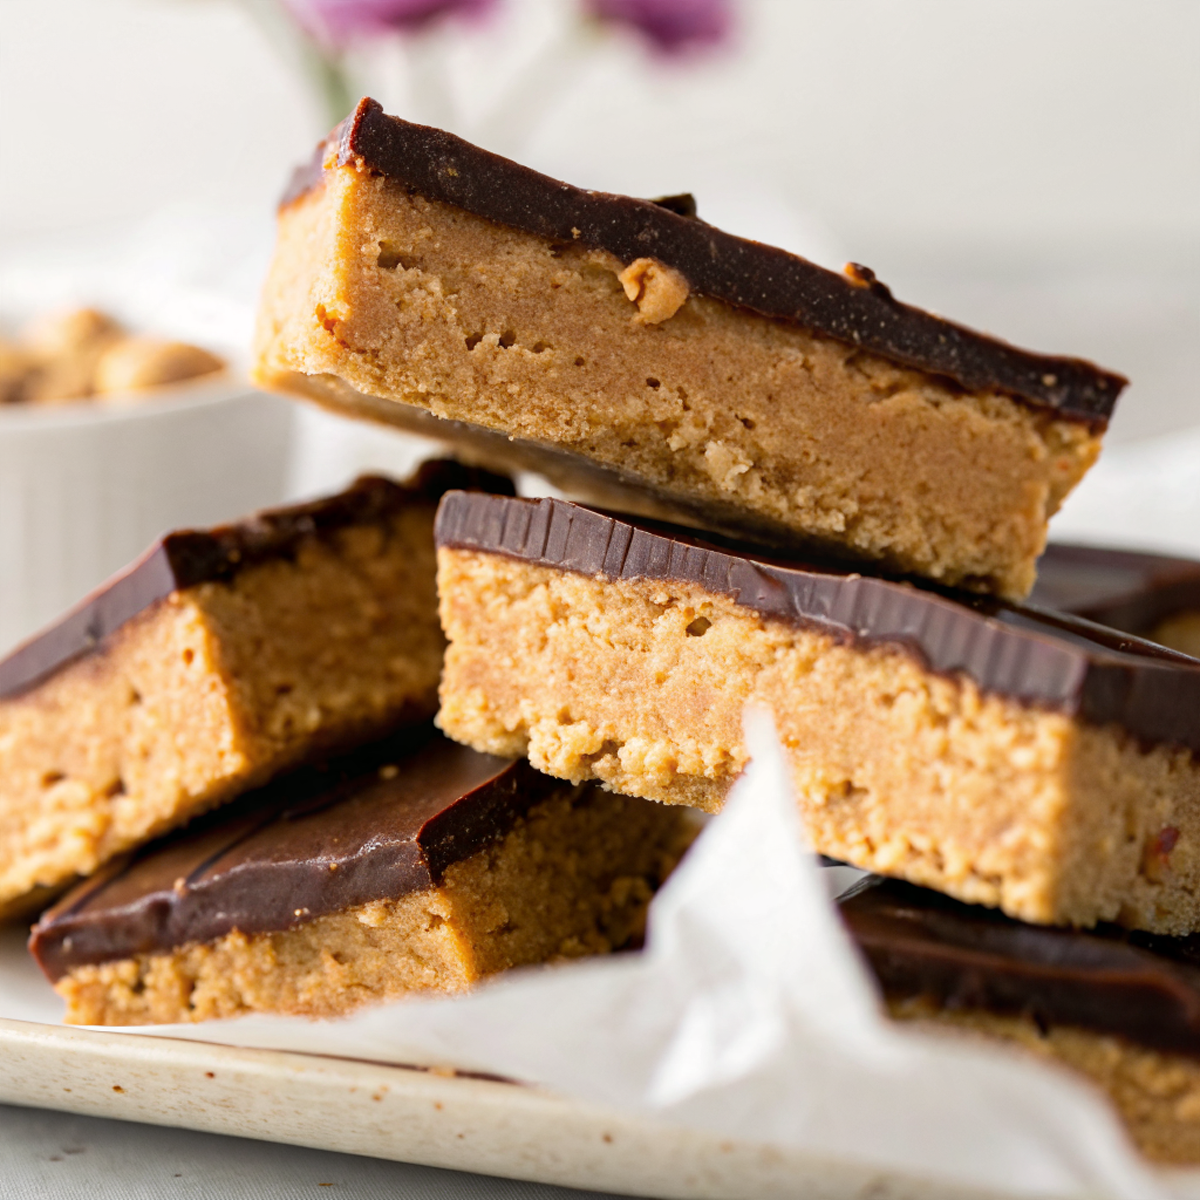
For maximum visual impact, arrange bars on a marble serving board with geometric precision, leaving equal space between each piece. Garnish each bar with a single roasted peanut placed precisely in the center for elegant simplicity. Create height variation by serving some bars upright, showcasing the beautiful layer stratification. For formal presentations, use individual dessert plates and add a small dollop of whipped cream with a single mint leaf for color contrast. Consider serving on tiered stands to create visual drama and showcase the bars’ architectural beauty from multiple angles.
Storage & Reheating Tips
Store bars in an airtight container in the refrigerator for up to 4 days, separating layers with parchment paper to maintain their pristine appearance. For longer storage, wrap individually in plastic wrap and freeze for up to three months. When serving from frozen, allow to thaw in the refrigerator overnight to preserve the perfect texture and clean layer separation. Always store cut-side down to prevent the chocolate layer from developing condensation spots.
Common Mistakes to Avoid
Avoid using hot melted butter, which can cause the peanut butter to become oily and lose its beautiful creamy appearance. Don’t rush the chilling process – insufficient setting time results in messy cuts that ruin the clean layer presentation. Prevent chocolate blooming by ensuring the base layer is completely cool before adding the chocolate topping. Avoid overworking the chocolate mixture once melted, as this can cause it to seize and lose its glossy mirror finish. Never cut the bars at room temperature, as this causes the layers to compress and lose their distinct visual separation.
- Are No-Bake Peanut Butter Chocolate Bars gluten-free?
- Traditional recipes contain graham crackers which have gluten, but you can easily substitute with gluten-free graham crackers or almond flour for a gluten-free version that maintains the same beautiful presentation.
- How do I achieve perfectly clean cuts in No-Bake Peanut Butter Chocolate Bars?
- Use a sharp knife warmed under hot water, wiped clean between each cut. This technique ensures the chocolate doesn’t crack and maintains those stunning clean lines that showcase the layer separation.
- Can I make No-Bake Peanut Butter Chocolate Bars ahead of time?
- Absolutely! These bars actually improve in texture and presentation after 24 hours in the refrigerator, as the layers set more firmly and create even cleaner cuts for serving.
- What’s the best way to store No-Bake Peanut Butter Chocolate Bars for optimal presentation?
- Store in a single layer in an airtight container in the refrigerator, with parchment paper between layers if stacking. This prevents the chocolate from developing condensation spots that can mar the mirror-like finish.
- How can I prevent the chocolate layer from cracking on my No-Bake Peanut Butter Chocolate Bars?
- Ensure the peanut butter base is completely cool before adding the chocolate layer, and allow the chocolate to come to room temperature before cutting. This prevents thermal shock that causes cracking.
Conclusion
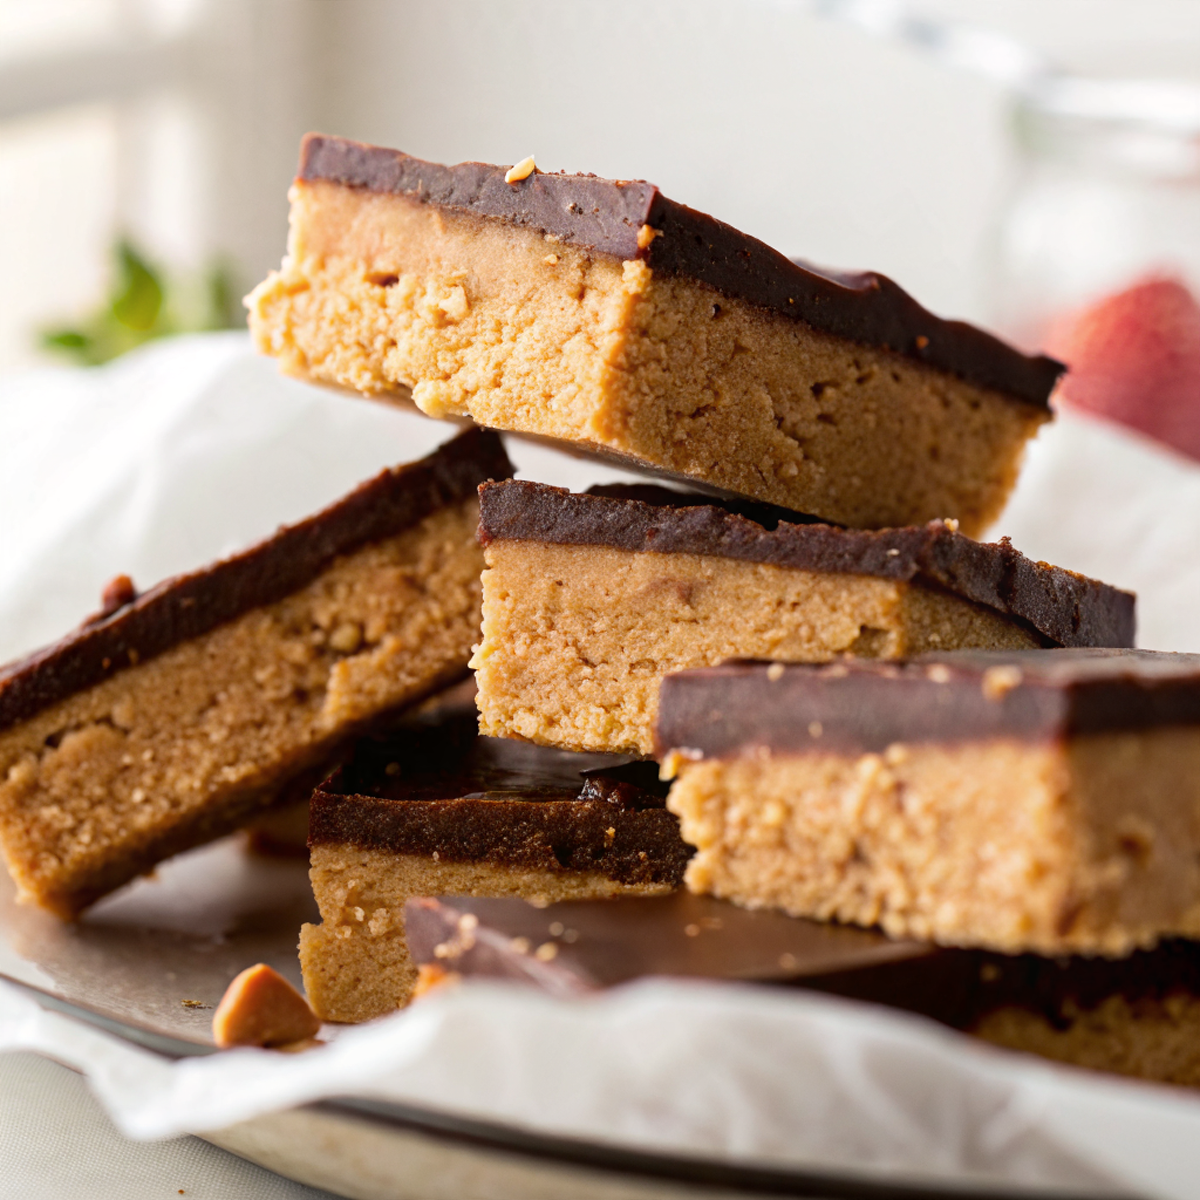
These No-Bake Peanut Butter Chocolate Bars represent the perfect fusion of simplicity and sophistication, proving that stunning dessert presentation doesn’t require complex techniques. The dramatic visual contrast between layers, the satisfying geometric precision of each cut, and the luxurious flavor combination create a dessert that’s as beautiful as it is delicious. By focusing on clean lines, temperature control, and precise technique, you’ll create bars that rival any professional bakery’s presentation. The beauty lies not just in their appearance but in their accessibility – these stunning treats require no special equipment or advanced skills, just attention to detail and an eye for visual impact.
Made these No-Bake Peanut Butter Chocolate Bars? Drop your twist in the comments, rate the recipe, and tag us on facebook, instagram with #erinrecipes — we might feature your creation!
No-Bake Peanut Butter Chocolate Bars: Stunning Layered Dessert
Ingredients
Instructions
- Prepare Baking Pan: Line a 9x13 baking pan with foil or parchment paper, making sure to leave some overhang for easy removal, and set aside.
- Combine Butter and Peanut Butter: Combine the melted butter and peanut butter in a large mixing bowl and mix until well combined.
- Add Powdered Sugar: Add the powdered sugar and continue mixing until fully combined.
- Add Graham Cracker Crumbs: Then, add the graham cracker crumbs, 1 cup at a time, and mix until fully combined.
- Press Peanut Butter Layer: Scoop the peanut butter mixture into the prepared baking pan and press it down into one even layer. Set aside.
- Melt Chocolate Topping: Add the chocolate chips and 1/4 cup peanut butter to a microwave-safe bowl. Microwave in 20 to 30 increments, stirring well after each increment, until completely melted and smooth.
- Pour Chocolate Topping: Pour the melted chocolate mixture on top of the peanut butter layer and spread it around into one even layer.
- Chill the Bars: Cover tightly and refrigerate for at least 1 and 1/2 hours or until the bars are firm and the chocolate topping is set.
- Slice and Enjoy: Once the bars are firm, lift them out of the pan using the overhang from the foil or parchment paper, slice, and enjoy!