
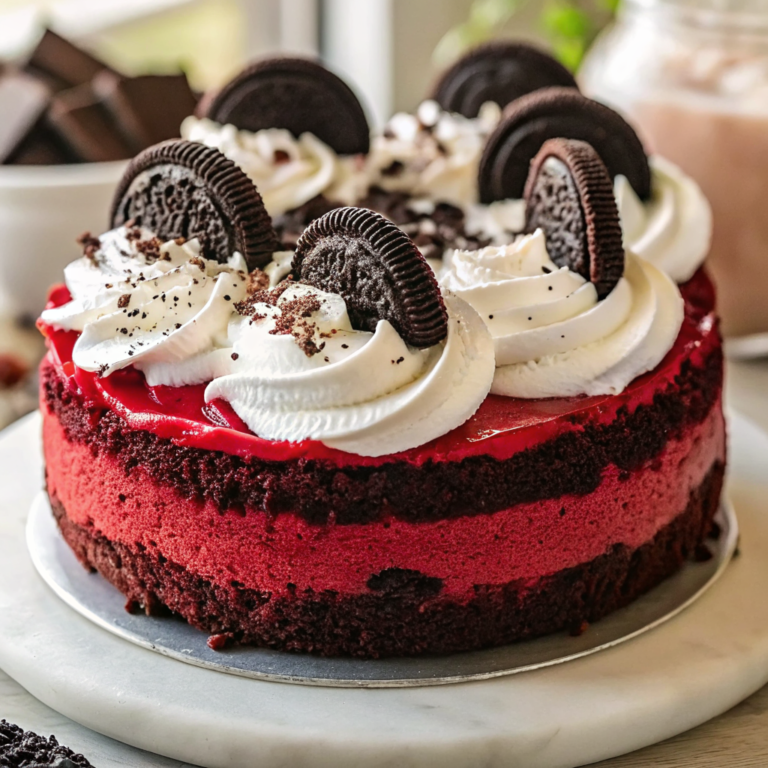
When my sister-in-law brought her first homemade cheesecake to our family gathering, I thought I knew what dessert perfection looked like. Then she surprised us with her Red Velvet Oreo Cheesecake, and suddenly every other dessert seemed ordinary. The combination of rich red velvet layers, creamy vanilla cheesecake, and that irresistible Oreo crust creates something truly magical that transforms any occasion into a celebration.
This Red Velvet Oreo Cheesecake brings together the best of three beloved desserts in one show-stopping creation. You’ll discover exactly how to create perfectly smooth layers, avoid common pitfalls, and master the techniques that ensure your cheesecake turns out flawlessly every single time. With simple ingredients and clear instructions, this recipe will become your go-to for impressing guests and treating your family to something extraordinary.
Why Red Velvet Oreo Cheesecake Matters
There’s something deeply satisfying about creating a dessert that combines comfort and elegance in every bite. This Red Velvet Oreo Cheesecake delivers that perfect balance – it’s impressive enough for special occasions yet approachable enough for weekend baking. The rich cocoa notes from the red velvet layer complement the vanilla sweetness beautifully, while the Oreo crust adds that delightful crunch that keeps everyone coming back for more.
Behind the Recipe
This recipe came to life during one of those late-night kitchen experiments when I couldn’t decide between making red velvet cake or classic cheesecake for my daughter’s birthday. Sometimes the best creations happen when you refuse to choose just one favorite! The moment I took that first bite, I knew I’d stumbled onto something special – the way the tangy cream cheese balances the subtle chocolate flavor, and how that Oreo crust ties everything together with its familiar comfort.
If you’re looking to expand your dessert repertoire, you might also enjoy our Apple Crisp Cheesecake for a fruity twist on the classic. For more cheesecake inspiration, Sally’s Baking Addiction offers excellent tips for achieving that perfect texture, while Food52’s cream cheese guide provides creative ways to use any leftover cream cheese. Don’t miss our Chocolate Pumpkin Cheesecake Bars for another delightful seasonal variation.
Ingredients
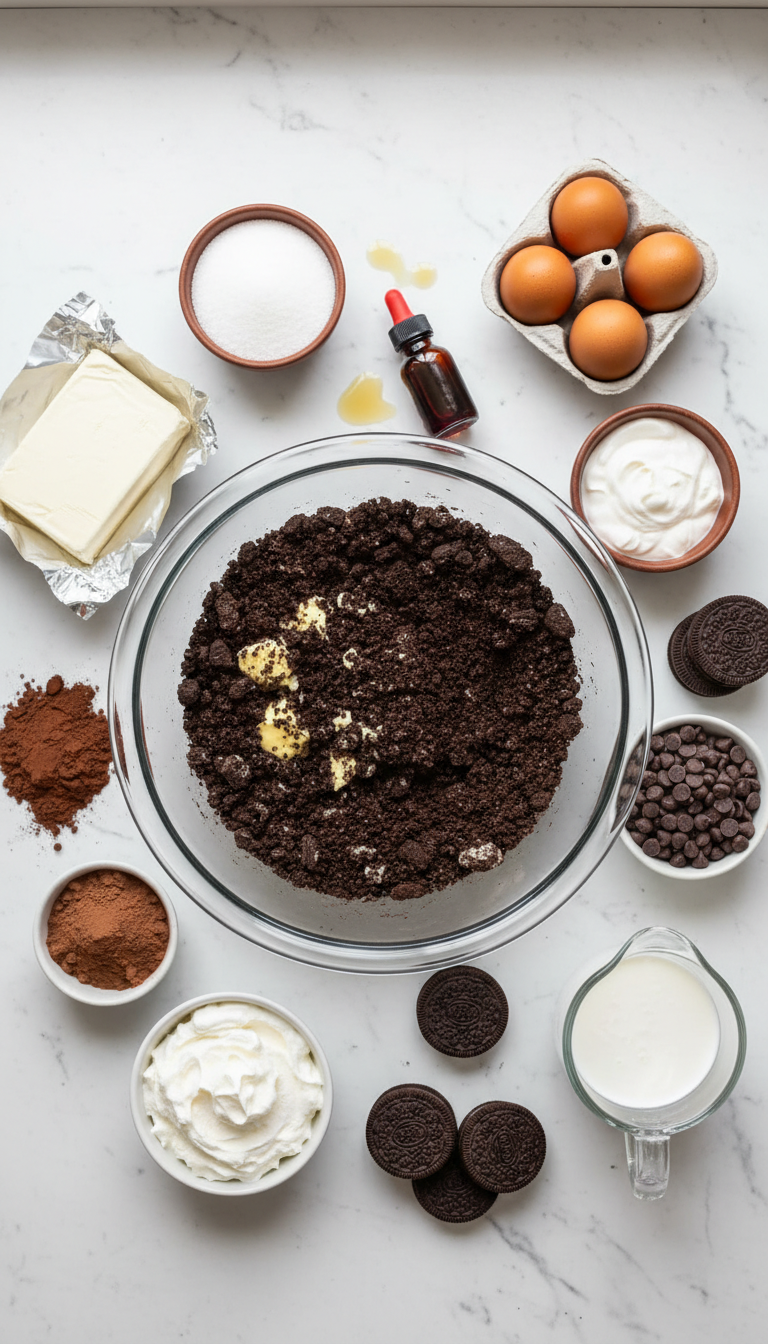
|
Ingredient Spotlight
Cream Cheese: The star of any cheesecake, make sure it’s completely softened – this prevents lumps and creates that silky-smooth texture we’re after. Sour Cream: This secret ingredient adds the perfect tangy note that balances the sweetness and prevents the cheesecake from being overly rich. Red Food Coloring: Gel coloring gives you that gorgeous red velvet hue without thinning the batter. Oreo Cookies: Choose regular Oreos rather than double-stuffed for the perfect crust consistency that holds together beautifully.
Timing
|
Instructions
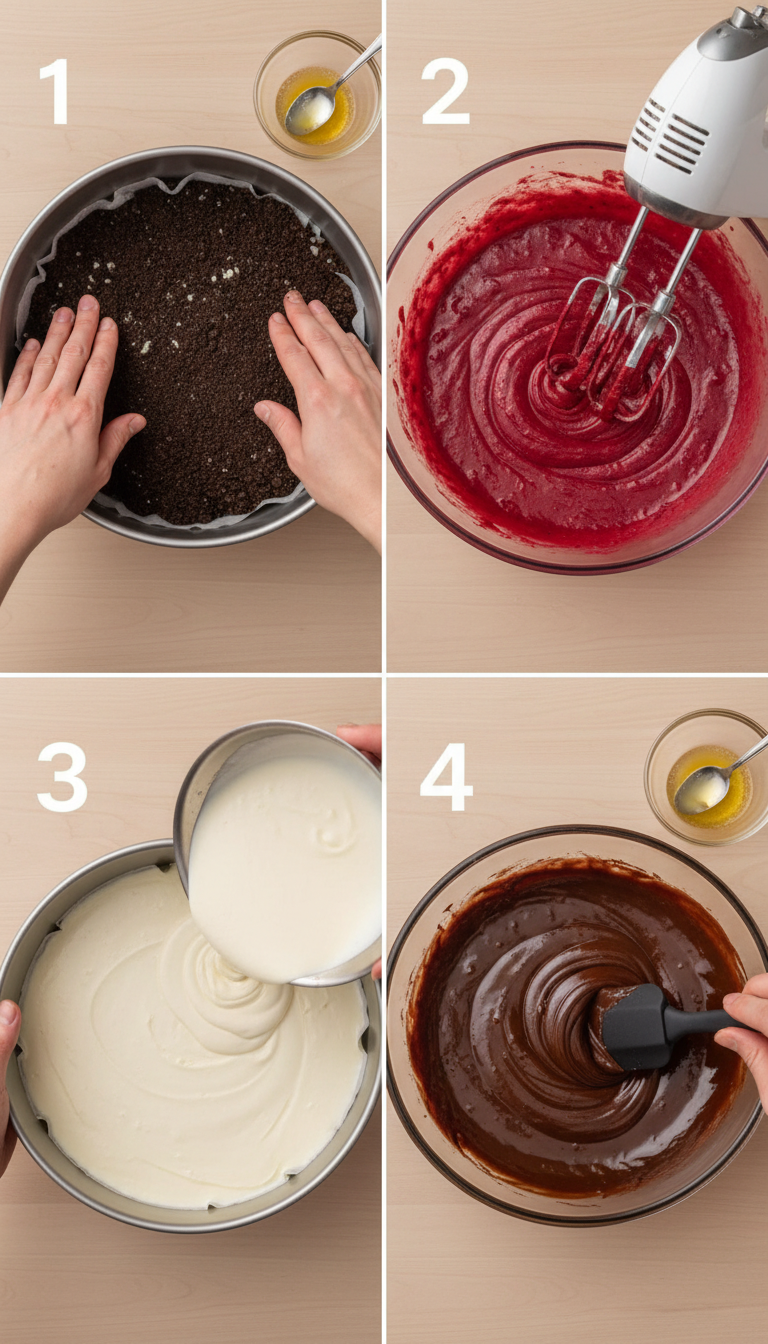
|
Tips & Tricks for Perfect Red Velvet Oreo Cheesecake
|
Recipe Variations & Substitutions
Busy Cook’s Shortcut: Use store-bought Oreo pie crust to save 15 minutes of prep time. Kid-Friendly Version: Reduce the cocoa powder by half for a milder chocolate flavor that little ones will love. Gluten-Free Option: Substitute gluten-free chocolate cookies for the Oreo crust. Lighter Version: Use reduced-fat cream cheese and Greek yogurt in place of some sour cream for a lighter but still delicious result.
Leftover & Reuse Ideas
Leftover Red Velvet Oreo Cheesecake keeps beautifully in the refrigerator for up to 5 days. Transform day-old slices into cheesecake parfaits by crumbling them into glasses with fresh whipped cream and berries. You can also blend leftover pieces into milkshakes for an indulgent treat, or freeze individual slices wrapped in plastic wrap for up to 3 months – perfect for when you need a special dessert in a pinch!
Pairing Ideas
This rich cheesecake pairs beautifully with a cup of freshly brewed coffee or a tall glass of cold milk. For special occasions, serve alongside fresh strawberries or a light fruit salad to balance the richness. A drizzle of raspberry coulis adds an elegant touch, while a simple dusting of powdered sugar creates a lovely presentation for more casual gatherings.
Serving Suggestions
Present your Red Velvet Oreo Cheesecake on a beautiful cake stand for maximum impact. Garnish each slice with a dollop of whipped cream and a fresh mint leaf for an restaurant-quality presentation. For parties, consider cutting smaller portions since this dessert is quite rich – your guests will appreciate the perfect-sized indulgence that doesn’t overwhelm.
Nutritional Information
Per serving (1/12 of cheesecake): Approximately 485 calories, 32g fat, 45g carbohydrates, 8g protein, 2g fiber. Contains dairy, eggs, and gluten.
Common Mistakes to Avoid
Cracked Surface: This usually happens from temperature shock or overbaking. Use the gradual cooling method and don’t open the oven door during baking. Lumpy Texture: Always ensure cream cheese is fully softened and beat it thoroughly before adding other ingredients. Soggy Crust: Make sure to bake the crust before adding the filling, and don’t skip the cooling step. Layers Mixing: Pour the vanilla layer gently over the back of a spoon to maintain distinct layers. Remember, cheesecake is forgiving – even imperfect ones taste absolutely delicious!
Storage & Reheating Tips
Store your finished Red Velvet Oreo Cheesecake covered in the refrigerator for up to one week. For best results, place plastic wrap directly on the surface before covering with foil to prevent a skin from forming. This cheesecake is best served chilled and doesn’t require reheating. For longer storage, wrap individual slices in plastic wrap and freeze for up to 3 months – thaw overnight in the refrigerator before serving.
- Can I make Red Velvet Oreo Cheesecake ahead of time?
- Absolutely! This cheesecake actually improves after chilling overnight. You can make it up to 3 days ahead – just add the ganache and decorations on the day you plan to serve it.
- Is Red Velvet Oreo Cheesecake difficult for beginners?
- Not at all! While it looks impressive, this recipe uses straightforward techniques. The key is patience with the chilling time and ensuring all ingredients are at room temperature before mixing.
- Can I use a different crust for my Red Velvet Oreo Cheesecake?
- Certainly! Graham cracker crust or chocolate cookie crust work beautifully. You could even try a vanilla wafer crust for a different flavor profile.
- How do I prevent my Red Velvet Oreo Cheesecake from cracking?
- The gradual cooling method is crucial – don’t rush this step! Also, avoid overbeating the batter and ensure your oven temperature is accurate with an oven thermometer.
- Can I freeze Red Velvet Oreo Cheesecake?
- Yes! Wrap it well in plastic wrap and aluminum foil. Freeze for up to 3 months. Thaw slowly in the refrigerator overnight before serving for the best texture.
FAQs
Conclusion
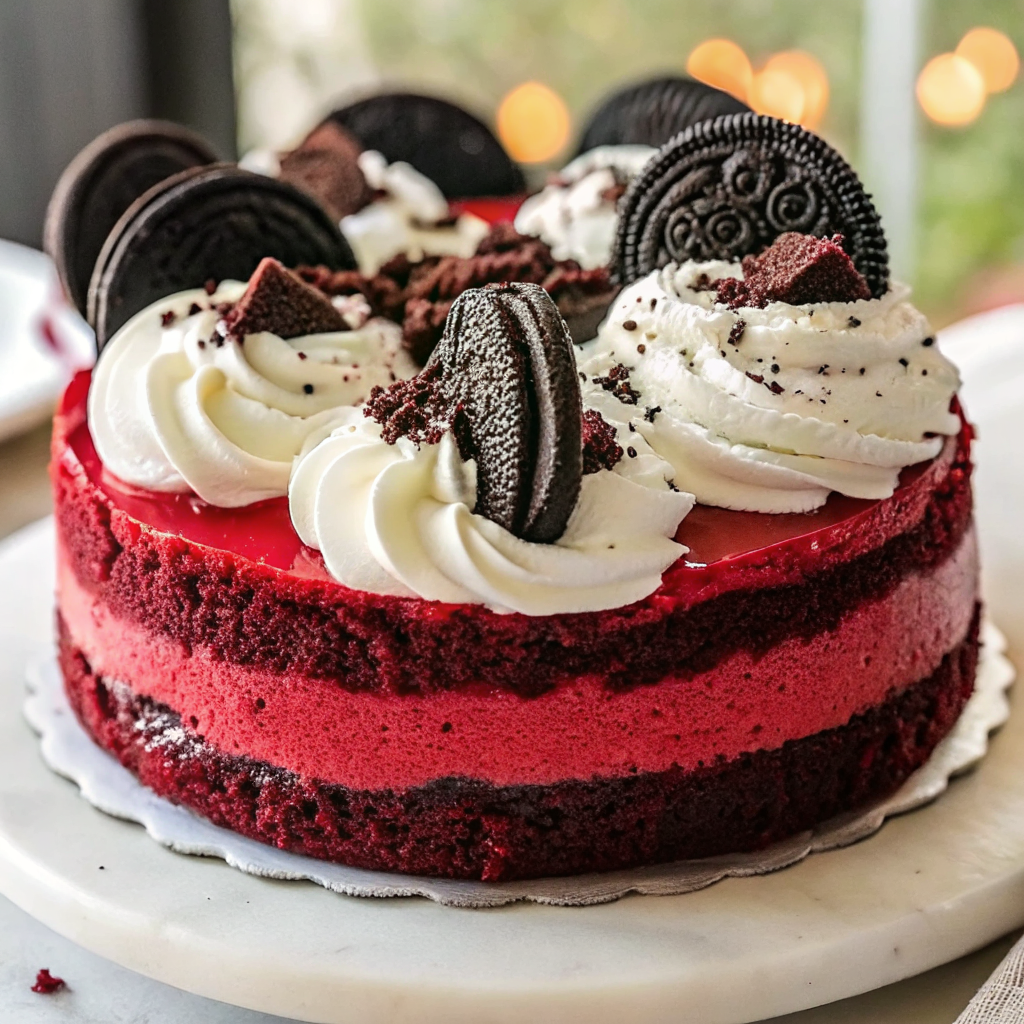
This Red Velvet Oreo Cheesecake truly represents the magic that happens when classic flavors come together in perfect harmony. The rich, creamy layers combined with that irresistible Oreo crust create a dessert that’s both comforting and elegant – exactly what every special occasion deserves. With patience and attention to detail, you’ll create a show-stopping dessert that brings joy to every gathering and creates those sweet memories that last a lifetime.
Made these Red Velvet Oreo Cheesecake? Drop your twist in the comments, rate the recipe, and tag us on facebook, instagram with #erinrecipes — we might feature your creation!
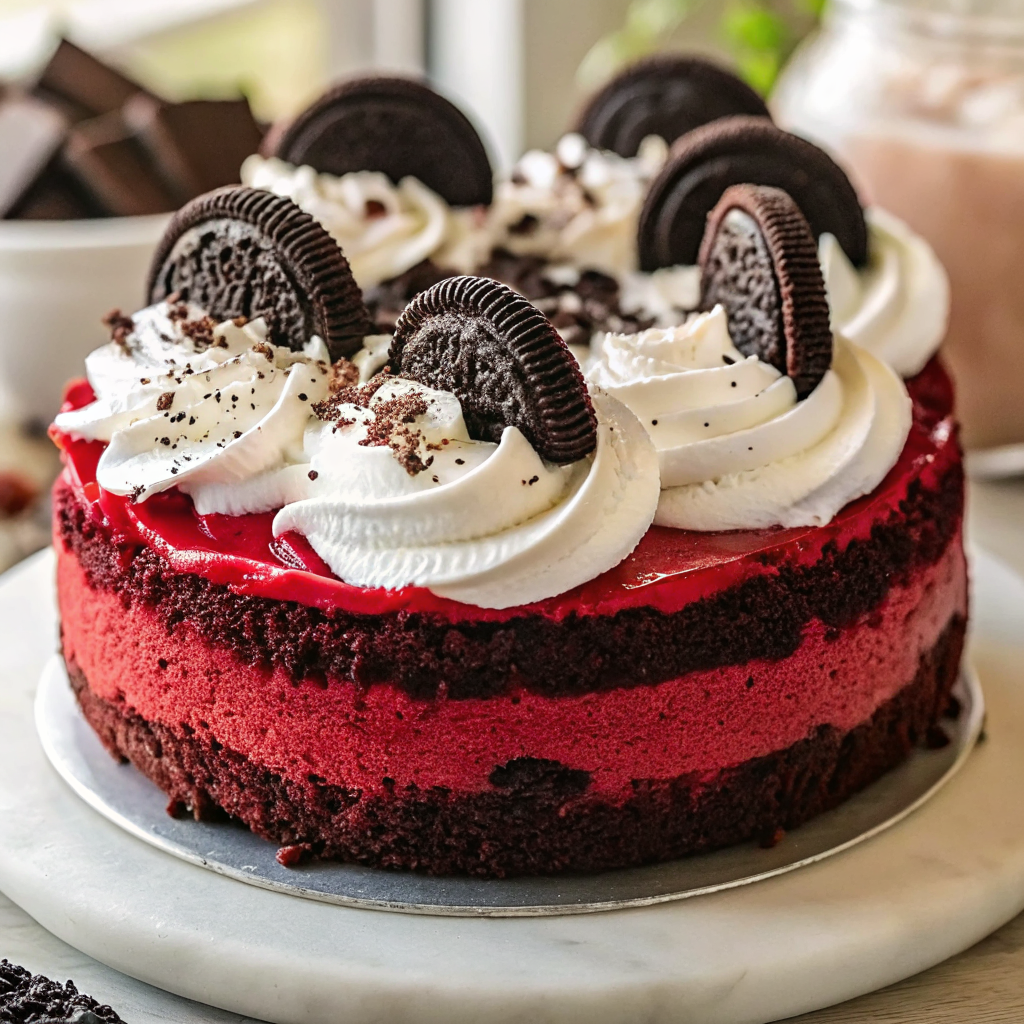
Red Velvet Oreo Cheesecake – Decadent Layered Dessert
Ingredients
Instructions
- Preheat the Oven: Preheat your oven to 325°F (163°C). Prepare a 9-inch springform pan by greasing it and lining the bottom with parchment paper.
- Make the Crust: Mix together the Oreo cookie crumbs and melted butter until fully combined. Press this mixture firmly into the bottom of your prepared pan. Bake for about 8-10 minutes until set. Allow it to cool completely.
- Prepare the Red Velvet Layer: In a large bowl, beat together softened cream cheese and granulated sugar until smooth. Add in sour cream, eggs, cocoa powder, vanilla extract, and red food coloring. Mix until all ingredients are well incorporated. Pour this red velvet batter over your cooled crust.
- Make the Vanilla Layer: In another mixing bowl, combine softened cream cheese with granulated sugar using an electric mixer until smooth. Add sour cream, eggs, and vanilla extract. Mix thoroughly until fully incorporated. Carefully pour this mixture over the red velvet layer in the springform pan.
- Bake the Cheesecake: Place your cheesecake in the oven at 325°F (163°C) for about 50-60 minutes. The edges should be set while the center remains slightly jiggly. Once done, turn off the oven but leave the cheesecake inside with the door slightly ajar for one hour.
- Chill: Carefully transfer your cheesecake to the refrigerator and let it chill for at least six hours or overnight for best results.
- Prepare Topping: In a saucepan over medium heat, warm heavy cream until hot but not boiling. Remove from heat and pour it over semi-sweet chocolate chips in a bowl. Let sit for two minutes before stirring until smooth.
- Finish and Serve: Once cooled slightly, pour chocolate ganache over your chilled cheesecake evenly. Pipe whipped cream around the edges if desired; sprinkle with extra Oreo crumbs and top with whole Oreos for decoration. Slice into pieces and serve chilled!