Introduction
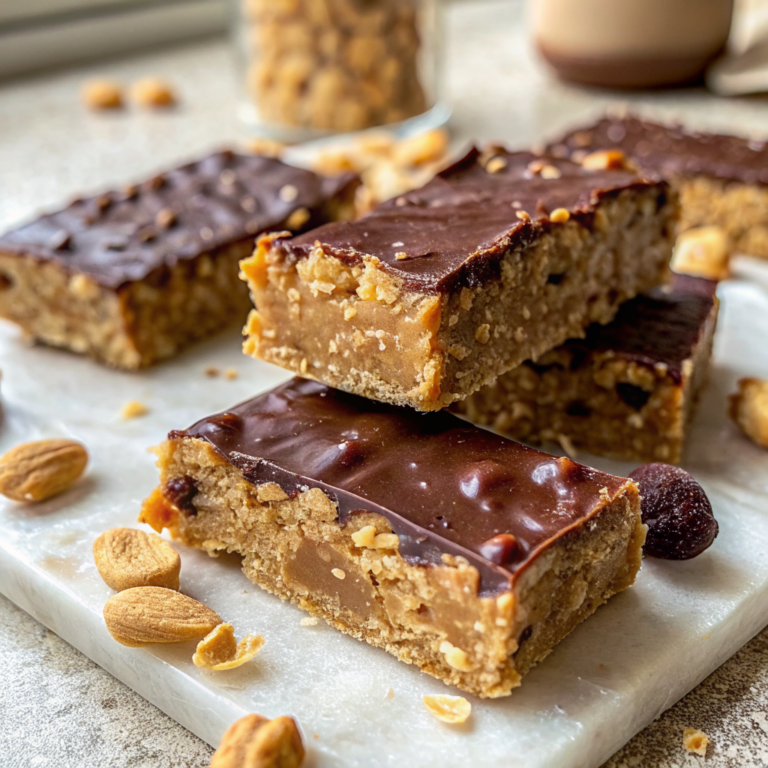
There’s something magical about opening your pantry and knowing you can whip up a batch of ultimate homemade protein bars in just minutes. These aren’t just any protein bars – they’re the kind that actually taste amazing while fueling your busy life. After years of spending way too much money on store-bought bars that either taste like cardboard or are packed with ingredients I can’t pronounce, I finally cracked the code on the perfect homemade version. These bars are rich, satisfying, and surprisingly simple to make. Whether you’re meal prepping for the week, need a quick post-workout snack, or want something wholesome to toss in your bag for those hectic afternoons, this recipe delivers every single time. You’ll learn exactly how to create bars that are perfectly chewy, naturally sweet, and customizable to your family’s preferences.
Why Ultimate Homemade Protein Bars Matter for Your Family
In our fast-paced world, having reliable snacks on hand isn’t just convenient – it’s essential. These ultimate homemade protein bars solve the eternal problem of finding something nutritious that everyone in the family will actually eat. Unlike their store-bought counterparts, you control every ingredient, which means no mystery additives or excessive sugar. They’re perfect for busy mornings when breakfast needs to be portable, after-school snacks that won’t spoil dinner, or that 3 PM energy dip when you need something substantial. The beauty lies in their simplicity and reliability – they work every time, store beautifully, and can be customized to accommodate different tastes and dietary needs.
Behind the Recipe
The inspiration for these bars came from my daughter’s soccer season when I was tired of buying expensive protein bars that half the team wouldn’t even finish. I wanted something that tasted like a treat but provided real nutrition. After countless kitchen experiments, I discovered that the secret isn’t in complicated ingredients – it’s in the perfect balance of creamy peanut butter, quality protein powder, and just enough natural sweetness to make them irresistible.
Speaking of protein-packed snacks, these bars fit perfectly into a broader approach to nutritious eating. If you’re looking for more wholesome treats, you might love our no-bake chocolate chip cookie dough bars for when you want something a bit more indulgent. For breakfast inspiration, our French toast sticks are another family favorite that’s both satisfying and fun to eat. For additional protein-rich snack ideas, Healthline’s guide to healthy protein snacks offers great variety, and if you’re interested in more no-bake treats, Hungry Blonde’s collection of no-bake desserts provides wonderful inspiration for easy, delicious treats.
Ingredients
|
Ingredient Spotlight
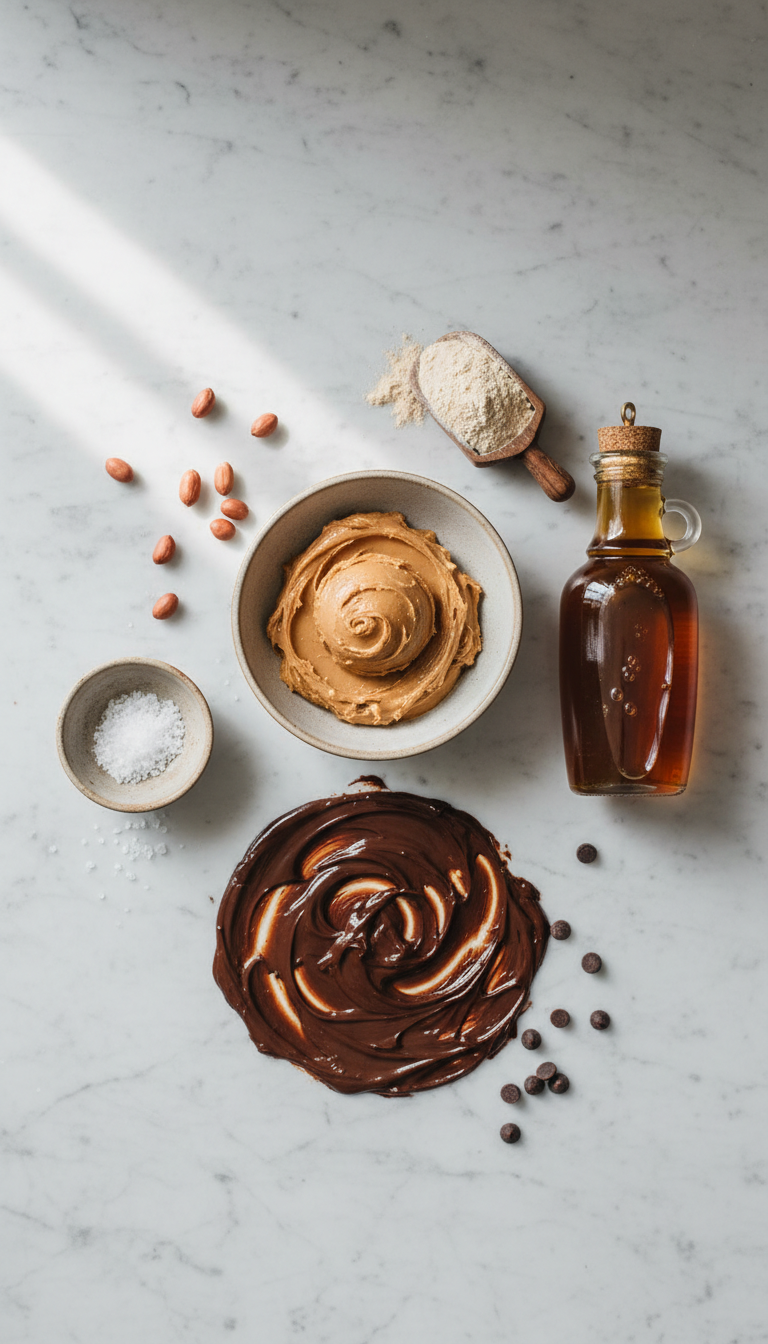
The peanut butter is truly the star here – choose a natural variety with just peanuts and salt for the best texture and flavor. Avoid the super-processed kinds with added oils, as they can make your bars too soft. The protein powder quality makes a huge difference; I prefer vanilla whey or plant-based vanilla because it doesn’t overpower the peanut butter. That touch of sea salt might seem minimal, but it’s what transforms these from good to absolutely irresistible by enhancing every other flavor. The maple syrup provides just enough sweetness while helping everything bind together without making the bars overly sticky.
Timing
|
Instructions
|
Tips & Tricks for Perfect Ultimate Homemade Protein Bars
|
Recipe Variations & Substitutions
Allergy-Friendly Version: Substitute sunflower seed butter or almond butter for peanut butter. The texture will be slightly different but equally delicious.
Chocolate Lover’s Dream: Use chocolate protein powder and mix in mini chocolate chips for double the chocolate experience.
Kid-Friendly Twist: Roll the mixture into balls instead of bars and roll in shredded coconut or crushed graham crackers for a fun, bite-sized treat.
Busy Cook’s Shortcut: Make a double batch and freeze half – they thaw quickly and taste just as fresh.
Leftover & Reuse Ideas
If you somehow have leftover bars (though that’s rare in my house!), crumble them over yogurt for a protein-packed breakfast parfait. You can also chop them up and fold into homemade ice cream or blend into smoothies for extra richness and protein. The mixture itself can be rolled into energy balls if you prefer smaller portions, and any extra chocolate drizzle makes an excellent dip for fresh fruit.
Pairing Ideas
These bars pair beautifully with a cold glass of milk or your favorite plant-based alternative. For a more substantial snack, serve alongside fresh apple slices or berries. They’re also perfect with a cup of coffee for an afternoon pick-me-up, or pack them with some nuts and dried fruit for a complete on-the-go meal. For kids, try serving with a small cup of vanilla Greek yogurt for extra protein.
Serving Suggestions
Present these bars on a simple wooden cutting board for a rustic, homemade feel. For special occasions, drizzle with melted chocolate and sprinkle with chopped nuts or sea salt flakes. They look beautiful wrapped individually in parchment paper for lunch boxes or gift giving. For parties, cut them into smaller squares and arrange on a platter with fresh berries for a healthier dessert option that still feels indulgent.
Nutritional Information
Each bar contains approximately 280 calories, 18g protein, 16g healthy fats, and 12g carbohydrates. The natural peanut butter provides heart-healthy monounsaturated fats, while the protein powder supports muscle recovery and satiety. The maple syrup offers trace minerals compared to refined sugar, and the overall macronutrient balance makes these bars satisfying and energizing without causing blood sugar spikes.
Common Mistakes to Avoid
Using Cold Peanut Butter: This makes mixing nearly impossible and results in lumpy bars. Always let it come to room temperature first.
Skipping the Chill Time: I know it’s tempting to cut into them right away, but they need that refrigerator time to firm up properly.
Over-sweetening: Remember that protein powder often has its own sweetness, so taste before adding extra sweetener.
Loose Packing: If you don’t press the mixture firmly enough, your bars will crumble. Really pack it down!
Don’t worry if you make these mistakes – they happen to everyone, and the bars will still taste great even if they’re not perfect!
Storage & Reheating Tips
Store your ultimate homemade protein bars in an airtight container in the refrigerator for up to one week. Layer them between parchment paper to prevent sticking. For longer storage, wrap individual bars in plastic wrap and freeze for up to three months – they thaw quickly at room temperature. If they become too firm from the fridge, let them sit at room temperature for 5-10 minutes before eating. Never microwave them as this will make the texture mushy.
- Can I make ultimate homemade protein bars without protein powder?
- While protein powder is what makes these truly protein-packed, you can substitute with additional ground nuts or oat flour, though the protein content will be lower and the texture slightly different.
- Are ultimate homemade protein bars suitable for kids?
- Absolutely! Kids love the peanut butter flavor, and they’re much healthier than most store-bought snacks. Just be mindful of any nut allergies in your household or school.
- How long do ultimate homemade protein bars last?
- They stay fresh in the refrigerator for up to one week and can be frozen for up to three months. The texture is best within the first few days.
- Can I double the ultimate homemade protein bars recipe?
- Yes! Use a 9×13 inch pan for a double batch, or make two separate 8×8 pans. The chilling time remains the same.
- What’s the best protein powder for ultimate homemade protein bars?
- Vanilla whey or plant-based vanilla protein powders work best as they don’t overpower the peanut butter flavor. Avoid chalky or artificially flavored varieties.
FAQs
Conclusion
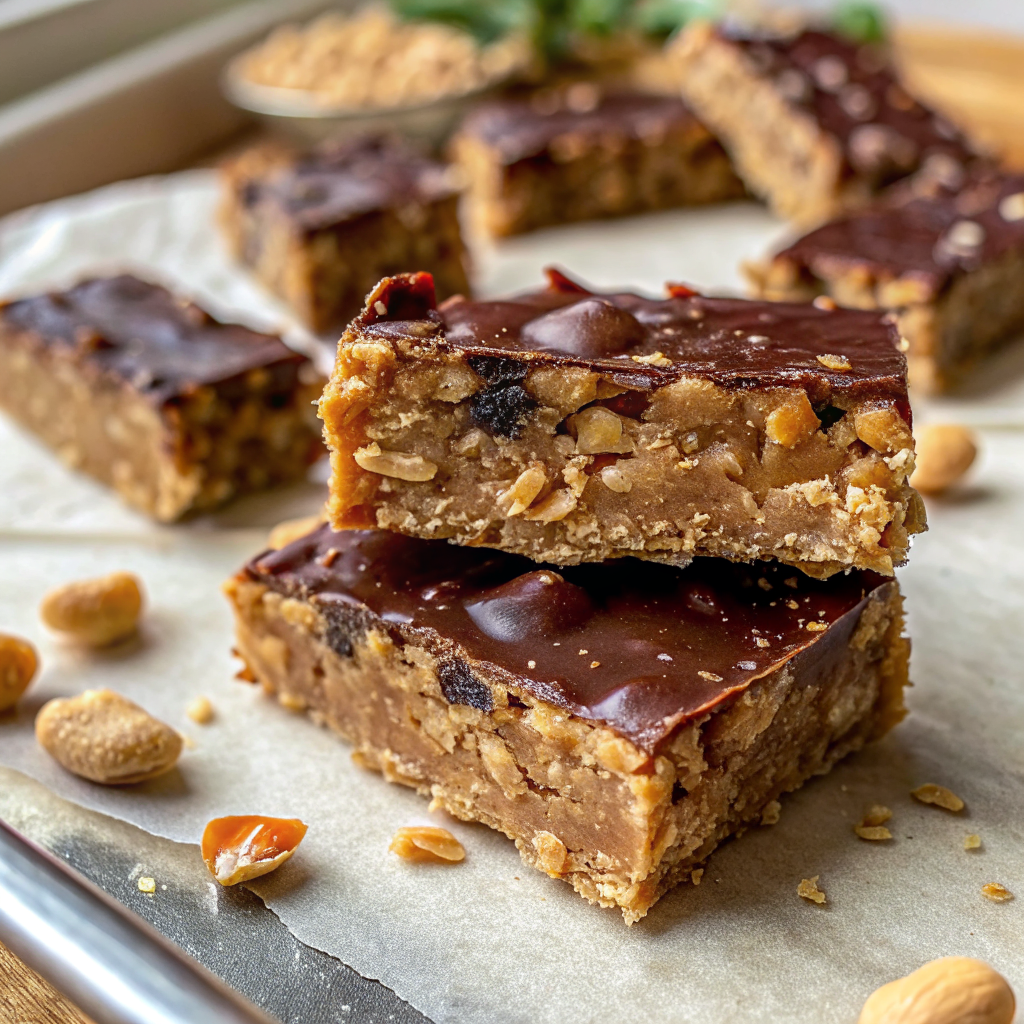
These ultimate homemade protein bars prove that the best snacks don’t have to be complicated or time-consuming. With just five simple ingredients and minimal effort, you’ll have a batch of bars that rival any expensive store-bought version – and taste infinitely better. They’re the perfect solution for busy families who want nutritious options that everyone will actually eat. The beauty of this recipe lies in its flexibility and reliability; once you master the basic technique, you can customize them endlessly to suit your family’s preferences. Whether you’re meal prepping for the week, packing school lunches, or just want a wholesome treat on hand, these bars deliver every single time.
Made these Ultimate Homemade Protein Bars? Drop your twist in the comments, rate the recipe, and tag us on facebook, instagram with #erinrecipes — we might feature your creation!
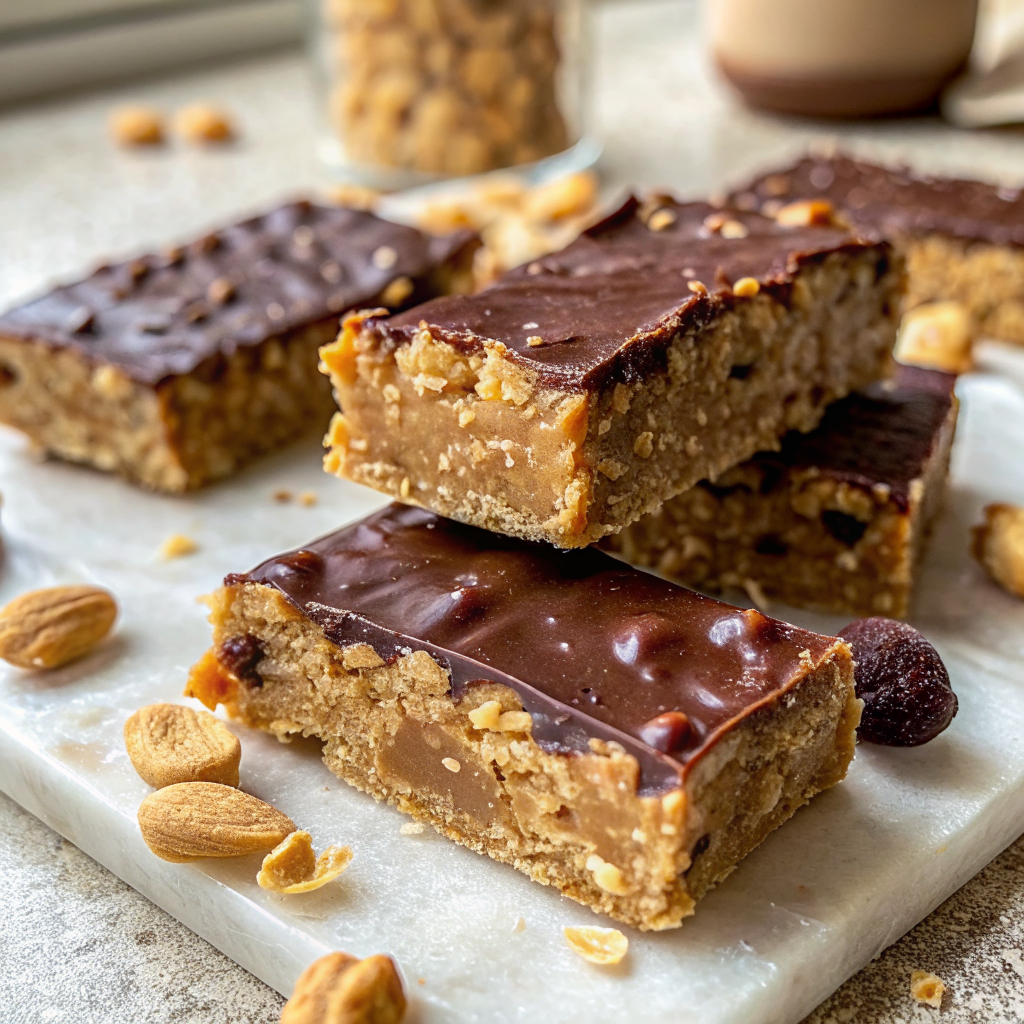
Ultimate Homemade Protein Bars – Easy No-Bake Recipe
Ingredients
Instructions
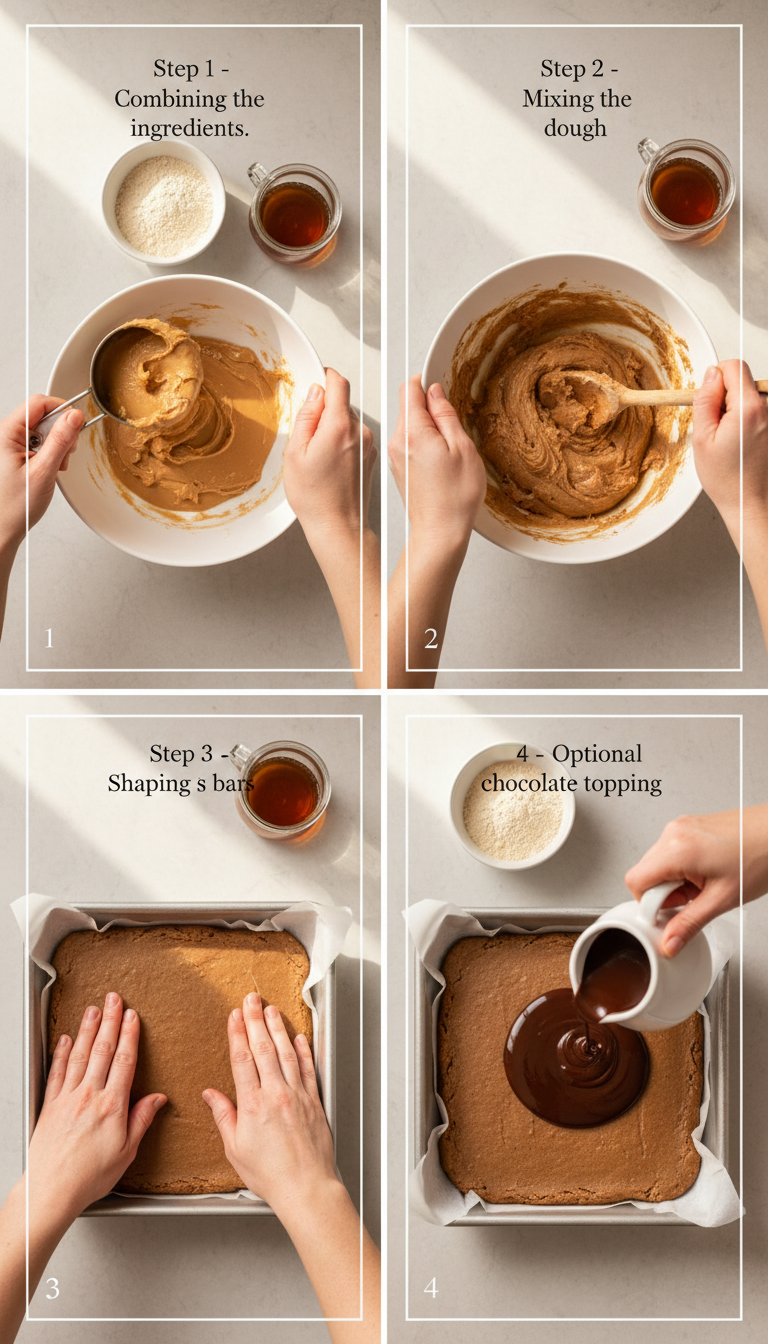
- Combine Ingredients: In a mixing bowl, combine peanut butter, protein powder, maple syrup, and salt. Mix until a thick dough forms.
- Shape the Bars: Shape the mixture into bars by pressing it into a lined 8x8 inch baking pan or forming individual bars by hand.
- Chill Until Firm: Chill in the refrigerator for about 30 minutes until firm.
- Add Optional Chocolate: If desired, add melted chocolate on top before chilling or dip each bar individually.